Search results for: 'piicodev stemma qwiic'

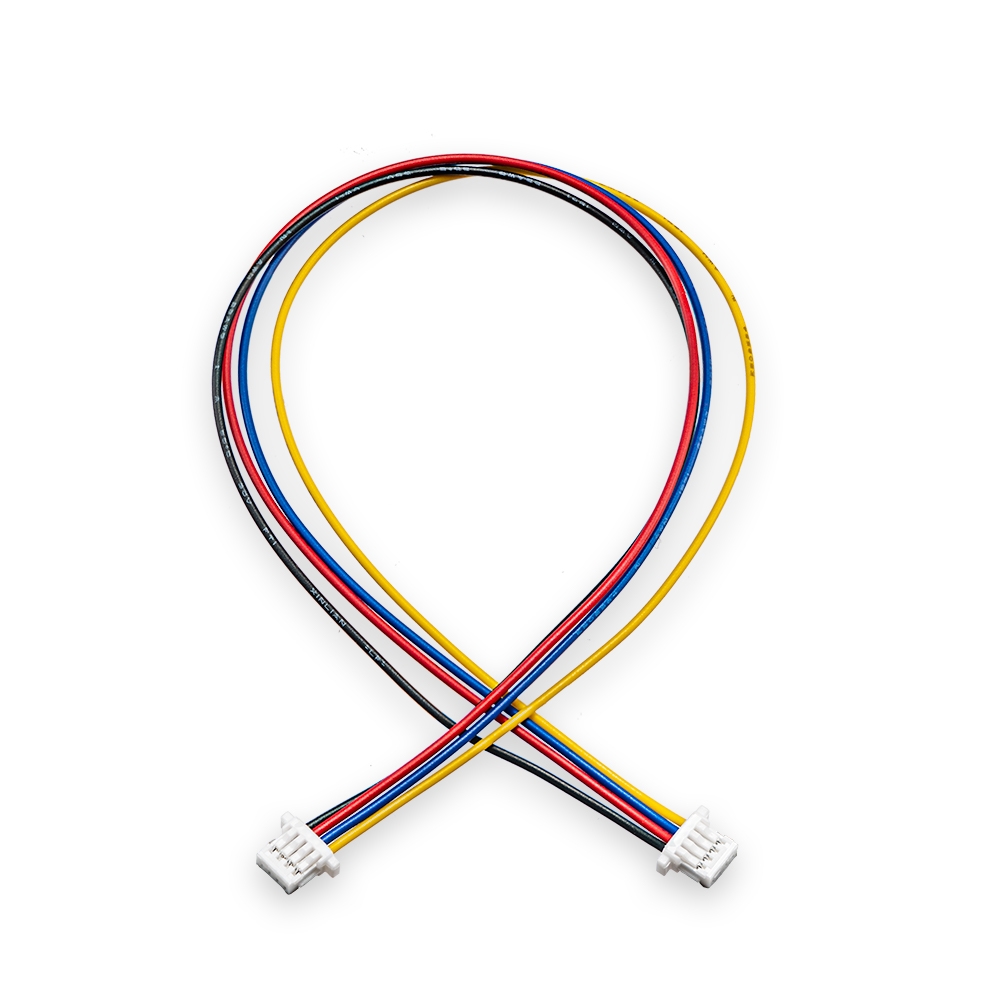
PiicoDev Cable 500mm
Brand: PiicoDev
This 500mm cable is for connecting PiicoDev modules together - it is a 4-wire harness with 1mm pitch SH connectors on each end.
$1.35 AUD, inc GST
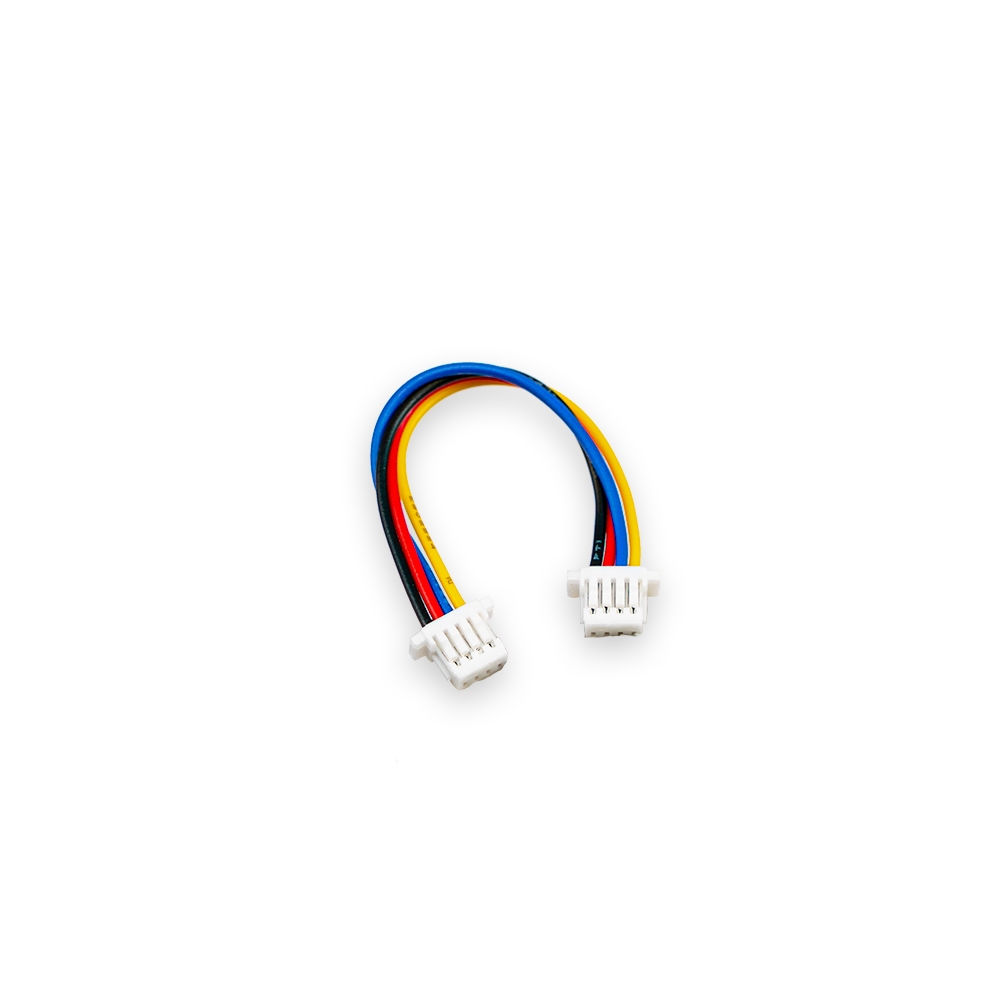
PiicoDev Cable 50mm
Brand: PiicoDev
This 50mm cable is for connecting PiicoDev modules together - it is a 4-wire harness with 1mm pitch SH connectors on each end.
$0.80 AUD, inc GST
PiicoDev Cable 200mm
Brand: PiicoDev
This 200mm cable is for connecting PiicoDev modules together - it is a 4-wire harness with 1mm pitch SH connectors on each end.
$0.98 AUD, inc GST

PiicoDev Cable 100mm
Brand: PiicoDev
This 100mm cable is for connecting PiicoDev modules together - it is a 4-wire harness with 1mm pitch SH connectors on each end.
$0.85 AUD, inc GST

PiicoDev Precision Temperature Sensor TMP117
Brand: PiicoDev
Accurate to ±0.1°C (across -20°C to +50°C) with no calibration required.
$9.60 AUD, inc GST
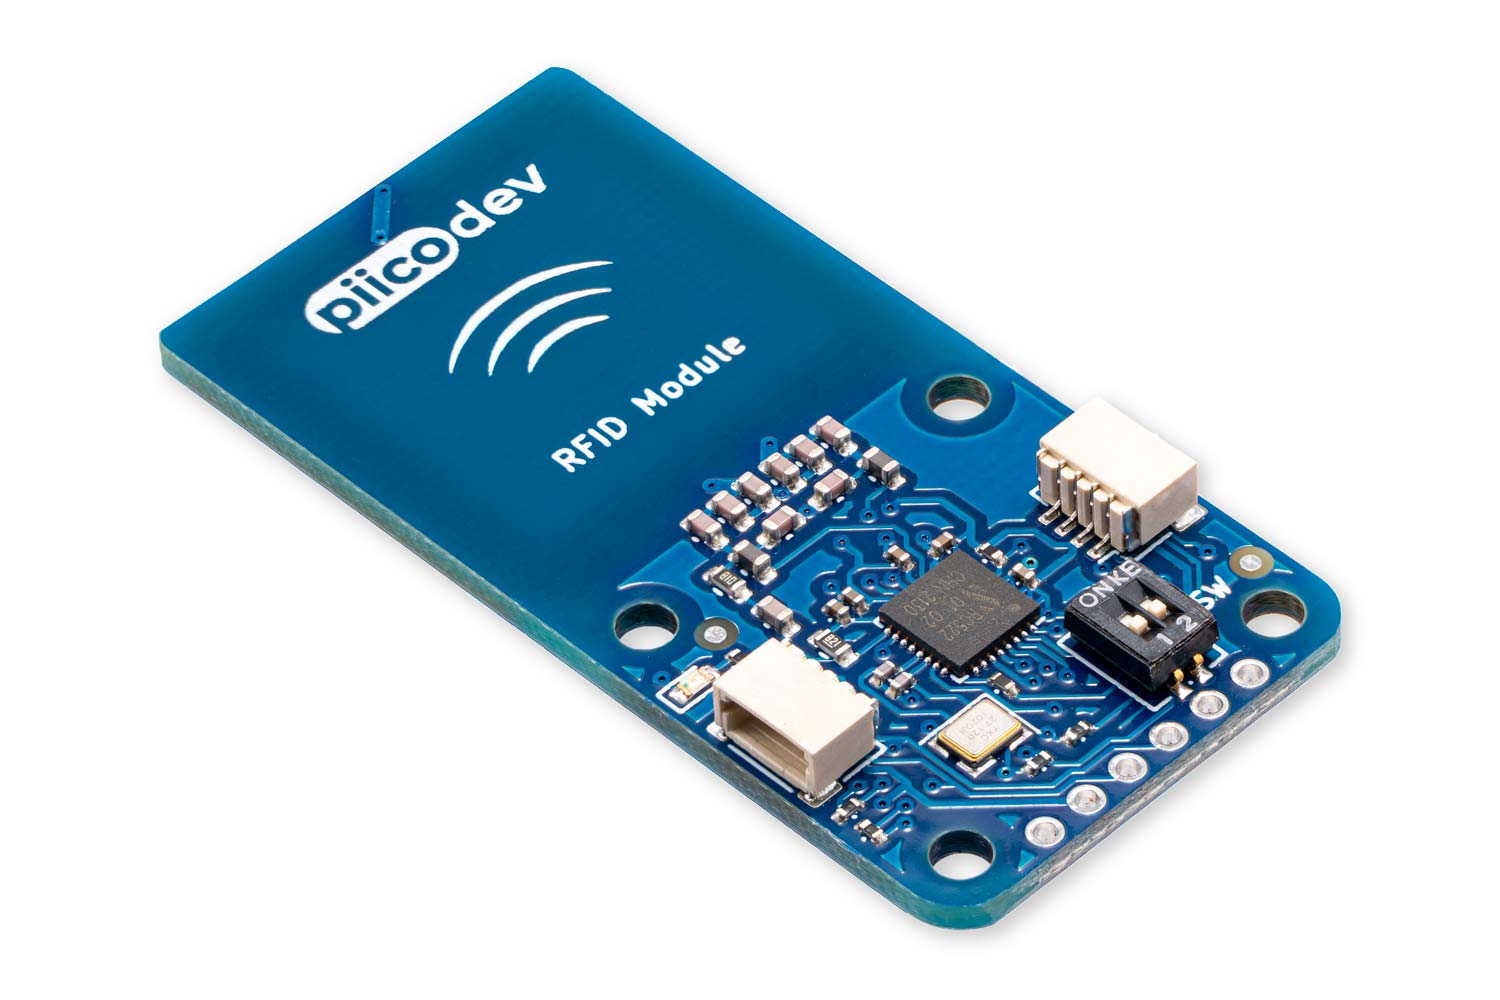
PiicoDev RFID Module (NFC 13.56MHz)
Brand: PiicoDev
Read (and write) RFID/NFC tags with this compact module.
$11.45 AUD, inc GST
I2C Breakout Shield
Brand: Unexpected Maker
I2C Breakout shield for the TinyPICO & TinyS2...
$11.74 AUD, inc GST

PiicoDev Buzzer Module
Brand: PiicoDev
Play simple tones or even melodies - add an audible alert to your project.
$9.40 AUD, inc GST
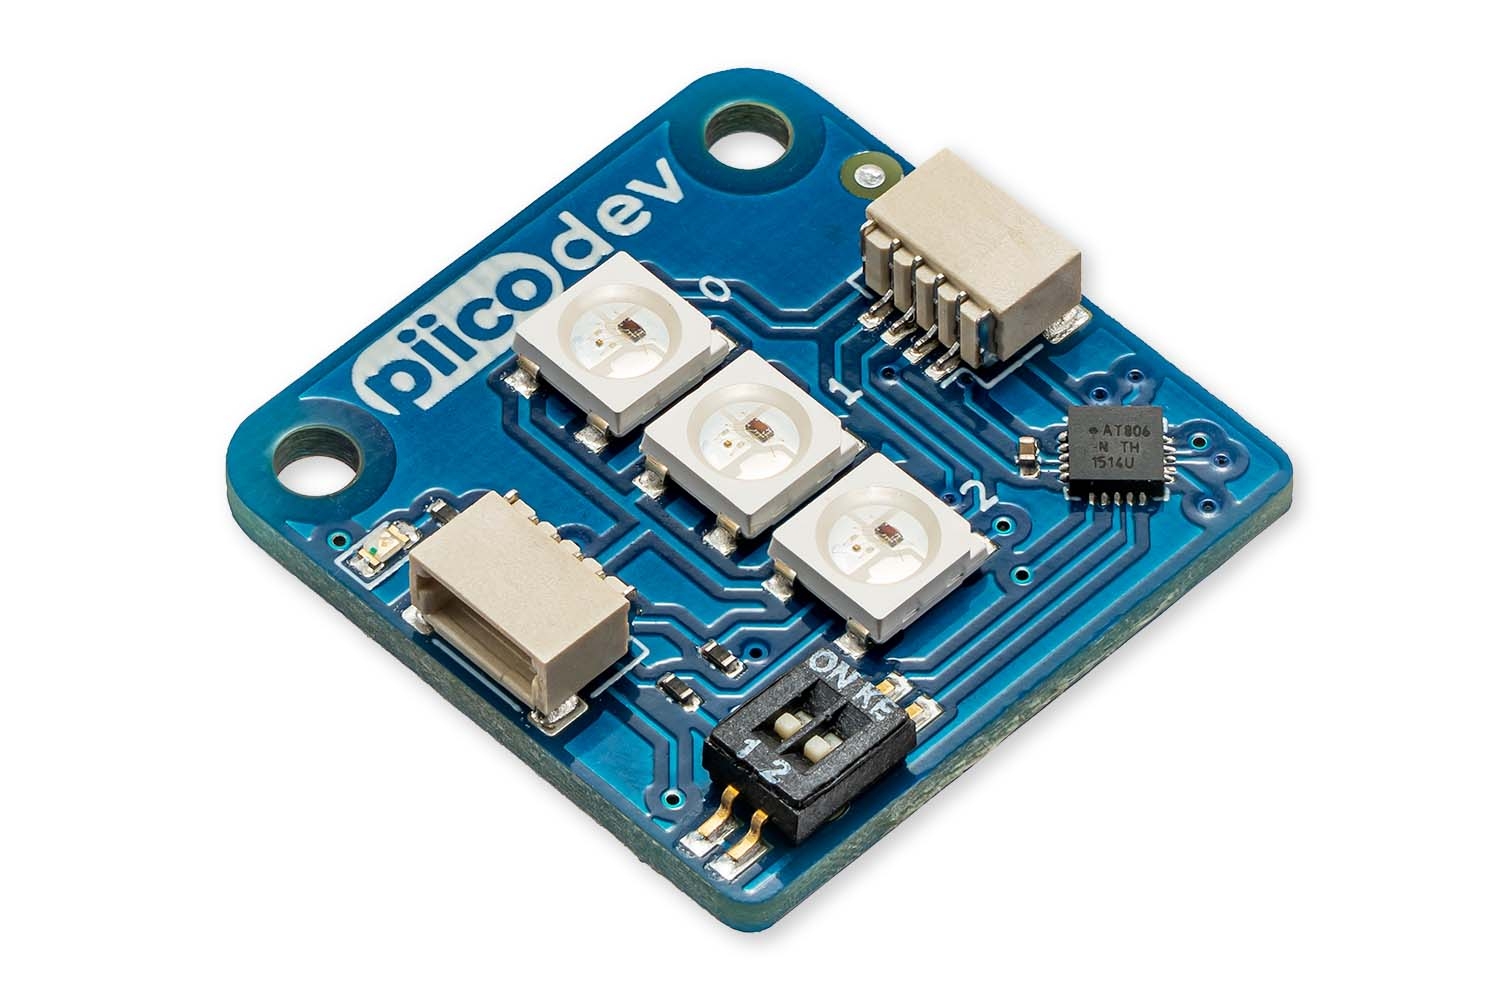
PiicoDev 3x RGB LED Module
Brand: PiicoDev
Add dazzle to your project with three individually controllable RGB LEDs.
$6.50 AUD, inc GST
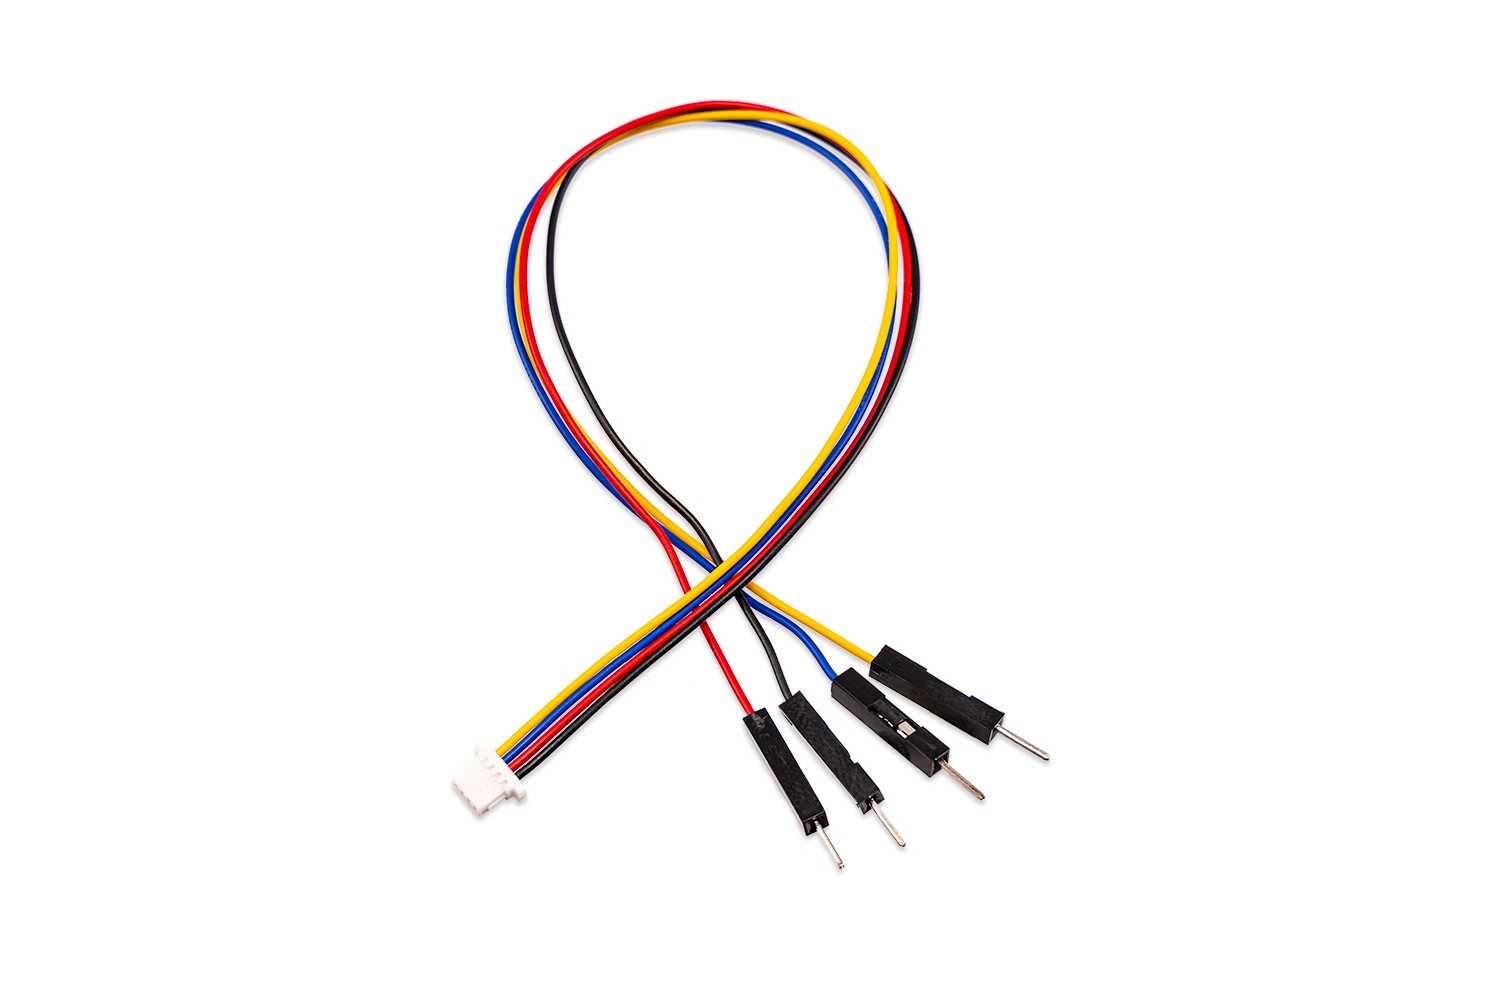
PiicoDev Prototyping Cable (Male) 200mm
Brand: PiicoDev
This 200mm cable breaks out the four wires in a PiicoDev cable for manual wiring to breadboards or development boards. It's a 4-wire harness with an SH connector on one end and four Dupont-style connectors on the other.
$0.95 AUD, inc GST
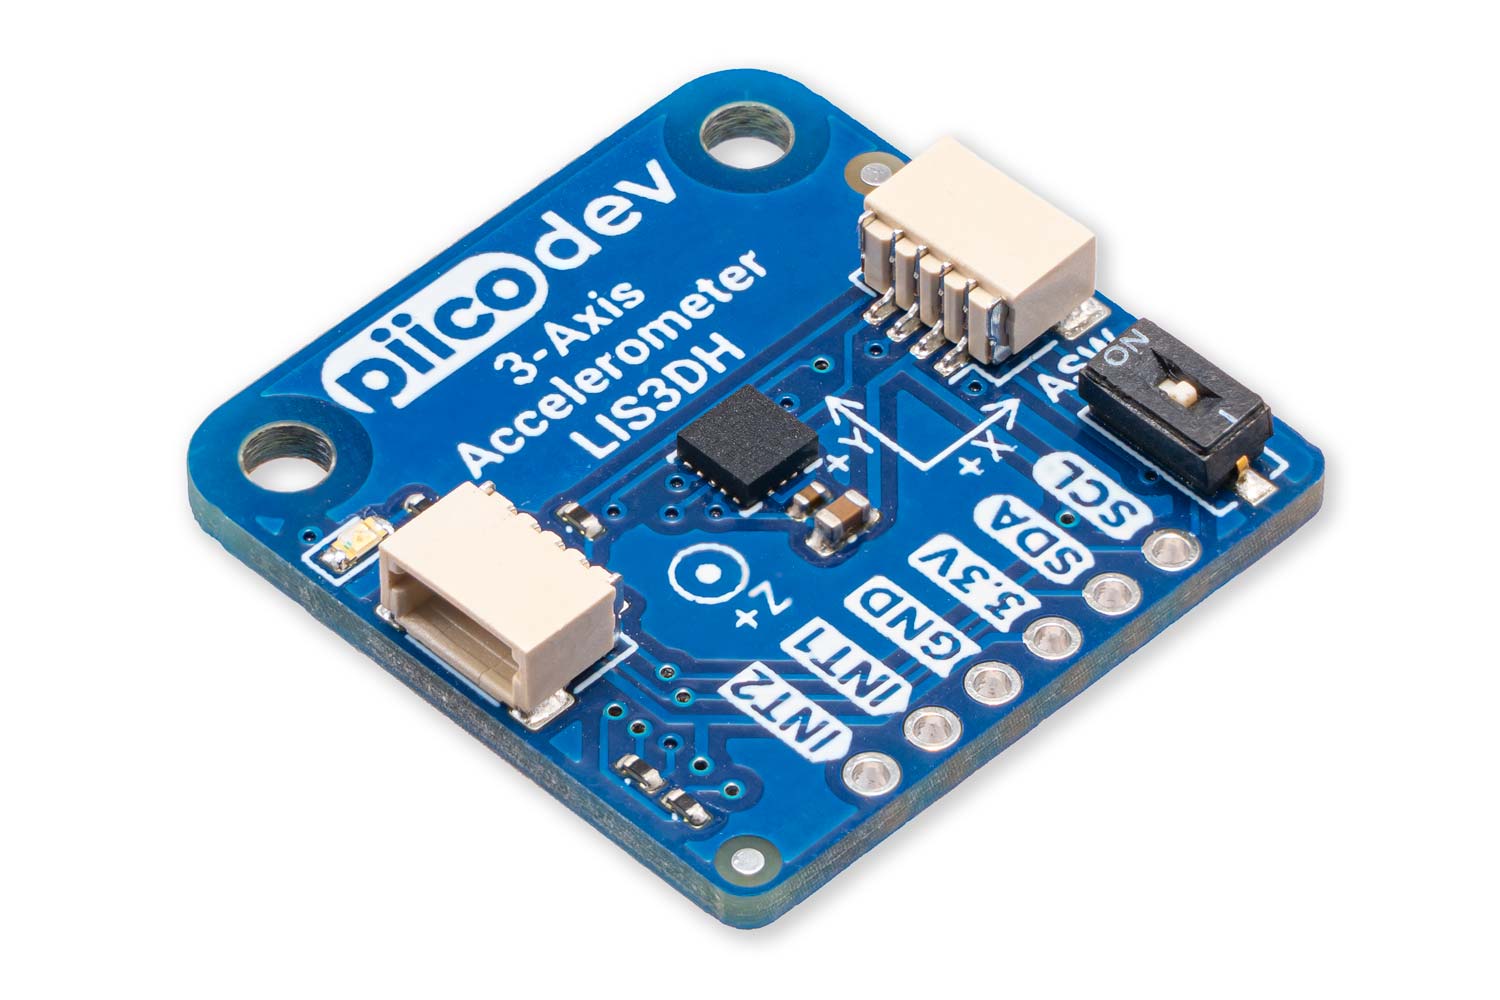
PiicoDev 3-Axis Accelerometer LIS3DH
Brand: PiicoDev
Measure tilt-angle, linear acceleration. Detect tapping and shaking.
$5.25 AUD, inc GST

PiicoDev Ambient Light Sensor VEML6030
Brand: PiicoDev
Measure the brightness of ambient light with a 16-bit sensor.
$9.35 AUD, inc GST
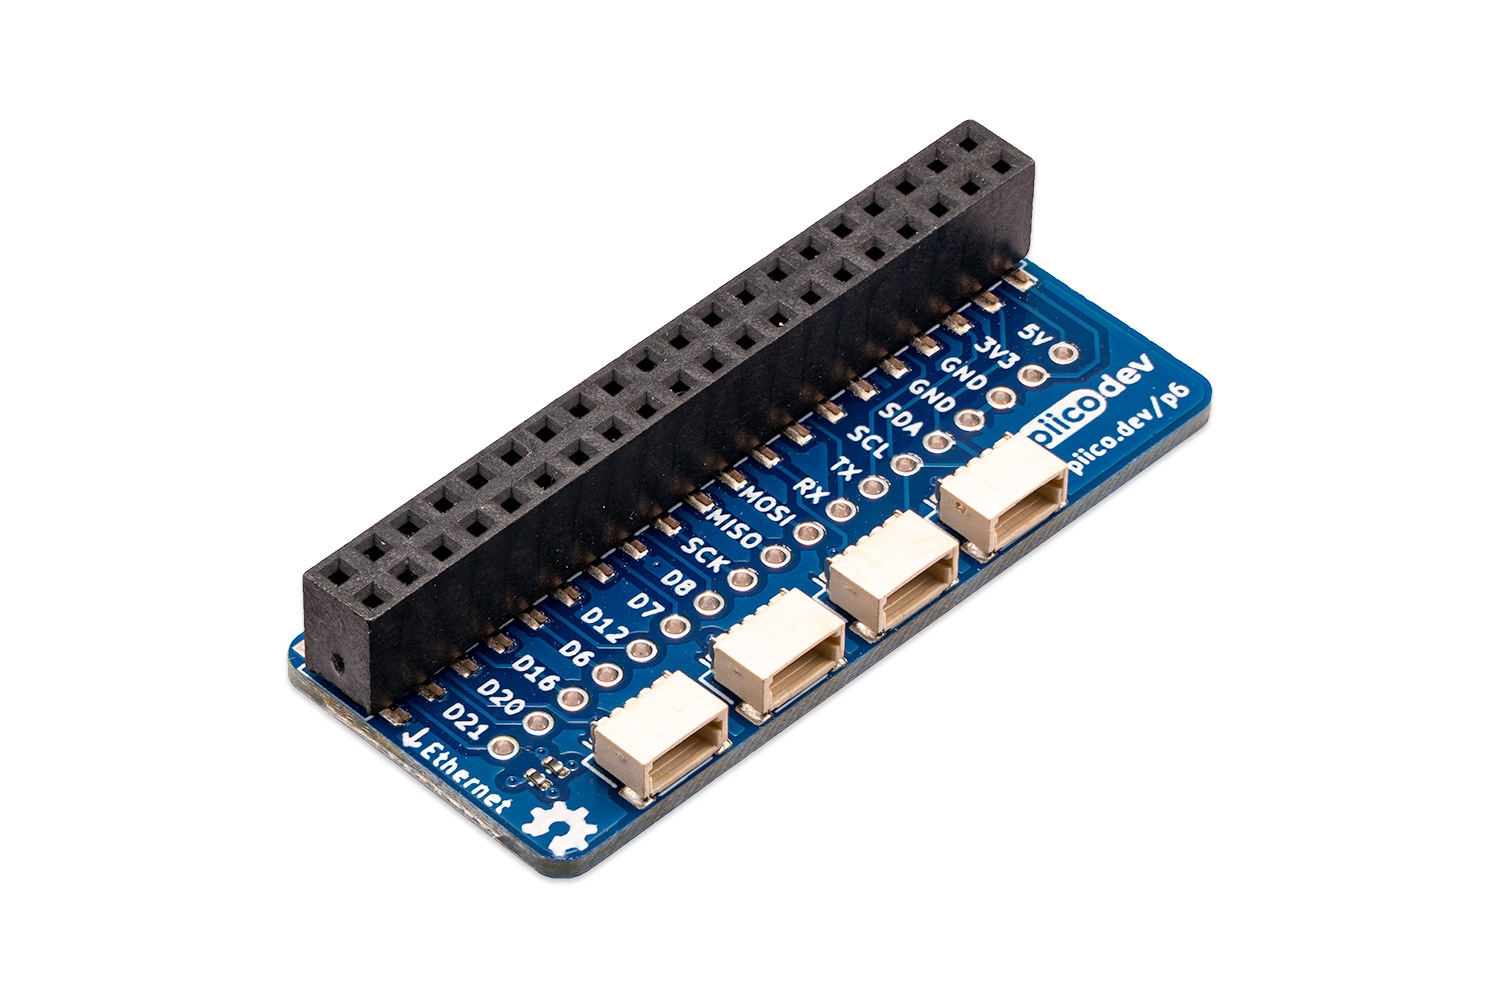
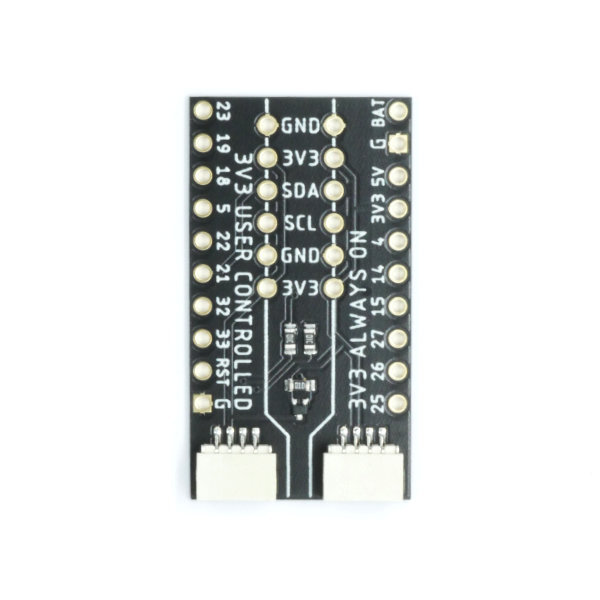
PiicoDev Adapter for Raspberry Pi
Brand: PiicoDev
The PiicoDev® Adapter for Raspberry Pi is a great way to connect sensors to your Raspberry Pi without soldering.
$4.05 AUD, inc GST
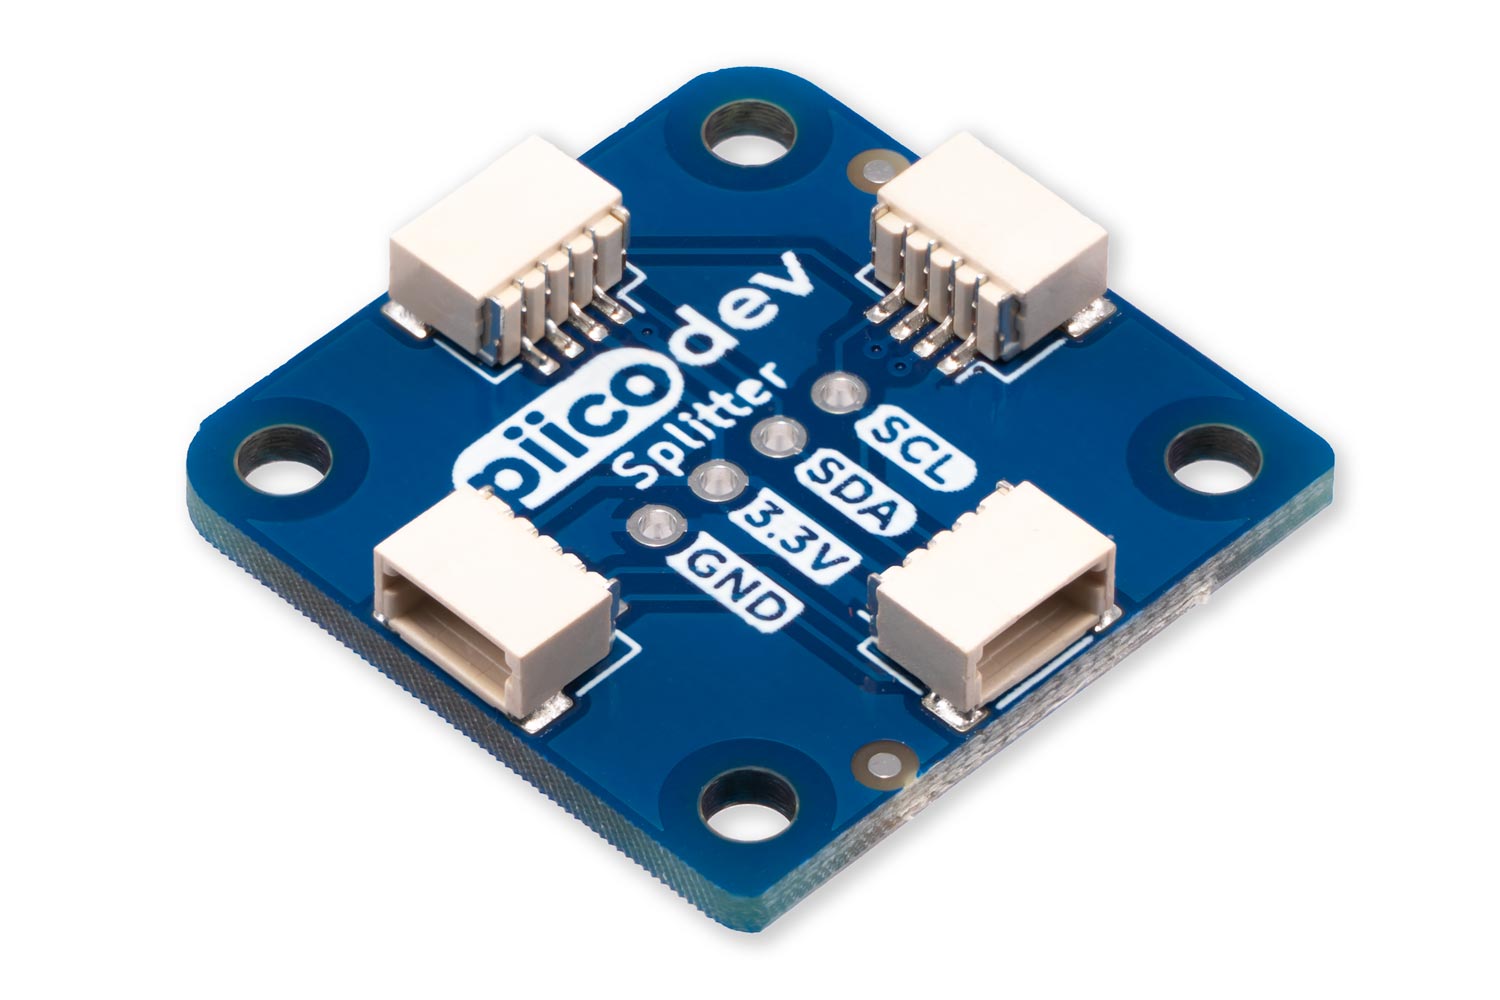
PiicoDev Splitter
Brand: PiicoDev
Split one PiicoDev Cable in three directions, or break out for soldered connections
$3.50 AUD, inc GST
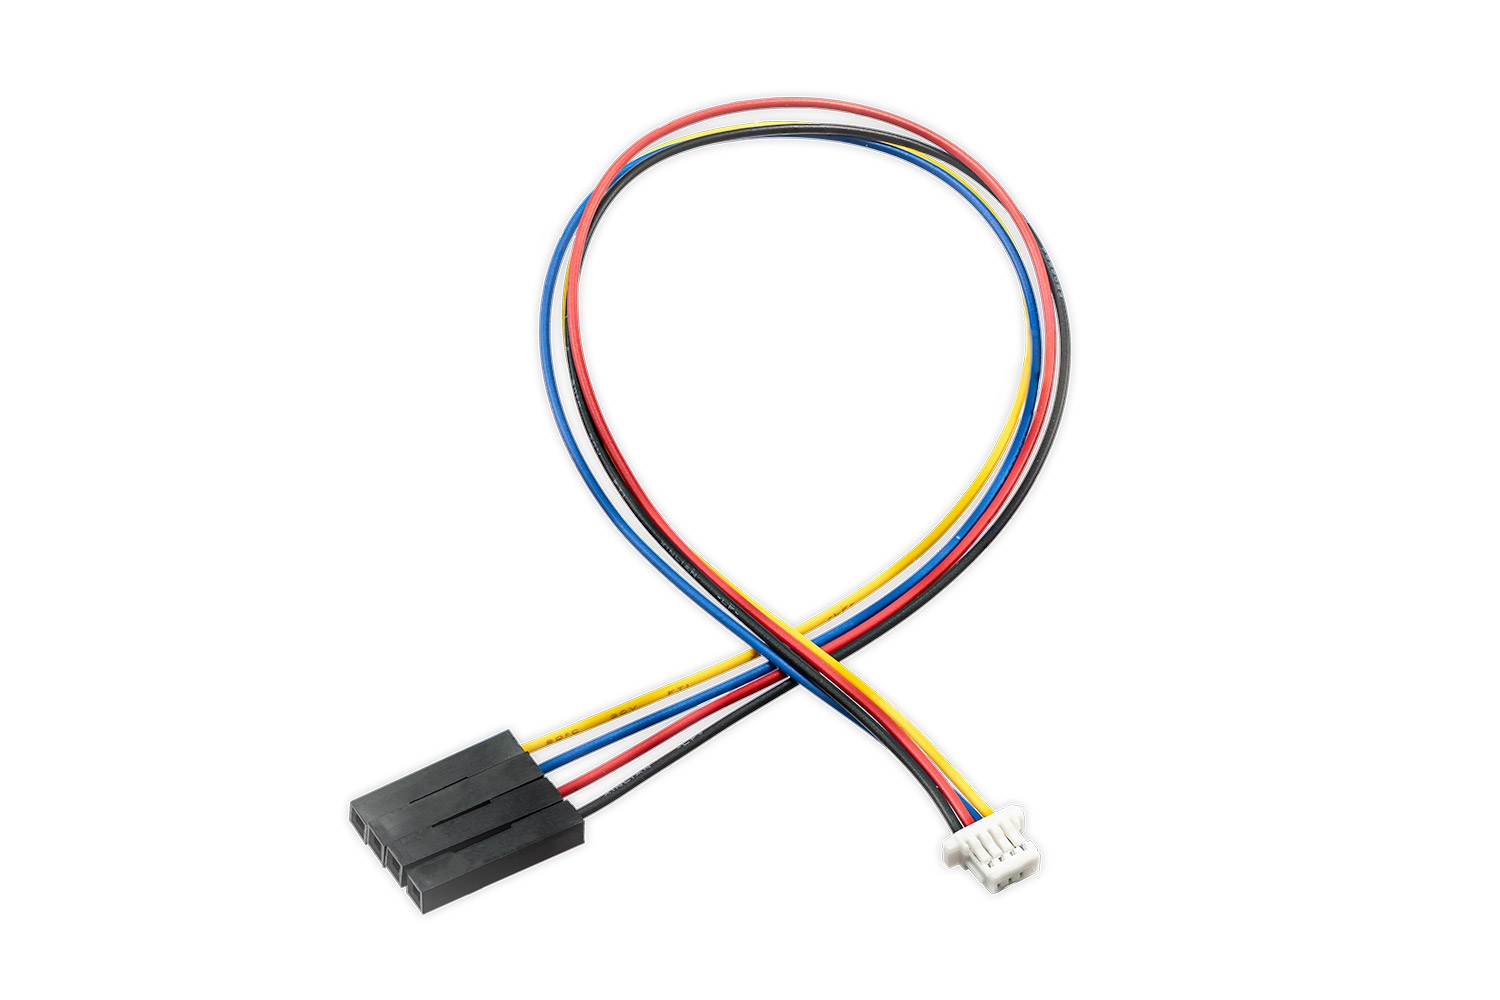
PiicoDev Prototyping Cable (Female) 200mm
Brand: PiicoDev
This 200mm cable breaks out the four wires in a PiicoDev cable for manual wiring to breadboards or development boards. It's a 4-wire harness with an SH connector on one end and four Dupont-style connectors on the other.
$2.70 AUD, inc GST

PiicoDev Adapter for Micro:bit
Brand: PiicoDev
Connect your Micro:bit with the outside world using PiicoDev® Adapter for Micro:bit. With this adapter you can experiment with sensors from the PiicoDev range giving your Micro:bit new sensing abilities.
$13.20 AUD, inc GST
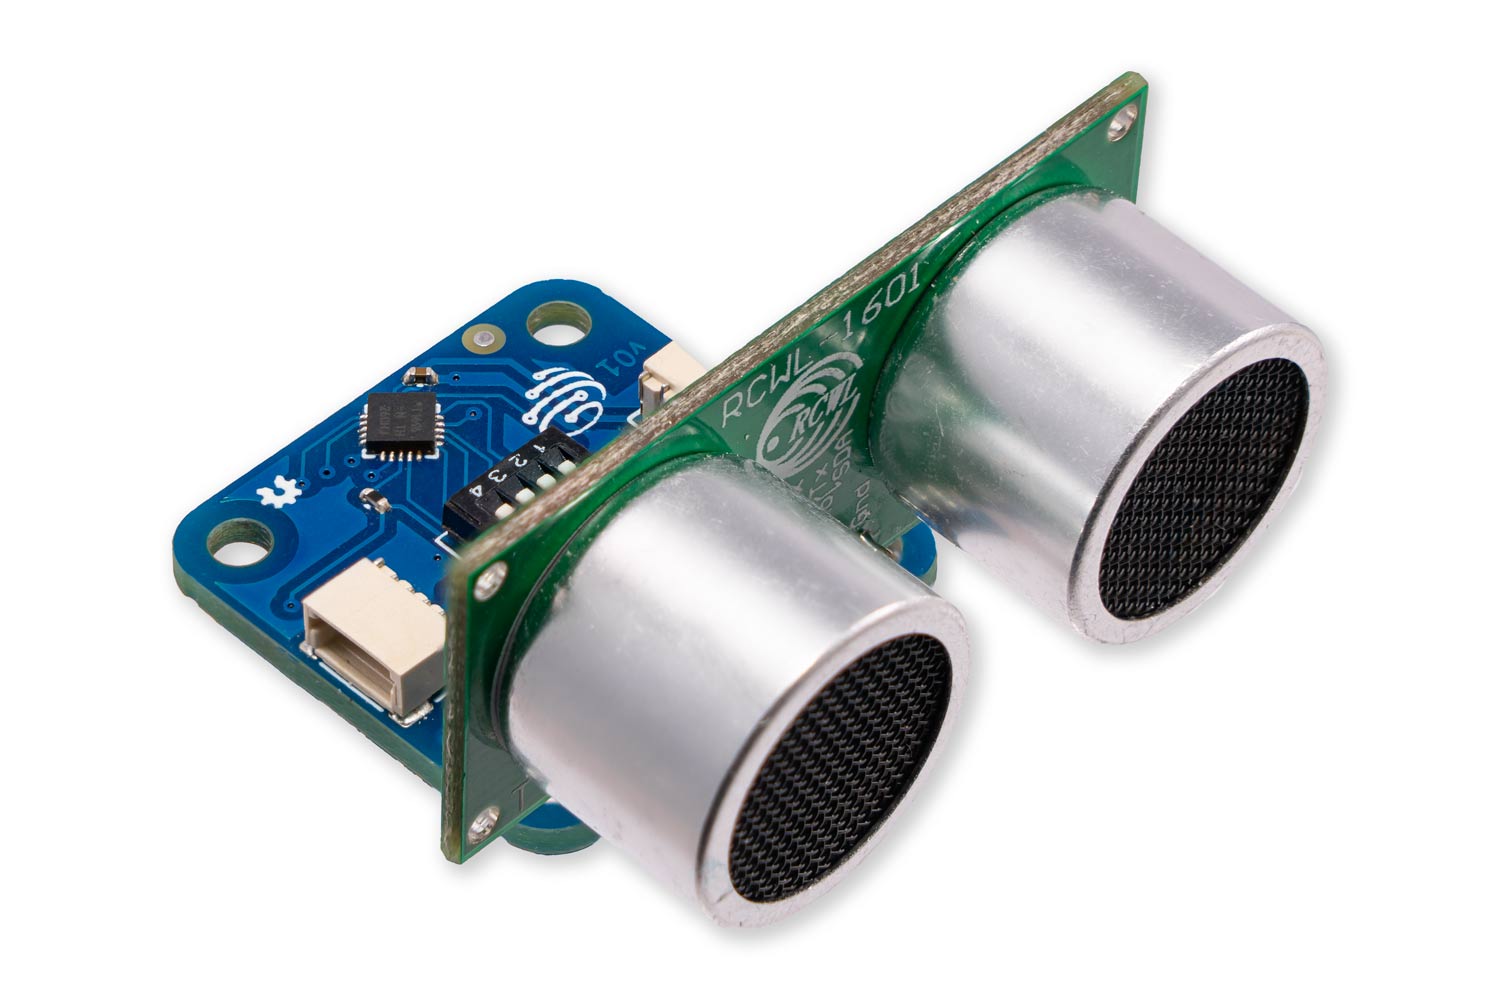
PiicoDev Ultrasonic Rangefinder
Brand: PiicoDev
Use echolocation to measure distance
$9.55 AUD, inc GST
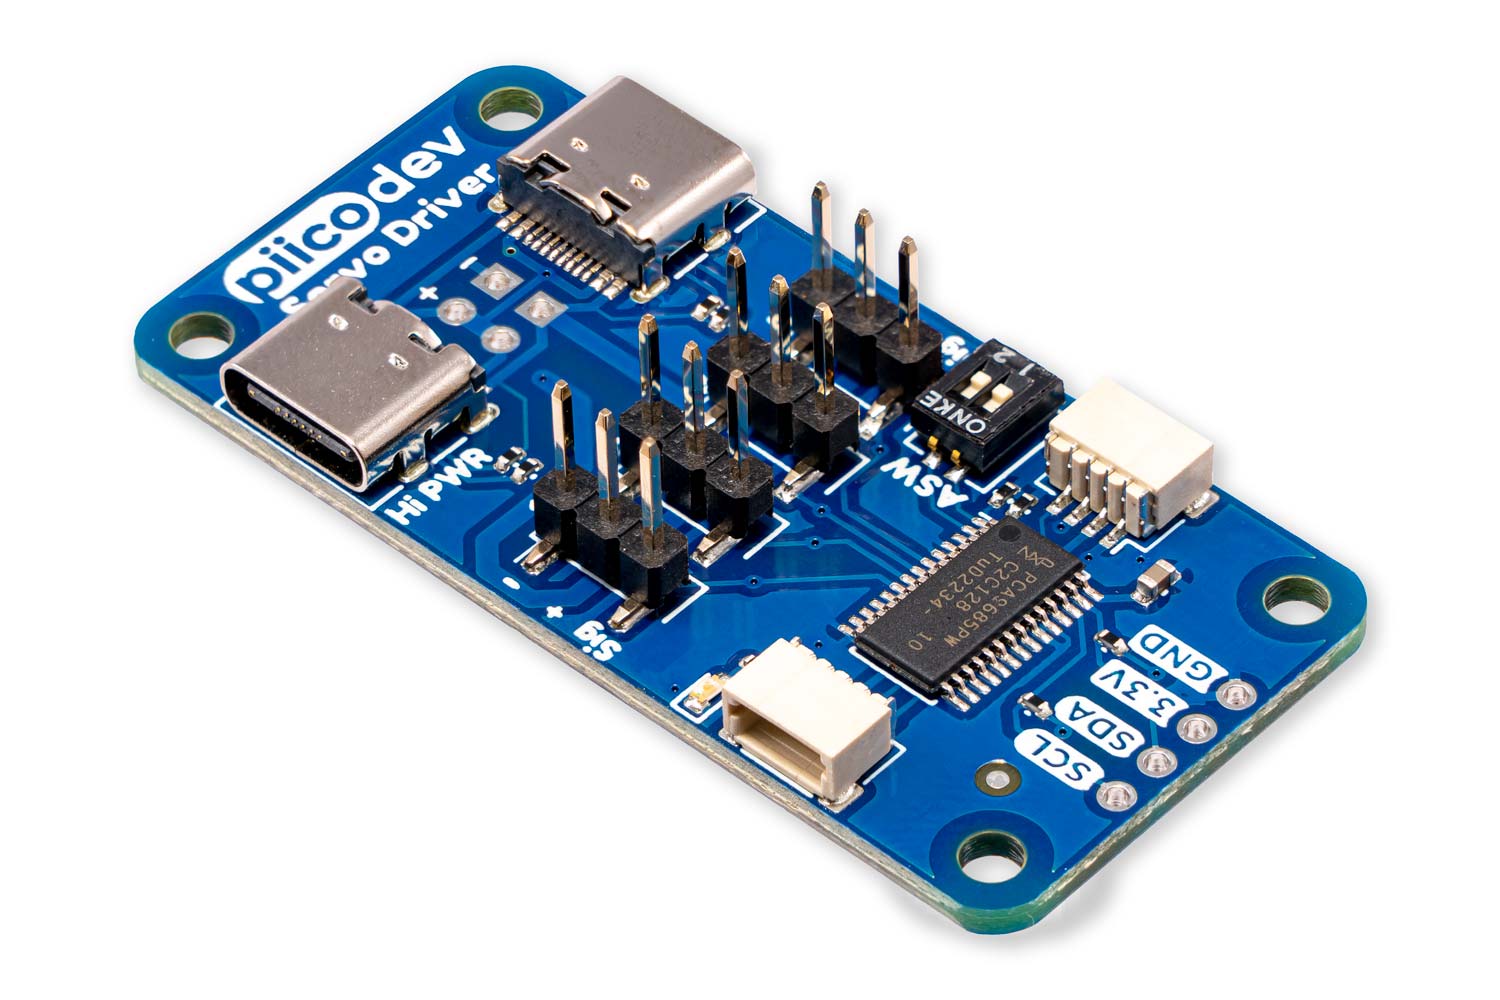
PiicoDev Servo Driver (4 Channel)
Brand: PiicoDev
Motion means exciting. Control up to 4 servos independently!
$14.65 AUD, inc GST

PiicoDev Buzzer Module v1.0
Brand: PiicoDev
Play simple tones or even melodies - add an audible alert to your project.
$7.50 AUD, inc GST
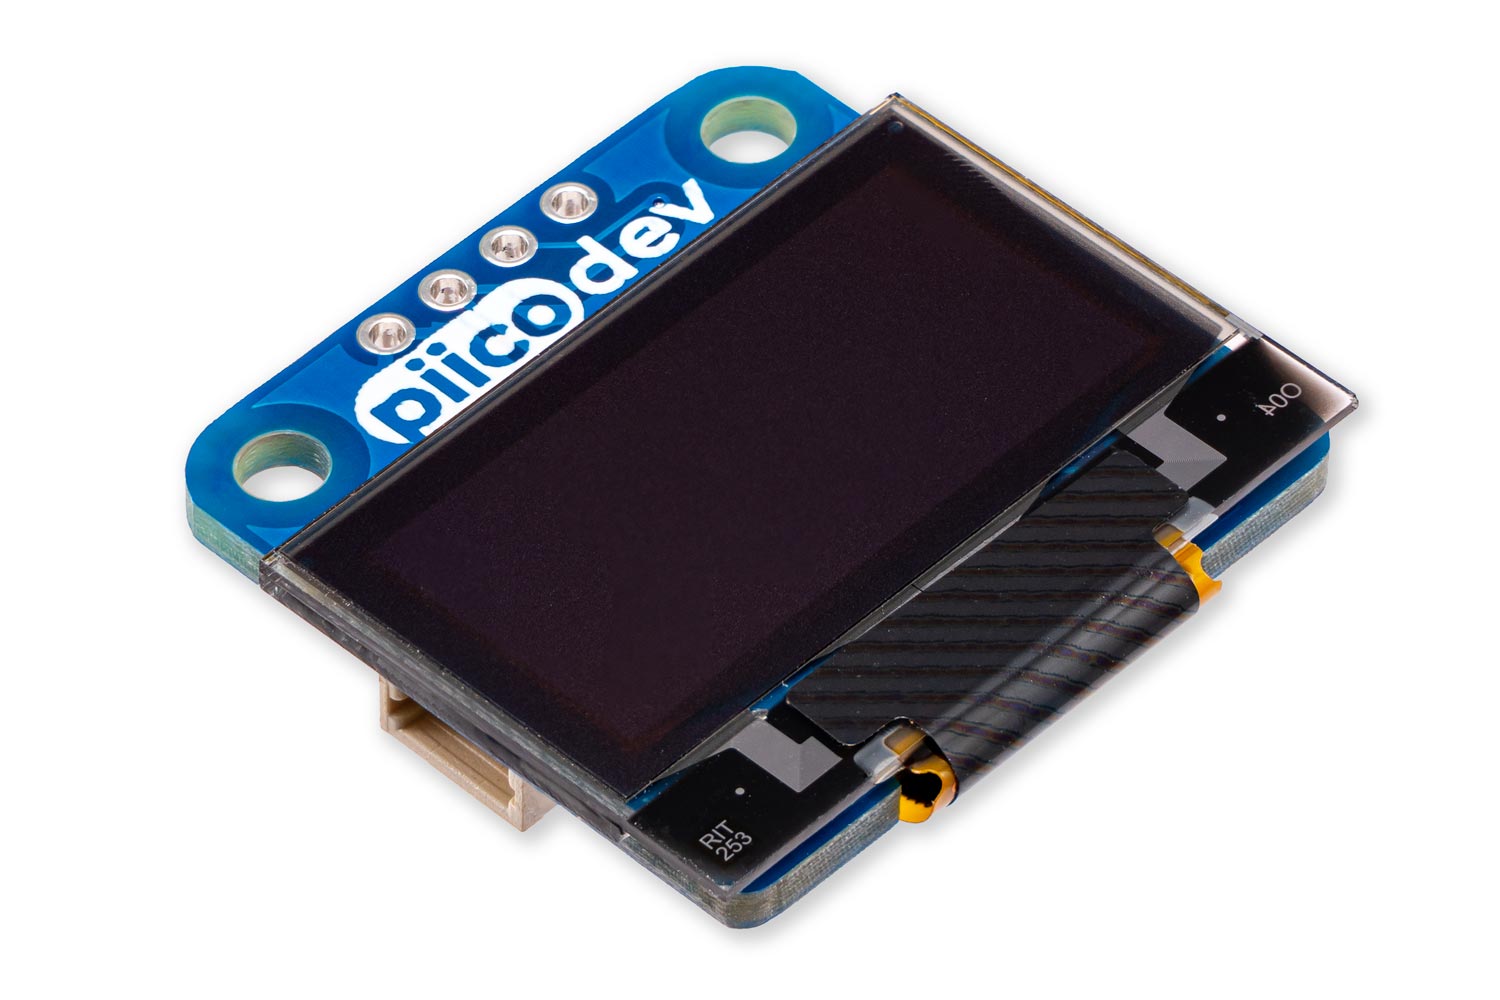
PiicoDev OLED Display Module (128x64) SSD1306
Brand: PiicoDev
Display text, draw shapes, animations, and even create plots.
$12.30 AUD, inc GST

Makers love reviews as much as you do, please follow this link to review the products you have purchased.