Mini PIR Sensor with Time and Sensitivity Control - BS612
Available with a lead time
Expect dispatch between Feb 02 and Feb 06
Quantity Discounts:
- 10+ $3.00 (exc GST)
- 50+ $2.94 (exc GST)
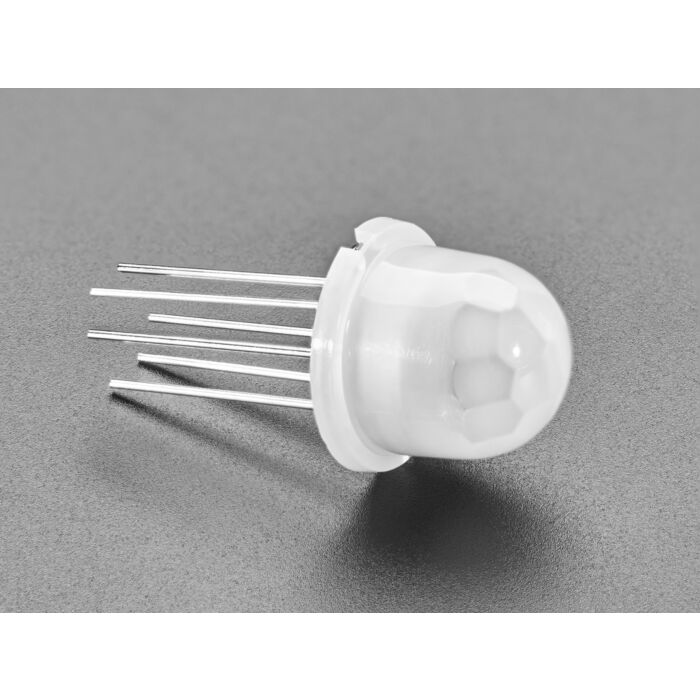
PIR sensors are used to detect motion from pets/humanoids from about 5 meters away (possibly works on zombies, not guaranteed). This sensor is much smaller than most PIR modules, which makes it great for unobtrusive projects. It's also fully contained and very configurable. After you've provided power and ground, you can use the remaining 3 pins to configure whether the sensor is enabled (OEN), how sensitive the PIR should be to motion (SENS) and how long the output is active for (ON TIME). Even though there are 6 pins, the wires are flexible and long so the sensor is breadboard or perfboard friendly.
Runs on 3.3V power - so make sure if you're interfacing with an Arduino or other 5V chip, you power it from the 3V regulator. The digital signal output is 3.3V high/low.
You can change the length of time the signal pin stays high by connecting a resistor divider to the ONTIME pin, from 2 seconds (0V) up to one hour (VDD a.k.a. 3.3V) - see the datasheet 'TIME pin voltage range center' table for recommended resistor values.
You can also change the sensitivity of the PIR element by connecting a resistor divider to the SENS pin, from 0V (most sensitive) to VDD/3.3V (least sensitive) - see the datasheet 'SENS pin voltage' table for details.
To use, see the datasheet pin-out diagram:
- Connect pin #1 (SENSE) to ground (most sensitive)
- Connect pin #4 (OEN) to 3.3V to enable the output
- Connect pin #3 (VSS) to Ground
- Connect pin #4 (VDD) to 3.3V
- Check signal on pin #5 (REL)
- Connect pin #6 (ONTIME) to ground (on time of 2 seconds)
The snap-on lens is focused to 5 meters away with a 120-degree spread but should work from about 3 to 8 meters. These are smaller and less expensive than Adafruit's PIR modules, and you'll find the performance is OK but not as great as the larger modules, for example not having as wide of a range and taking longer to trigger.
For a PIR tutorial with CircuitPython and Arduino code examples and project ideas, check out our PIR sensor tutorial page!
The BS sensor window is 4mm x 3mm. We also carry the BL412 PIR sensor which has a larger sensing element (so it will be more sensitive) but does not have the extra configuration pins.
Technical Details
PIR sensors and the Raspberry Pi sometimes don't get along - if you're having false trigger reports, make sure the PIR Sensor is far away from the Pi


Exact shipping can be calculated on the view cart page (no login required).
Products that weigh more than 0.5 KG may cost more than what's shown (for example, test equipment, machines, >500mL liquids, etc).
We deliver Australia-wide with these options (depends on the final destination - you can get a quote on the view cart page):
- $3+ for Stamped Mail (typically 10+ business days, not tracked, only available on selected small items)
- $7+ for Standard Post (typically 6+ business days, tracked)
- $11+ for Express Post (typically 2+ business days, tracked)
- Pickup - Free! Only available to customers who live in the Newcastle region (must order online and only pickup after we email to notify you the order is ready). Orders placed after 2PM may not be ready until the following business day.
Non-metro addresses in WA, NT, SA & TAS can take 2+ days in addition to the above information.
Some batteries (such as LiPo) can't be shipped by Air. During checkout, Express Post and International Methods will not be an option if you have that type of battery in your shopping cart.
International Orders - the following rates are for New Zealand and will vary for other countries:
- $12+ for Pack and Track (3+ days, tracked)
- $16+ for Express International (2-5 days, tracked)
If you order lots of gear, the postage amount will increase based on the weight of your order.
Our physical address (here's a PDF which includes other key business details):
40 Aruma Place
Cardiff
NSW, 2285
Australia
Take a look at our customer service page if you have other questions such as "do we do purchase orders" (yes!) or "are prices GST inclusive" (yes they are!). We're here to help - get in touch with us to talk shop.
Have a product question? We're here to help!
Videos
View AllGuides
The Maker Revolution
Getting Hands-on with Sensors
Projects
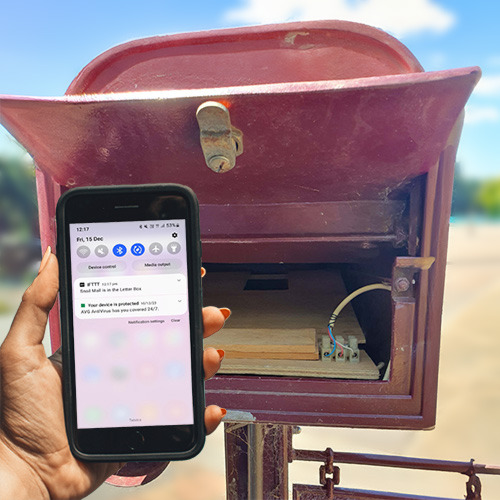
Mailbox Delivery Notification System
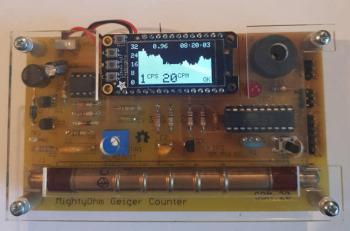
WhyzaGC - Feather ESP32 addon to the MightyOhm Gieger Counter
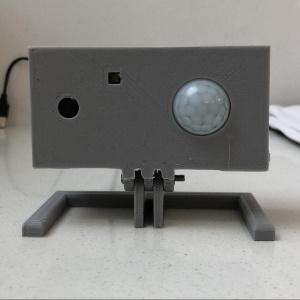
ESP32 IR-Triggered Camera with Home Assistant Integration
Makers love reviews as much as you do, please follow this link to review the products you have purchased.








Product Comments