
Robo Pico: Simplifying Robotics with Raspberry Pi Pico
A robotics base board for the Raspberry Pi Pico, packing a 2-channel DC motor driver, 4 servo ports, 7 Grove ports and a built-in LiPo charger - just plug in your Pico and start building.
Available with a lead time
Expect dispatch between Oct 28 and Nov 11
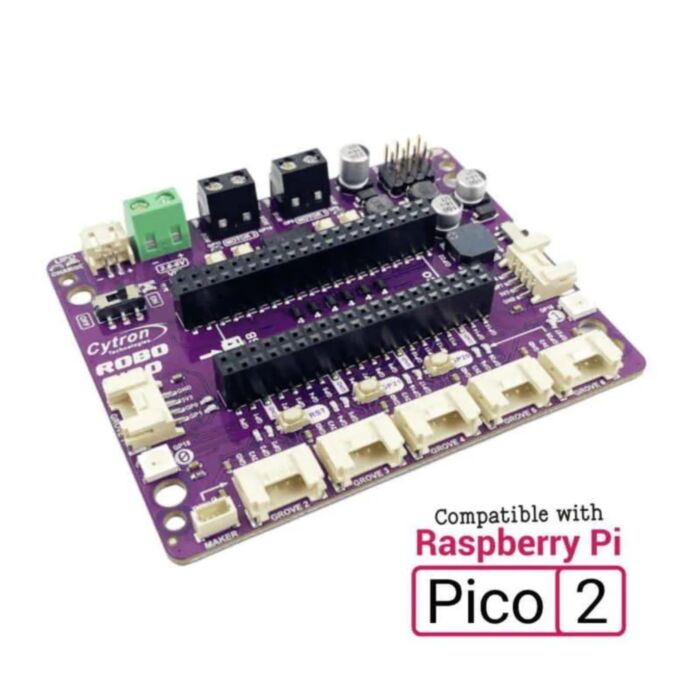
A robotics base board for the Raspberry Pi Pico. Pop your Pico into the socket, and you have a 2-channel DC motor driver, four servo ports, seven Grove ports, a buzzer, RGB LEDs and buttons ready to go, with no breadboard or jumper wiring needed. Compatible with the Raspberry Pi Pico 2, Pico and Pico W, and it can be programmed with CircuitPython, MicroPython or C/C++.
Please note: this is the Robo Pico board only. A Raspberry Pi Pico and USB cable are not included.
Motors, Servos and Power
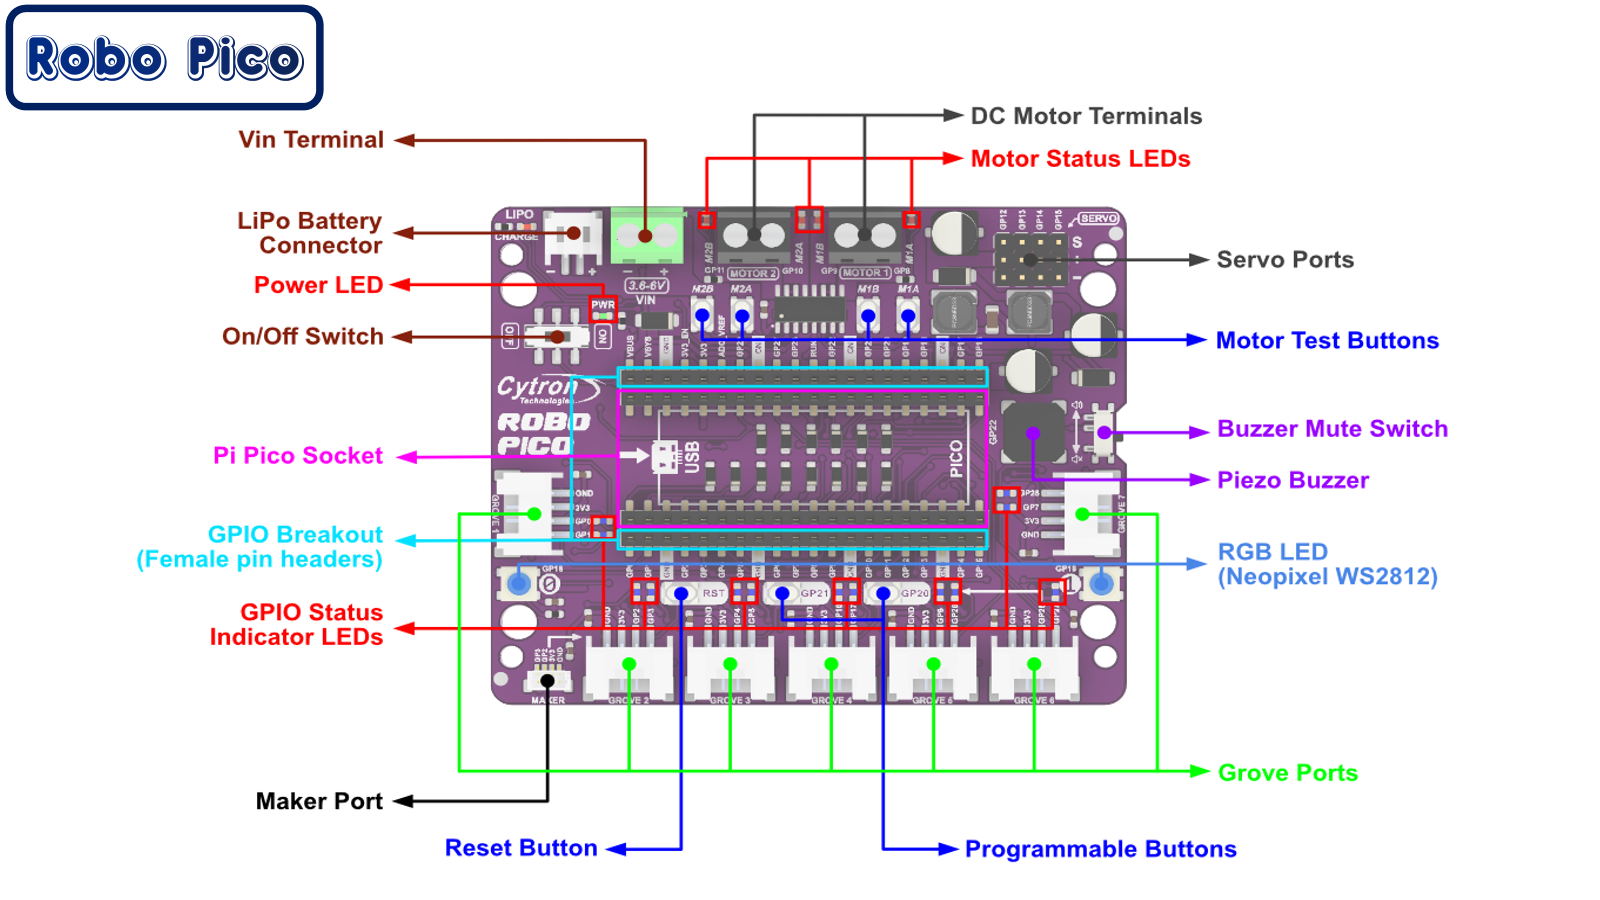
The onboard motor driver can run 2 brushed DC motors or a single bipolar/unipolar stepper motor. Each channel handles 1 A continuous and 1.5 A peak (for less than 5 seconds). Motor test buttons let you spin each motor forward or backward at full speed without writing any code, and motor status LEDs show which way each channel is driving.
The board can be powered from any of the inputs, and uses the highest voltage one: the Pico's USB port, a single-cell LiPo/Li-Ion battery via the JST connector, or the VIN screw terminal (3.6-6 V). The built-in charger tops up a connected LiPo/Li-Ion battery through the Pico's USB port, with over-charge and over-discharge protection. An on/off switch cuts power to the whole board, including the Pico.
-
Motor and servo supply voltage follows the input power source (when running from USB, expect around 0.4 V less than the USB voltage)
-
Connecting a LiPo and VIN at the same time is not recommended
-
If the board won't turn on with a battery connected, charge the battery to reset its protection circuit
Built-in Inputs, Outputs and Expansion
-
7x Grove ports for sensors and modules, supporting digital, analog, I2C, SPI and UART
-
1x Maker port (JST-SH 4-way), compatible with Qwiic, STEMMA QT and Grove (with a conversion cable); shares GP2/GP3 with Grove 2
-
2x NeoPixel-compatible RGB LEDs on GP18
-
2x programmable push buttons on GP20 and GP21
-
Piezo buzzer on GP22 with a mute switch
-
Reset button, so you can restart the Pico without unplugging power
-
13x status indicator LEDs for GPIO pins (per Cytron), each lighting when its pin is high
-
All Pico pins broken out on two 20-way female headers
-
Optional battery voltage sensing on GP28 (ADC2) by soldering the jumper on the back (reads VBAT/2; shares GP28 with Grove 7)
Board layout
Specifications
-
Compatible microcontrollers: Raspberry Pi Pico 2, Pico and Pico W (not included)
-
Power input (USB, LiPo or VIN): 3.6-6 V
-
Power sources: Pico USB, single-cell LiPo/Li-Ion (JST connector) or VIN screw terminal
-
Built-in 1-cell LiPo/Li-Ion charger (charges via the Pico USB port)
-
Motor driver: 2 channels, brushed DC
-
Motor current per channel: 1 A continuous, 1.5 A peak (less than 5 seconds)
-
Motor driver PWM frequency: 20 kHz max
-
Motor pins: M1A GP8, M1B GP9, M2A GP10, M2B GP11
-
Servo ports: 4x RC servo (3-pin), signals on GP12, GP13, GP14, GP15; servo power = supply voltage
-
Grove ports: 7x; total 3.3 V output current for Grove ports 300 mA max
-
Maker port: 1x JST-SH 4-way (PiicoDev / Qwiic / STEMMA QT compatible)
-
Mounting holes: 4x 4.8 mm and 4x M3 (3 mm)
-
Dimensions: 88 x 72 mm
Package Includes
-
1x Robo Pico
-
4x Grove to Female Header Cable
-
1x Transparent Phillips Head Screwdriver
-
1x Silicone Rubber Feet (Pack of 4)
Raspberry Pi Pico and USB cable not included.
Resources
Exact shipping can be calculated on the view cart page (no login required).
Products that weigh more than 0.5 KG may cost more than what's shown (for example, test equipment, machines, >500mL liquids, etc).
We deliver Australia-wide with these options (depends on the final destination - you can get a quote on the view cart page):
- $3+ for Stamped Mail (typically 10+ business days, not tracked, only available on selected small items)
- $7+ for Standard Post (typically 6+ business days, tracked)
- $11+ for Express Post (typically 2+ business days, tracked)
- Pickup - Free! Only available to customers who live in the Newcastle region (must order online and only pickup after we email to notify you the order is ready). Orders placed after 2PM may not be ready until the following business day.
Non-metro addresses in WA, NT, SA & TAS can take 2+ days in addition to the above information.
Some batteries (such as LiPo) can't be shipped by Air. During checkout, Express Post and International Methods will not be an option if you have that type of battery in your shopping cart.
International Orders - the following rates are for New Zealand and will vary for other countries:
- $12+ for Pack and Track (3+ days, tracked)
- $16+ for Express International (2-5 days, tracked)
If you order lots of gear, the postage amount will increase based on the weight of your order.
Our physical address (here's a PDF which includes other key business details):
40 Aruma Place
Cardiff
NSW, 2285
Australia
Take a look at our customer service page if you have other questions such as "do we do purchase orders" (yes!) or "are prices GST inclusive" (yes they are!). We're here to help - get in touch with us to talk shop.
Have a product question? We're here to help!
 Nano Base Board (B) for Raspberry Pi Compute Module 4SKU: WS-21726 Brand: Waveshare
Everything your Compute Module 4 needs – Ethernet, HDMI, camera and display ...
- White I2C OLED display (SSD1306)SKU: CE09493 Brand: Core ElectronicsLooking for an OLED display to add to your DIY projects? Check out our White I2C ...
- APM81815 Step-Down Voltage Regulator Carrier (5V)SKU: POLOLU-5267 Brand: Pololu
A tiny buck regulator that turns up to 72 V into a steady 5 V at ~1.1 A, with ...
- ELECFREAKS micro:bit PU Robot Kit (Robot Only)SKU: CE11179 Brand: Elecfreaks
A joy-bringing little humanoid robot that walks, dances and can map a room on ...


Videos
View AllGuides
How to add GPS to a Raspberry Pi Pico | Get Real-Time Location in Your Project!
Raspberry Pi 5 Vs Raspberry Pi 4 Model B | Comparison & Benchmarking
Raspberry Pi 5 | Review, Performance & Benchmarks
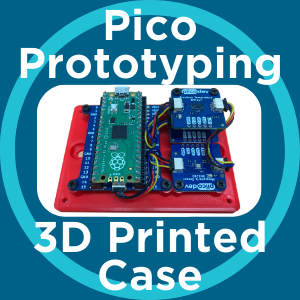
3D Printed Case For Raspberry Pi Pico and PiicoDev Boards
Projects
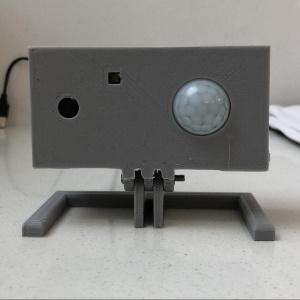
ESP32 IR-Triggered Camera with Home Assistant Integration

SOLARBOI

Rain Gauge Data Logger
Educational Workshops

Raspberry Pi Workshop for Beginners

Makers love reviews as much as you do, please follow this link to review the products you have purchased.
Product Comments