Ceramic 3D Printing, Now on Your Desktop
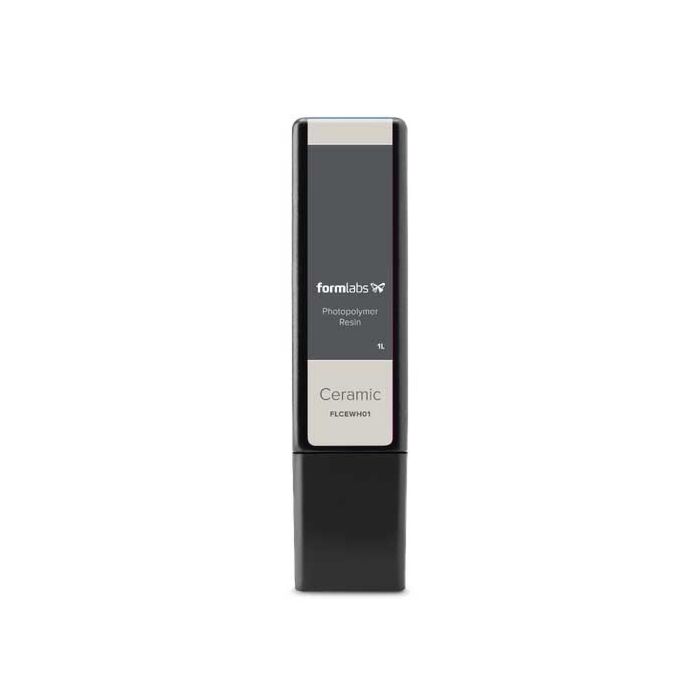
3D print parts with a stone-like finish and fire them to create a fully ceramic piece with Ceramic Resin, an experimental material that pushes what’s possible with the Form 3. Fabricate ceramic parts for engineering research, or create distinctive art and design pieces.
Rapidly Iterate in Ceramic Like Never BeforeFormlabs is excited to offer the first affordable ceramic 3D printing material for the world’s most popular desktop stereolithography (SLA) system. Be one of the first to work with a material at the forefront of SLA polymer development, previously only available in industrial and research environments at prohibitively high costs.. |
 |
 |
Unique Mechanical Properties, Advanced ApplicationsCeramic Resin is a silica-filled photopolymer. After firing, the photopolymer network burns out to form a true ceramic part. Fired parts have unique properties that can be leveraged for applications where fired part accuracy is not critical.
Download the Technical Data sheet |
 |
 |
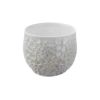
Cutting-Edge Technology Meets Art and DesignDigital artists and designers can use Ceramic Resin to fabricate complex geometries that wouldn’t be possible by hand. Pieces printed in Ceramic Resin can be fired and glazed to produce functional objects. |
 |
 |
Essential Steps for Firing SuccessCeramic Resin is a Form X product. This material is more complex to work with than other Formlabs products and requires extra steps and additional experimentation for successful printing. It may take a few iterations to create a final fired part that meets your specifications. Make sure to read the Usage Guide in full before using this material.
|
 |
 |
|
1. Design Ceramic Resin Requires designing within specific constraints for successful printing and firing. Start small, follow the usage guidelines, and experiment |
|
2. Prep Sand your build platform to increase print adherence, shake the cartridge to mix the material, and clear the bite valve. |
|
3. Print Scale your parts in PreForm to accommodate for shrinkage during firing. Send your design to the Form 2 and press print. |
|
4. Post-Process Wash your prints in isopropyl alcohol (IPA) and remove supports (no post-curing necessary). Ensure that parts are completely dry before firing. |
5. Fire Fire your part in an actively ventilated kiln that fires to at least cone 8 to burn out the photopolymer from the material and create a fully ceramic final part. Parts will shrink by around 15% in XY and 29% in Z during firing. |
6. Glaze If desired, apply a glaze of your choosing, following the manufacturer’s instructions. |
Downloads
Guides
The Maker Revolution
Projects
Raspberry Pi Cyberdeck (SDR Edition)
Pico-Dog Motion Activated Audio Alarm
WaveJumper: Music Sample Slicer on a Breadboard
Makers love reviews as much as you do, please follow this link to review the products you have purchased.






Product Comments