Connecting your Pycom Lopy4 or another LoRaWAN device to The Things Network is the first step toward fully realized IoT fun! You’ve connected your device to TTN, you’ve decoded your payloads and now you can see all that data right there in the cloud so close you can almost touch it! In this tutorial, we will show you how to get that data out into the great beyond by using IFTT (short for If This Then That) and webhooks! We will walk you through how to get your data flowing from The Things Network, through IFTTT and into Adafruit.io or another MQTT server of your choice. For this tutorial, we will use Adafruit.io. You will need an account with The Things Network, IFTTT and Adafruit IO to complete this tutorial. They are all free, it will make things easier if you sign up for each before getting started.
The Things Network – TTN
First a word about our starting point, The Things Network or TTN for short. TTN is a free cloud service for the Internet of Things. It's community driven, and anyone can connect their LoRaWAN device to it if they have access to a gateway. If there are no gateways in your area then you can just make your own TTN Gateway Node or install a Gateway. Once you connect a device to the Lora network it will connect to any Lora gateway within range without needing any settings changed (Cool!). TTN will accept your data and even let you decode it, but you can’t DO anything with it on their interface. For that, you need to go elsewhere. If you haven’t gotten connected to TTN head over to our Getting Started on The Things Network Tutorial. If you need help decoding your payloads go to our Encoding and Decoding Payloads on The Things Network Tutorial.
IFTTT – (If This Then That)
IFTTT is a free to use applet service that is the bread and butter of many IoT projects. This is how you get all your separate apps and services talking to each other. Want to open your garage door whenever you speak the words “Open Sesame!” to your Google Assistant? This is where you start. We will be using IFTTT to pass our decoded payloads from TTN to Adafruit IO, where we can easily view it on a dashboard. We could pass this data to just about any MQTT server we want from here, or have it go to another service. Do you want to have the temperature readings from your Pycom Lopy4 Tweeted every hour? Totally possible.
Adafruit IO
Adafruit IO is a platform that allows you to stream, log, and easily interact with your data in the cloud. It is compatible with many devices, and its really a Maker’s go-to platform for fast developing and logging. There is a limitation on how many data points it can receive per minute, but the great thing is that when using a Lora device we should never even get close. In this tutorial, we will send data to Adafruit IO. What you do with it from there is up to you!
TTN Integrations
What we need to utilize to get the received data out into the world is an option on The Things Network called “Integrations”. You can see the Integrations option for the “Application Overview” screen in TTN.
Scroll down through the integrations options until you find IFTTT Maker.
At the Add Integration screen we need to:
- Create a Process ID – this can be anything you want, it’s a unique identifier for the IFTTT process
- Create an Event ID – this is what our event within IFTTT will be called, make something up!
- Key – we will get this from IFTTT soon
- Values- Here we type the name of our payload values that we will send. We can send up to three.
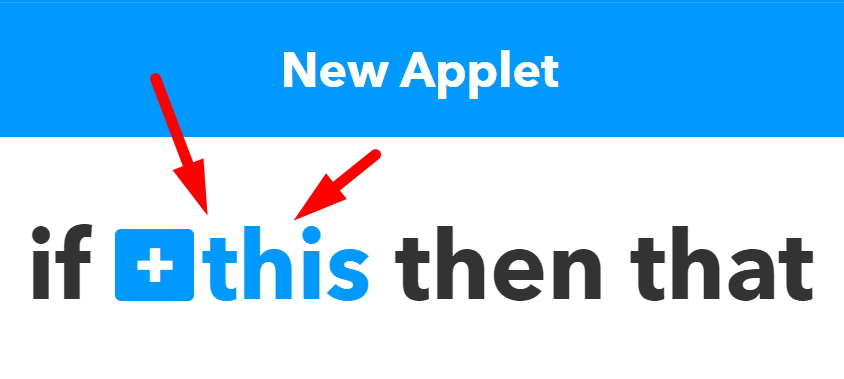
Now we need to open a second tab for IFTTT. Create an account, go to “My Applets” and select New Applet.
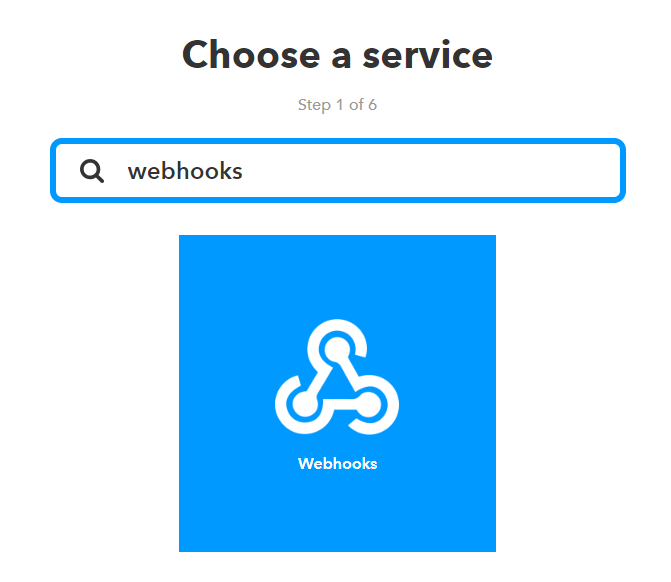
When prompted to choose a service type in and select “Webhooks”. When prompted select “Connect Webhooks”.
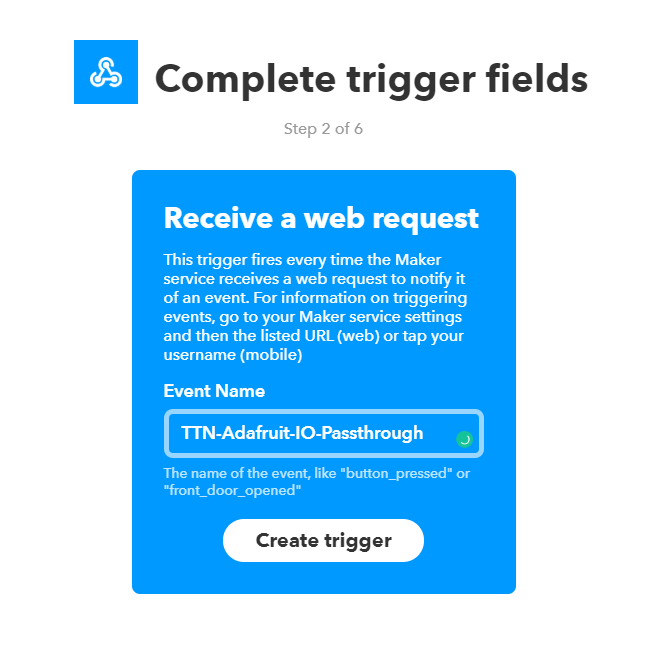
Choose the trigger “Receive a web request”. This will pass along the data from TTN every time a new payload is received. Its worth noting that you can use the Converter and Validator options to control what data is sent. For this example we are using the decoded value straight from the source, so every receive payload will be passed through the webhooks.
Next, we will complete the trigger fields. Enter in the event name that you made in TTN exactly.
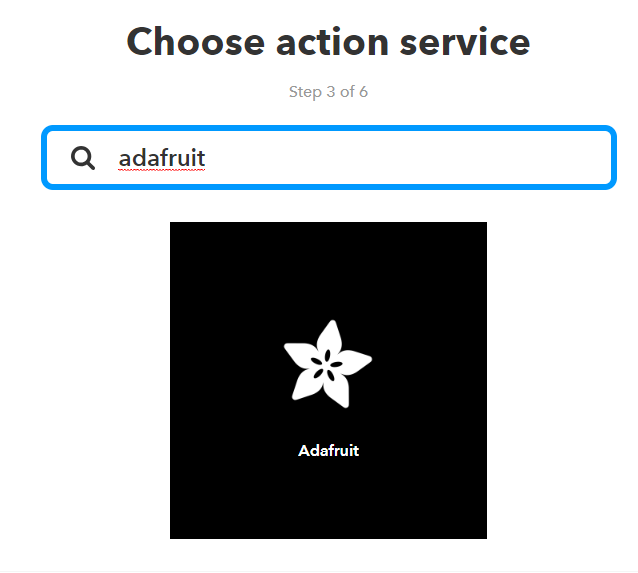
Now we need to select our “That”. Under the “Choose an Action Service” search for Adafruit.
You will be prompted to log-in to your Adafruit IO account, if you don’t have an account yet, create one before moving beyond this step. Log-in inside the popup window and scroll to the bottom of the page and select “Authorize”. Under choose action select “Send data to Adafruit IO”.
Select the Feed that you want to be populated with your data. If there is no option, go to Adafruit IO and create a feed then refresh this page. Under Data to save you can use the Add Ingredient button to choose what data is sent to Adafruit IO. We are only sending Value1, so we chose that option.
Now create the action and finish. You will probably want to turn off notifications.
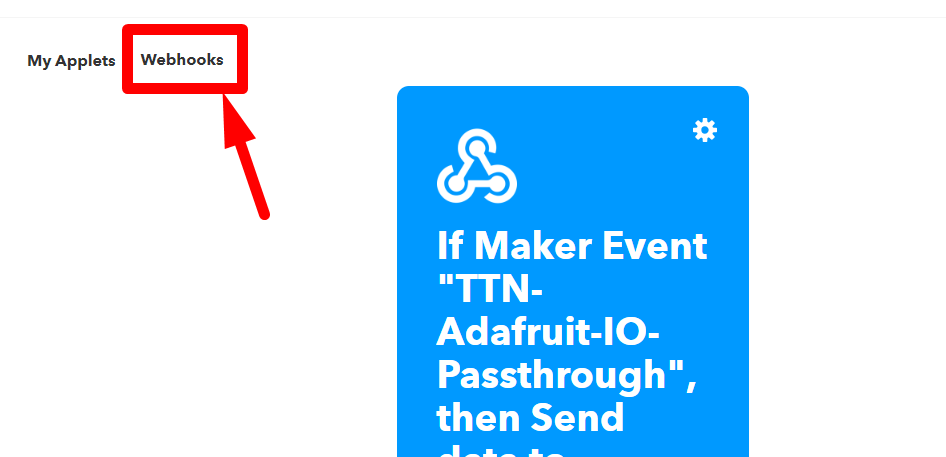
We are almost finished, our Applet is made but TTN isn’t sending data to it yet. For that, we need to find our unique Webhook key. You can find this by going into the webhooks page:
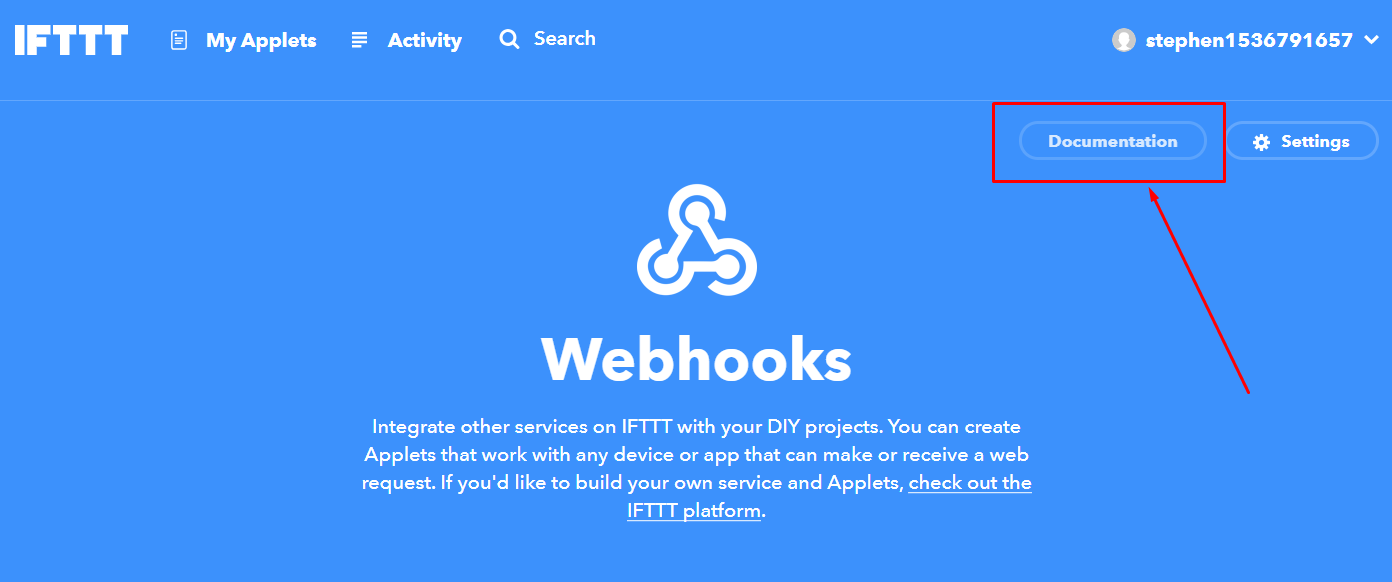
Then select Documentation:
At the top of the screen in Documentation, you will see your unique key. Copy this and paste it into the “Key” field in The Things Network Add Integration page.
Once you have pasted in your key into TTN, select “Add Integration” at the bottom right to save your changes.
Data Incoming!
You should now see your TTN data streaming into your Adafruit IO. Go to the feed that you selected in Adafruit IO and rejoice!
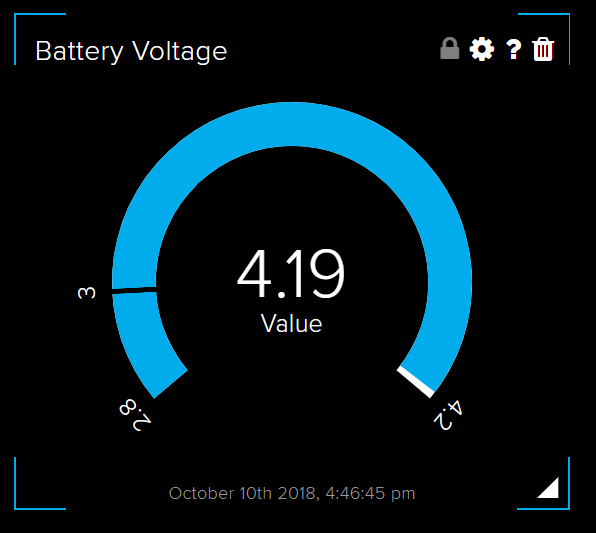
From here we can make this data usable by creating a Dashboard and using that data feed in blocks. You can easily plot your data or display it in gauges. It's up to you!
Congratulations! You’ve got your data out of The Things Network and into the GREAT BEYOND! You are not limited to just Adafruit IO, you can use this method to pass your data along just about anywhere on the web! For this tutorial, we used the Pycom Lopy4, cleverly mounted in the Pioneers Platform. If you want to learn how to connect your Lopy4 to TTN, just check out our Getting Started on The Things Network Tutorial. That is the code that we used to transmit battery voltage in THIS tutorial. To learn how to decode your payloads to make them usable go on over to our Encoding and Decoding Payloads on The Things Network Tutorial. If you want to learn more about IoT and Pycom, we have a whole category of tutorials devoted to both Pycom and IoT, so check them out!


