Monk Makes Charger Kit for micro:bit
Retired Product
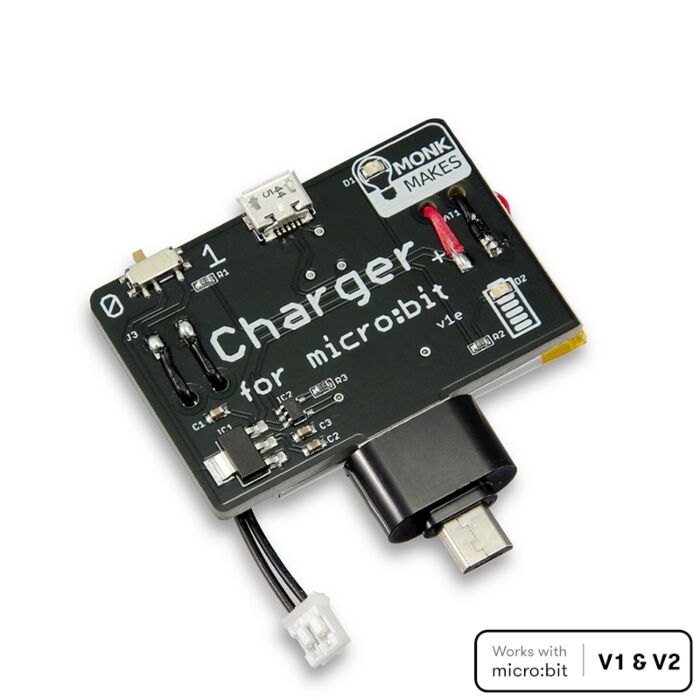
Search for an alternativeThe Charger for micro:bit contains a rechargeable battery, that will automatically charge whenever the device is plugged into a USB power source such as your computer. You can also flash programs onto your micro:bit through this connection. There is no need to take anything apart.
When the charger is fully charged (which should take about 3 hours from empty) a green LED on the charger will light. Note that you don’t have to fully charge the Charger before using it.
If you want to power the micro:bit from the Charger’s battery, then just unplug the USB lead to your computer and slide the switch on the Charger to the right (1-position).
When you have finished using your micro:bit on battery, then either plug it back into a USB power source to get it charging again, or turn the switch to off (0) to save the battery.
Features
- A fully charged Charger for micro:bit will power a micro:bit on its own for about 24 hours.
- Works with both the micro:bit V1 and micro:bit V2
- 180mAh battery Capacity
- Full charge indicator LED
- on/off switch
- Program and charge your micro:bit at the same time!
Assembly Instructions
Step 1. Check the Contents
Take the parts out of the box (contained in three bags) and check that you have everything.
You should have the following items:
- Acrylic pieces labelled 1 to 6
- Charger for micro:bit board with USB adapter fitted
- 4 x plastic nuts and bolts
Step 2. Put the Bolts Through the Base
Push the bolts through the back of the piece labelled 1. Its difficult to do this without bolts falling out as fast as you put them in. If you do it near the edge of your table, you can slide one corner of piece 1 over the edge of the desk at a time and push its bolt through.
Make sure that the piece is the right way around, with the engraved number 1 in the bottom left.
Step 3. Assemble the Layers
Place the acrylic pieces over the bolts as shown in the sequence below. You can tell that it is the right way around from the photo, and also by checking that the numbers engraved on the plastic are the correct way up.
 |
 |
 |
 |
Step 4. Connect USB
Connect your BBC micro:bit to the Charger for micro:bit’s USB plug.
If the USB plug won’t fit into the micro:bit’s USB socket make sure that the black USB adaptor hasn’t been put onto the Charger for micro:bit the wrong way around.
Step 5. Connect the JST Battery Connector
Flip the micro:bit and Charger over and plug the JST plug coming from the lead on the Charger for micro:bit into the JST ‘battery’ socket on the micro:bit. This will only connect one way around.
Step 6. Fit the micro:bit and Charger into Position
Place the connected micro:bit and Charger for micro:bit onto the acrylic assembly as shown below.
Step 7. Put on the Top Layer of Acrylic
Put the acrylic layer labeled 6 into place, with the square cut-outs over buttons A and B.
Step 8. Fit the Nuts
Place the nuts over the top of the screws and tighten them (finger tight).
You can if you like use a small screwdriver to hold the screws still while you tighten the nuts with your fingers.
Exact shipping can be calculated on the view cart page (no login required).
Products that weigh more than 0.5 KG may cost more than what's shown (for example, test equipment, machines, >500mL liquids, etc).
We deliver Australia-wide with these options (depends on the final destination - you can get a quote on the view cart page):
- $3+ for Stamped Mail (typically 10+ business days, not tracked, only available on selected small items)
- $7+ for Standard Post (typically 6+ business days, tracked)
- $11+ for Express Post (typically 2+ business days, tracked)
- Pickup - Free! Only available to customers who live in the Newcastle region (must order online and only pickup after we email to notify you the order is ready). Orders placed after 2PM may not be ready until the following business day.
Non-metro addresses in WA, NT, SA & TAS can take 2+ days in addition to the above information.
Some batteries (such as LiPo) can't be shipped by Air. During checkout, Express Post and International Methods will not be an option if you have that type of battery in your shopping cart.
International Orders - the following rates are for New Zealand and will vary for other countries:
- $12+ for Pack and Track (3+ days, tracked)
- $16+ for Express International (2-5 days, tracked)
If you order lots of gear, the postage amount will increase based on the weight of your order.
Our physical address (here's a PDF which includes other key business details):
40 Aruma Place
Cardiff
NSW, 2285
Australia
Take a look at our customer service page if you have other questions such as "do we do purchase orders" (yes!) or "are prices GST inclusive" (yes they are!). We're here to help - get in touch with us to talk shop.
Have a product question? We're here to help!
Guides
The Maker Revolution
Projects
Raspberry Pi Cyberdeck (SDR Edition)
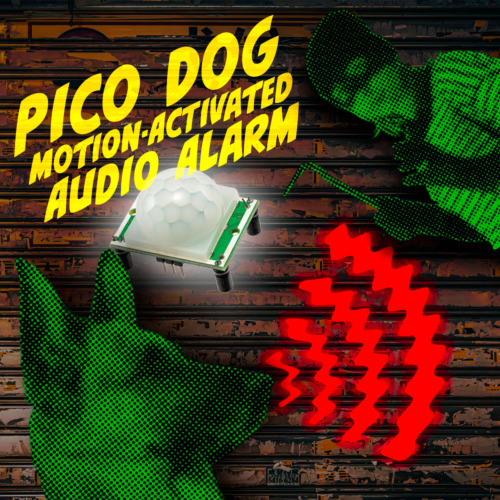
Pico-Dog Motion Activated Audio Alarm
WaveJumper: Music Sample Slicer on a Breadboard
Makers love reviews as much as you do, please follow this link to review the products you have purchased.







Product Comments