In this tutorial, we will learn how to set up the Onion Omega2/Omega2+ for the first time using the command line.
While the Omega2/2+ has a graphical setup wizard and a web-based GUI called the "Console," we have found both to be susceptible to bugs and drop-outs, especially when the wifi signal is weak or subject to interference. For this reason, we recommend that the graphical interface not be used.
To complete this guide you will require:
An Onion Omega2 Dock, such as:
- An Onion Omega2 dock, eg. Power Dock or Breadboard Dock. Here's a full list of available docks.
- A USB micro cable
- A Wi-Fi enabled computer, Windows, MacOS and Linux are all supported. Note: If you are using a Windows computer it helps to install Apple's Bonjour Print Service before you begin.
- A Wi-Fi network with a working internet connection.
Some people may run into problems with WiFi signal strength. The Omega2 uses a small chip-antenna which can really limit the range, especially during the setup procedure. However, the Omega also provides a socket for an external wifi antenna if you need more range. Here is an example of a suitable antenna.
If you do choose to use an antenna, you will want to keep the number of plugs and adapters as low as possible.
We also strongly recommend that you place your Omega2/2+ as close to your wifi router as possible for the entire setup process.
First, plug your Omega2 into the socket on your dock board.


Next, plug the USB-Micro cable into the USB-Micro socket on your dock board.

Plug the other end of the USB cable into any USB power source, this can be a computer, a USB wall charger or a USB battery pack. NOTE: The Omega2 itself is powered by 3.3V, the dock has an on-board regulator to safely convert the 5V supply from the USB cable down to the 3.3V the omega requires.
Slide the power switch(if present) on the dock to the ON position.

Note: The Arduino and Breadboard docks do not have power switches, they are powered as soon as the USB cable is plugged in.
Wait for the Onion Omega2 to boot. The amber LED on the Omega2 should turn on solidly then start blinking after about ten seconds. After a minute or so the LED will stop blinking and remain solid on. The Omage2 has now completed its boot sequence.

Before we continue we need to find your onion Omega2's name. Each Omega2 has a four character name found at the end of the white sticker on the Omega2s metal shield. These four characters are in BOLD at the end of a longer string of characters.

Before we proceed, we need to make sure we have an SSH client. If you're using Linux or MacOS then you're good to go. If you're using Windows, download and install Putty from here.
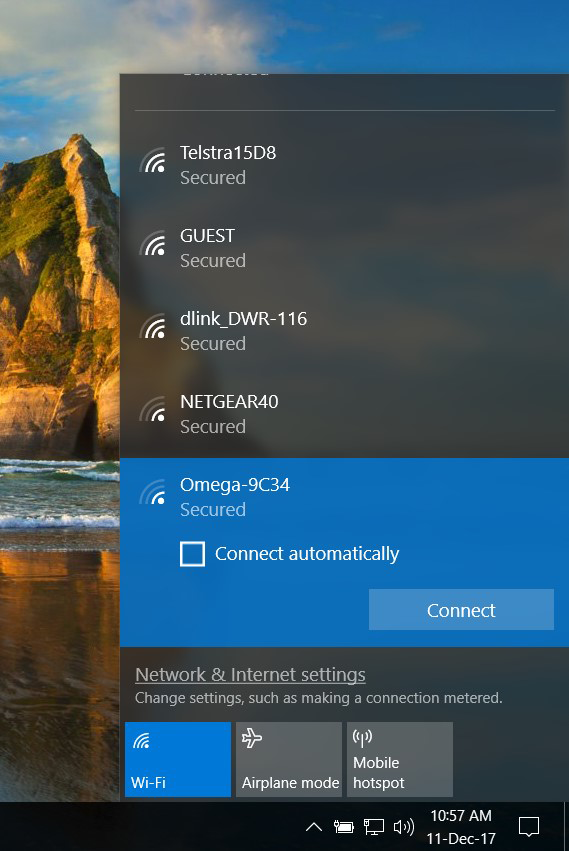
The Omega2 hosts its own Wi-Fi network and we need to connect our computer to it. The network name is Omega-XXXX, where XXXX is the four characters we found earlier. The default password is 12345678. Go ahead and connect your computer to this network.
Once we've connected to the Omega's WiFi network, we need to connect via SSH.
For those using Linux or Mac:
Open a terminal window and enter:
ssh [email protected]
You should then be asked for a password, the default password for the omega is:
Password: onioneer
For Windows users:
Open putty and select the SSH button.
Enter omega-xxxx.local and press OPEN.

After a short pause, a window will open and ask for a username and password, use:
Username: root
Password: onioneer
You should now see the BusyBox login. If you have trouble connecting, try using the 192.168.3.1 ip address instead of omega-xxxx.local. This is mandatory if you did not install bonjour for Windows.

Now that we have connected to the Onion Omega2, we need to tell it what WiFi network it should connect to. Type the following and press return:
wifisetup
Press 1) to scan for available wifi networks.
Choose the network which you wish to connect your Omega.
Enter the password for your WiFi. You will most likely be disconnected from the Omega WiFi at this point. Wait a minute, then reconnect and open a new SSH session.

Now we are ready to begin the firmware upgrade(if required). Enter the following command to begin the firmware upgrade:
oupgrade
DO NOT UNPLUG YOUR BOARD WHILE THE FIRMWARE UPGRADE IS IN PROGRESS!!
Once the firmware upgrade has completed the Omega will reboot. You can keep connecting via the Omega-XXXX WiFi network, however, you can also connect to it directly from your normal WiFi network. Just connect your PC to your normal WiFi and SSH into the omega-xxxx.local address.
And that's how you set up the Onion Omega2 using the command line. If you have any comments or questions please post a comment below or head over to our forum. We've got a full-time team of makers here at Core, and we're here to help. Happy Making!

