
Cute & Easy Desktop Power Supply for Casuals.
No matter what I do, every single time I want to make a circuit, it needs power! Gracious!
Instead of finding the right power supply from the draw, and some way of MacGyvering it to the right connector, let’s make one for the desk with some common VCC.
I didn’t need a real desktop power supply. Commercial Power supplies are flexible and have more features, but are big and expensive. I just need a way to get volts quickly and easily. I also want an “at a glance” amp meter. No touch screen, no settings, just “on and go”: small and boring to use.
So I made this!
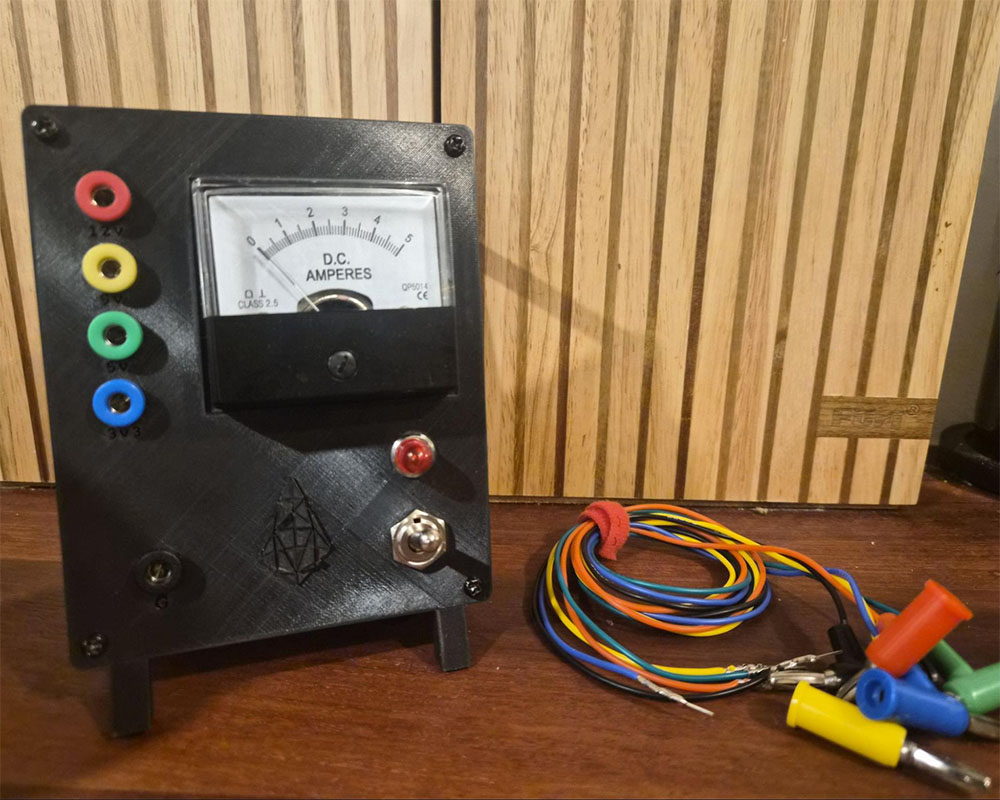
How does it work?
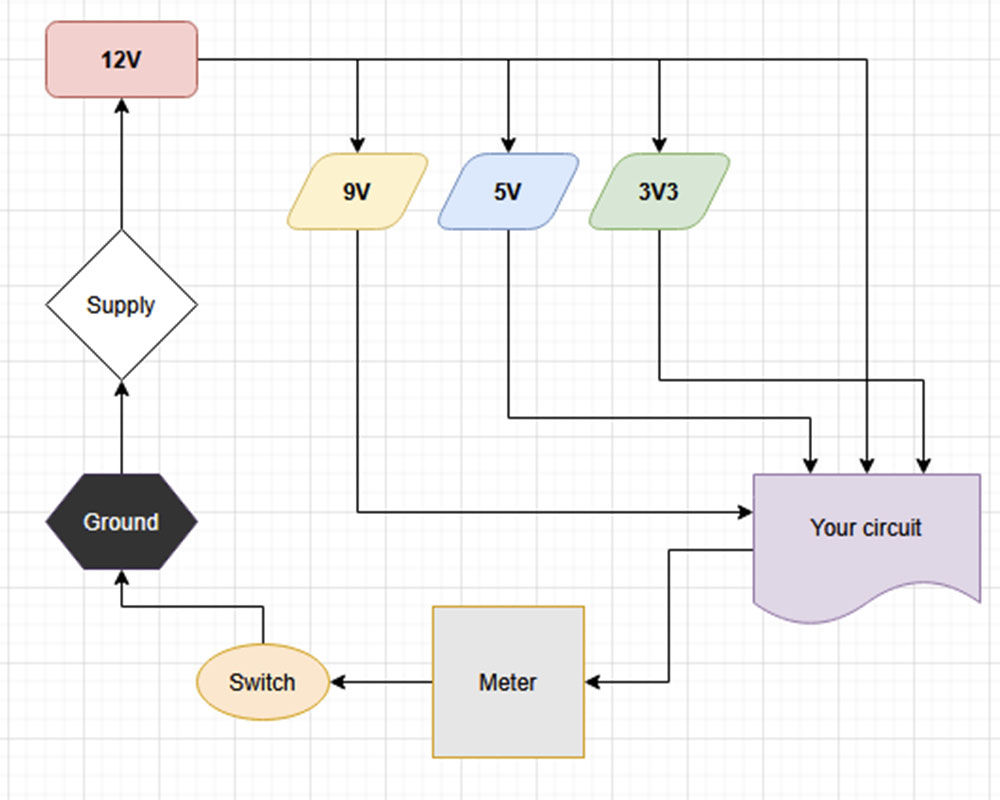
- 12V IN from an off-the-shelf power supply.
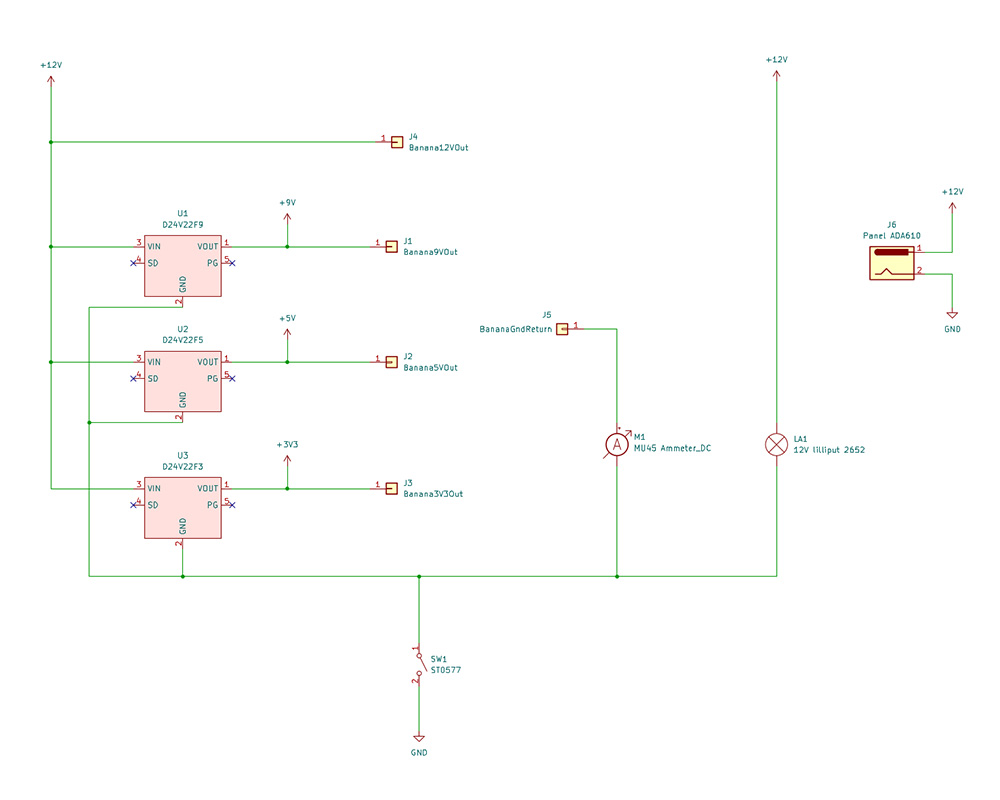
- The 12V passes through 9V, 5V, and 3V3 voltage regulators in parallel.
- OUTPUT the original 12V, and the three regulated supplies.
- Add a common ground with a meter and switch in series.
That’s it… That’s the whole thing. It’s all hand-wired and has a tiny footprint on the desk. Best of all, unlike all my previous projects, it is not over-engineered.
You just print the body and follow a schematic.
Stats
Each regulated voltage output, i.e. 3V3, 5V, & 9V, is spec'd up to 2amps of draw.
You can draw from multiple V-Outs at the same time, as long as the total amp draw of the entire circuit is under 5 amps. It does get hot inside at 4A+, but there should be plenty of air around the regulators to soak it up.
The 12V Out is just hooked to the power supply powering the Rats Nest, so technically, it has the same stats as that commercial power supply. 12V:5A (centre positive) is the minimum recommended (and in my opinion, the most useful). The regulators used can handle up to 36V, but if you intend on using that many watts, I think you should use thicker wire than 22awg.
As a rule of thumb, each regulator is ~90% efficient at 12V in.
e.g., If you’re drawing 2A from both the 5V and 3V3 lines, then you are drawing ~4.45A out of 5A from the 12V power supply at the back of the Rats Nest.
The power supply is spec’d so we can comfortably draw 1A from each voltage output simultaneously.
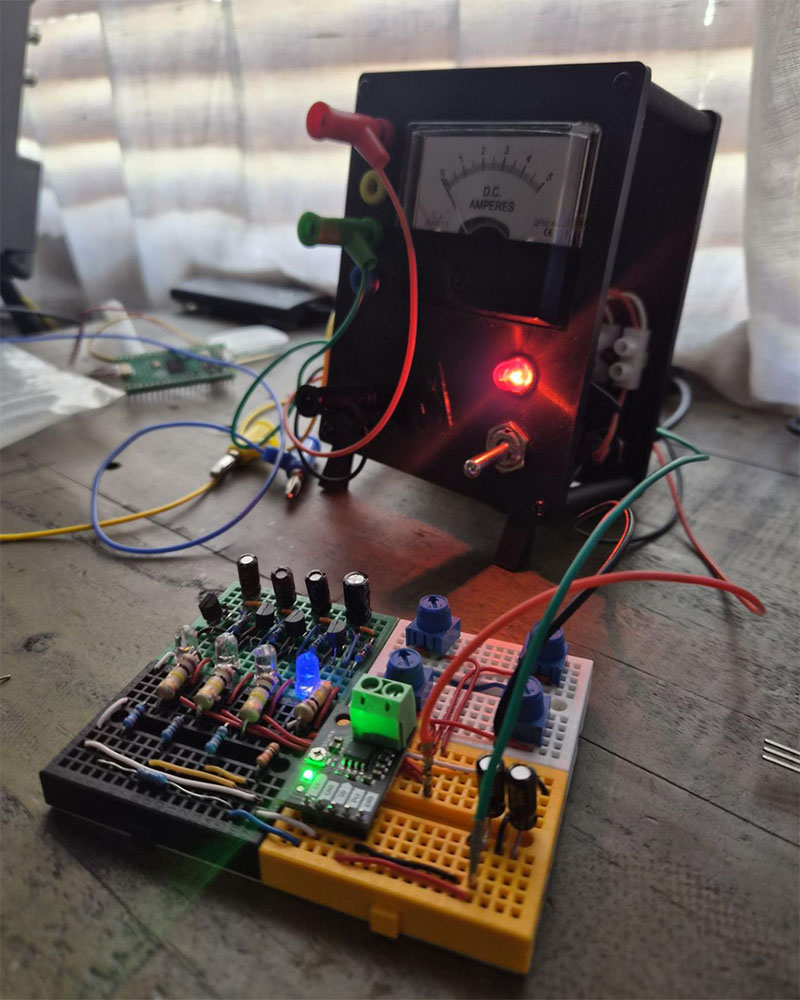
Make it
The Shell
3D printing the plates
This is an open design. There is a front plate for our interface, and a back plate for the supply.
The hard part of this project was selecting the parts and refining the 3D model to accommodate them all. Fitting the meter in snug took me a few attempts.
Good news for you, the model is included freely in this write-up, download here. It’s compatible with the bill of materials.
I used standard PET-G, and it was good enough. For the final version, I paid a 3rd party to use a super small nozzle for better detail, but I don’t think it made a big difference.
Assembly
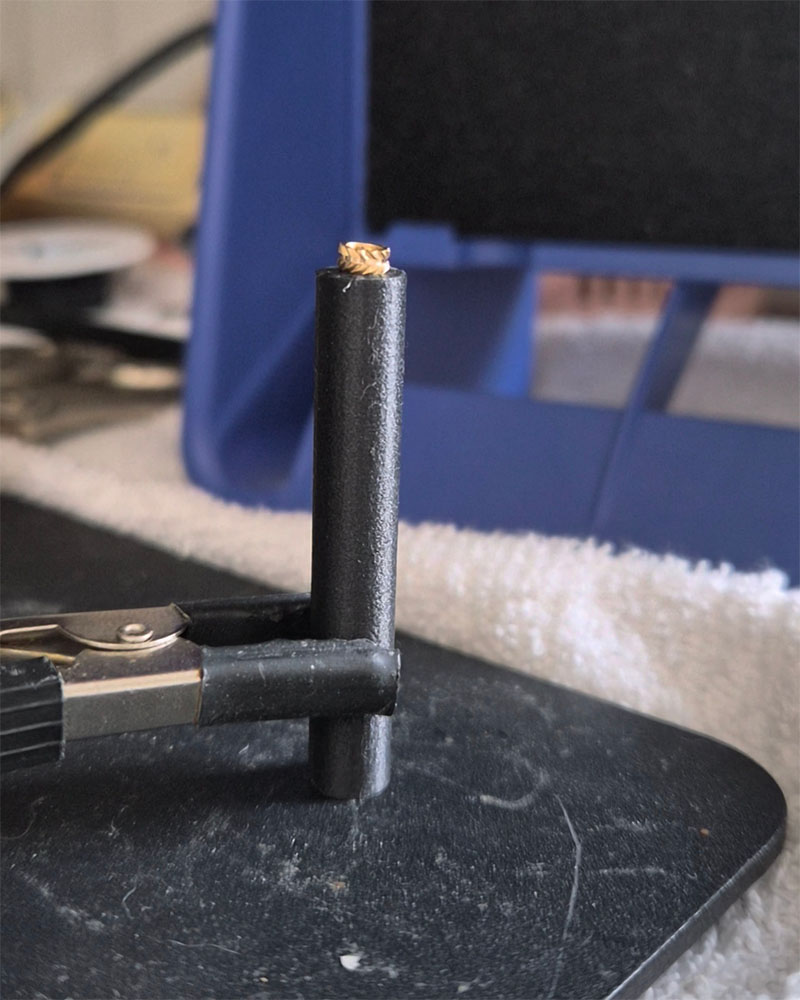
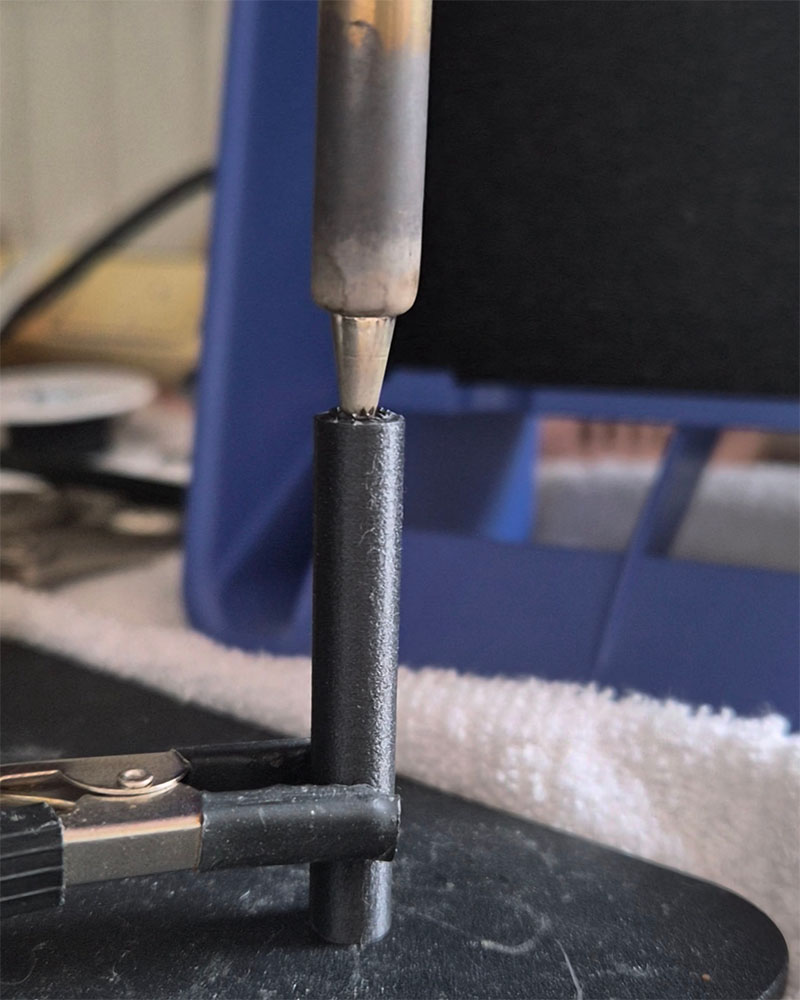
The front and back plates are connected by 4 anchor rods on the corners. Those rods have heat-inset M3 threads on both poles, meaning you can use screws to hold it all together. I used my soldering iron to set the threads, and it was really easy.
I had a problem where the anchor rods would snap under tension after inserting the threads with my iron.
At the recommendation of the company that printed the final design for me, the anchor rods are made with PET-G Carbon, which I suppose handles the heat better.
Components and Connectors
Now that we have a shell, let’s tie on some of our stuff. The bulk of it is easy, like the switch, meter, etc. All of the components in the BOM come with some kind of nut and thread system for mounting to a panel.
Regulators
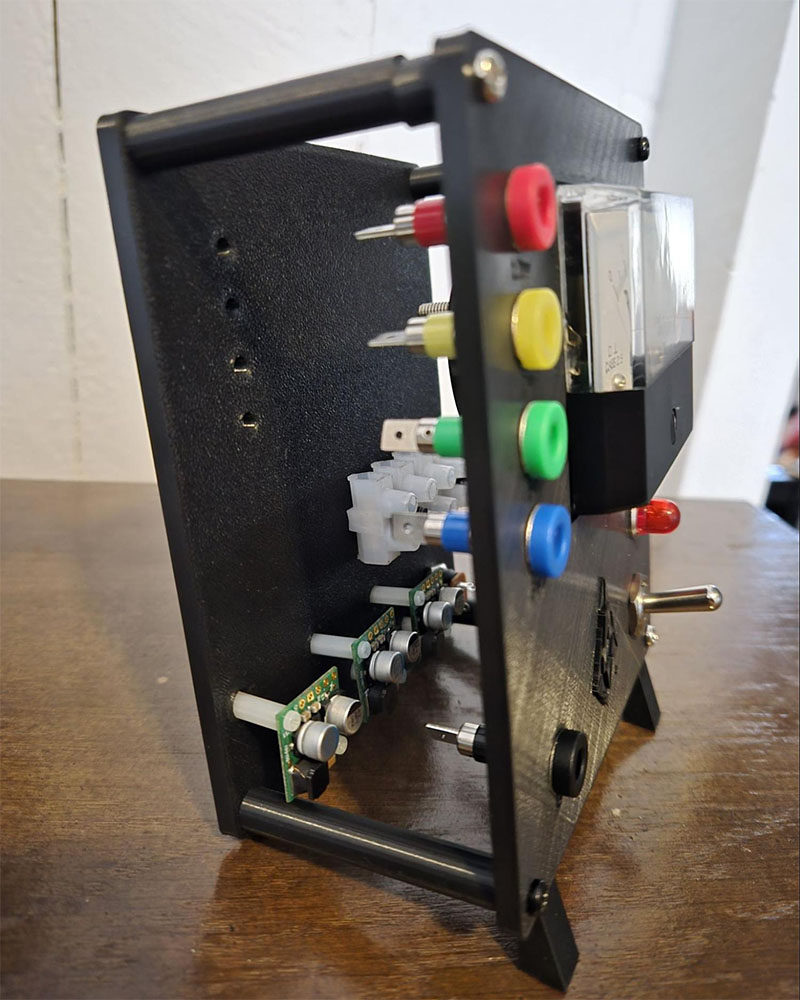
There are a few solutions to mounting these, but I chose some simple plastic standoffs.
I’m sorry, but I think CE has discontinued these exact models, but I bet you can find some if you call. In the BOM, I threw a full kit.
Terminals
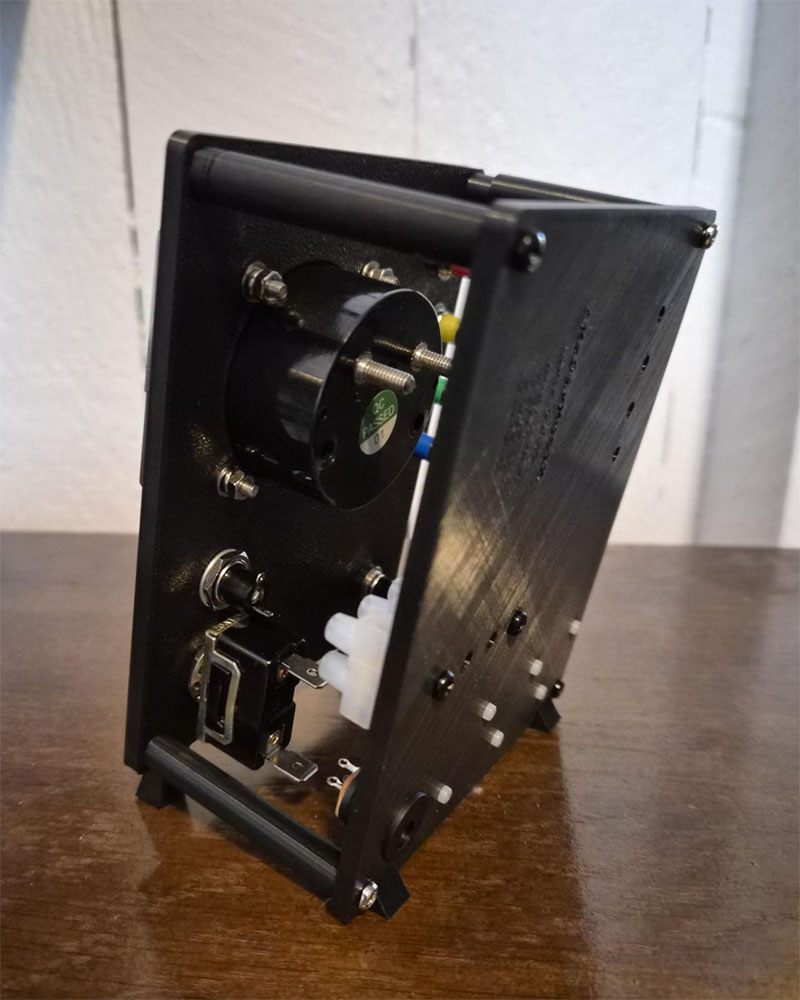
We do want to set ourselves up for decent wiring. I’ve created a space for two terminal blocks, each with 5 pairs of connections. This will just be for wire management and to reduce soldering. These typically come as a row of 12 pairs, so you will need to cut one up with a sharp utility knife or scissors (carefully). I actually used my precision cutters. The final cut wasn’t pretty to look at, but it was safe to do, and no one will notice after assembly.
These terminals have holes in the midpoint for mounting to a panel. I used my needle-nose pliers to hold a nut up against the inside hole and used my fingers to thread a bolt until it was flush on the back plate.
Wiring
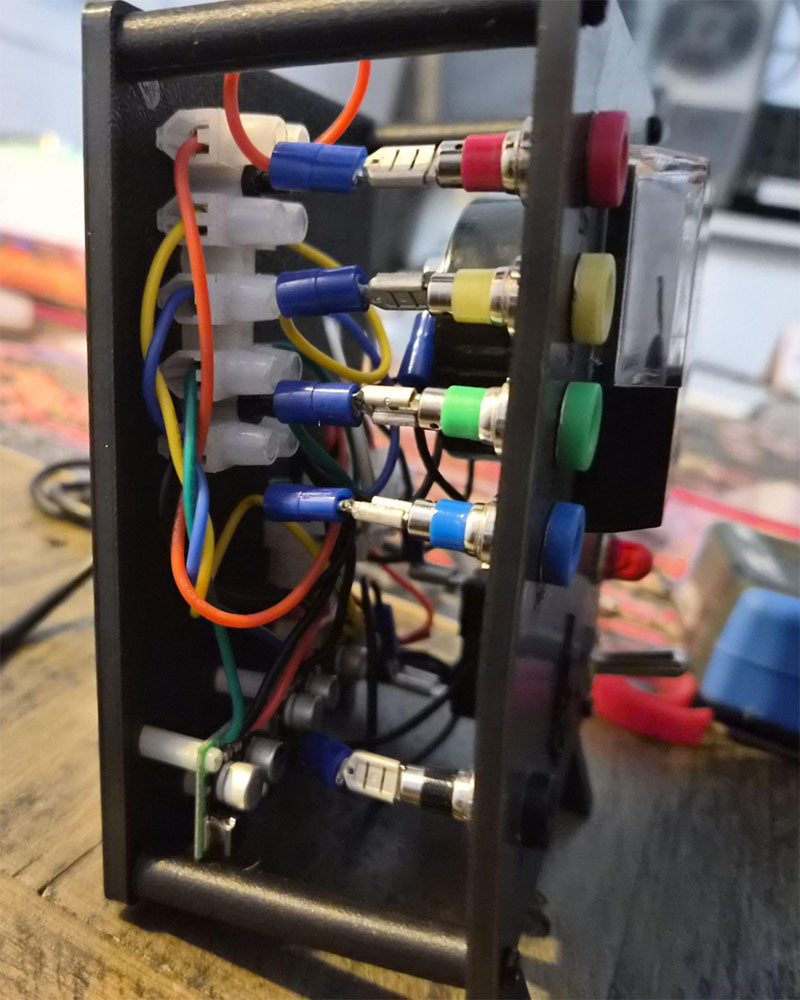
The hardest part here is getting the length of your wires right to keep them clean. I would recommend embracing the rat's nest of wires; it gives it a certain charm.
Crimp when you can
Where possible, we don’t want to solder. The main reason for this is that we may want to disassemble this later, splitting the front and back plates. If everything is soldered, we won’t be able to do that. Most of the components I’ve chosen use these crimpable spade or eyelet connectors. CE has a good video on this.
Solder when you must
Then you’ll need to solder wires to the female barrel connector. This won’t stop you from opening the Rat’s Nest VCC, since you’ll probably connect those to the terminals on the backplate. I also decided to solder wires to the indicator light, since this was easy to unscrew when I wanted to open it up.
Making Power Lines
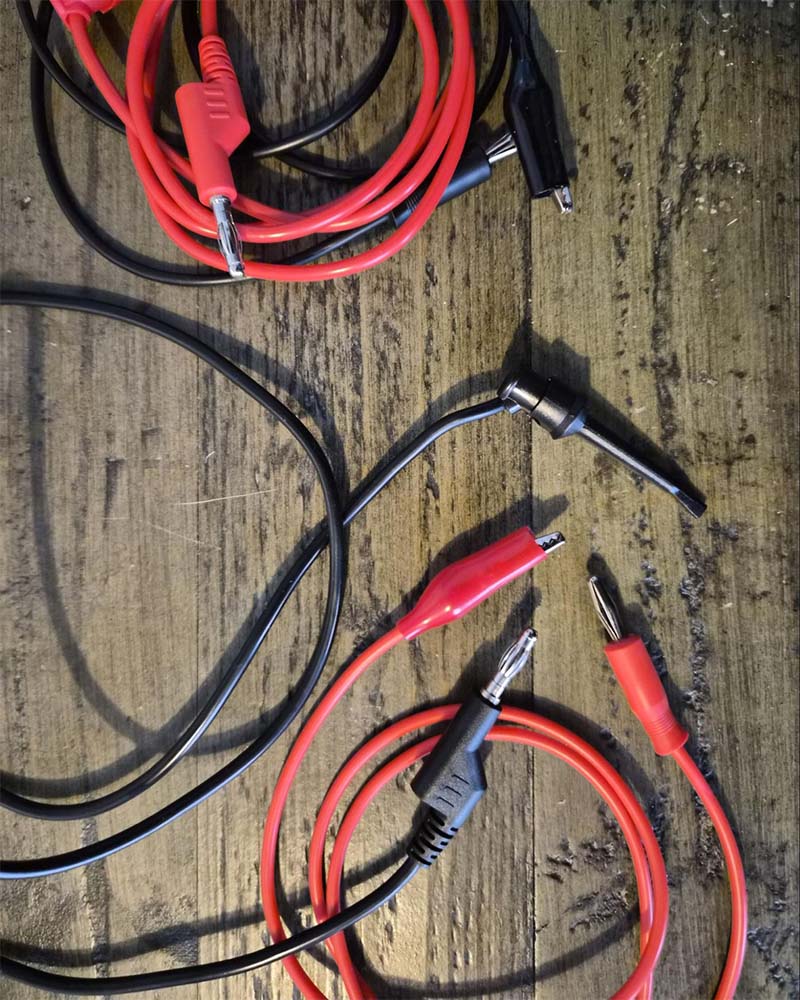
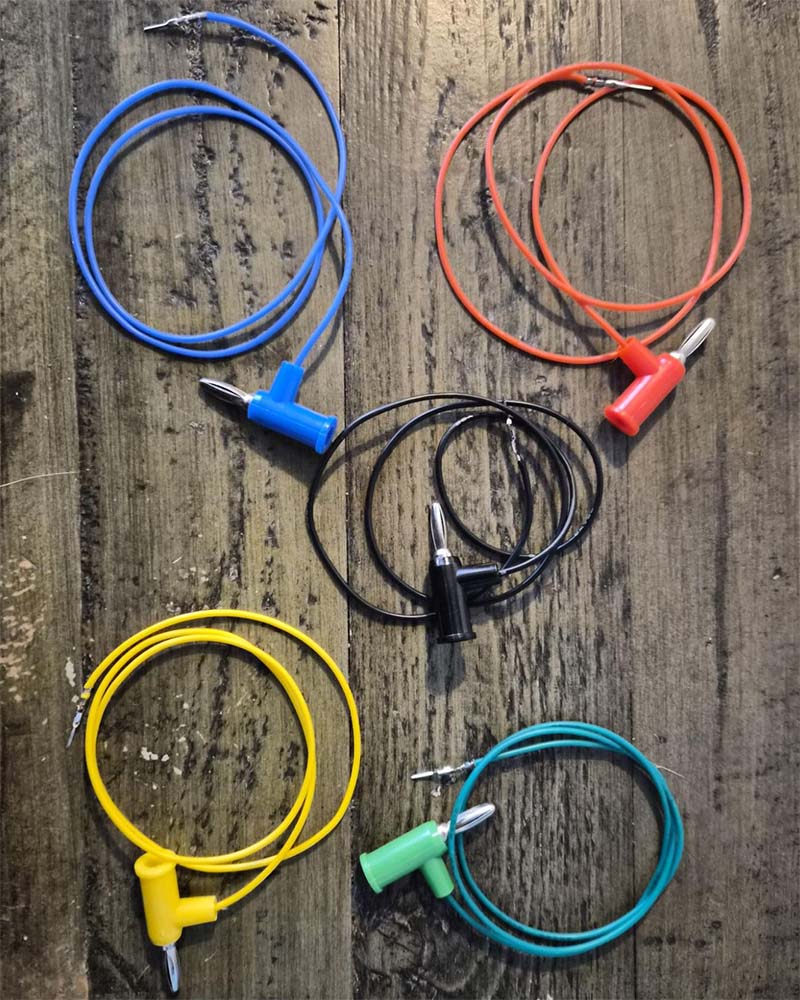
There are actually lots of wires you can buy off the shelf that will be compatible with Rats Nest. You can probably buy whatever you need. In my case, I wanted something compatible with breadboards, because the Rats Nest is for prototyping.
Schematic
BOM
As always, these are just the parts I used, not the best parts, and not even, necessarily, the parts I recommend today.
Parts
Plugs and sockets
- Panel-Mount Banana Jacks 4mm - Pack of 5 Multi-Color
- Solder-free Stackable Banana Plugs 4mm - Pack of 5 Multi Color
Regulators
- Pololu 3.3V, 2.6A Step-Down Voltage Regulator D24V22F3
- Pololu 5V, 2.5A Step-Down Voltage Regulator D24V22F5
- Pololu 9V, 2.3A Step-Down Voltage Regulator D24V22F9
Meters
Power
Enable
Wiring
- 6 Amp 12-way Screw Terminal Strip
- Hook Up Wire - Solid Core, 22 AWG
- Blue 8mm Eye Terminal - Pack of 8
- Mini Female Spade - Red - Pack of 8
- Male Crimp Pins for 0.1" Housings 100-Pack
Screws
- Machine Screw: M3, 20mm Length, Phillips (25-pack)
- Machine Hex Nut: M3 (25-pack)
- Machine Screw: M3, 7mm Length, Phillips (25-pack)
- Brass Heat-Set Inserts for Plastic - M3 x 4mm - 50 pack
- Black Nylon Screw and Stand-off Set – M2.5 Thread
Tools

