To get your Raspberry Pi working, you'll need an SD card with a working operating system written to it.
While NOOBs (New Out of Box Software) is a great headstart into the world of Raspberry Pi operating systems. It comes preloaded with Raspbian (the crowd-favorite Raspberry Pi image) as well as a few of the favorite alternative operating system files if you boot with your Pi connected to the network (Such as RetroPie and LibreElec, etc). However, if you need a different image written to your Pi, or if you want to reflash your existing card to update/upgrade, the process isn't quite as NOOB friendly.
In this tutorial we will show you how you can use a popular piece of free software, Etcher, to write your own SD cards using any compatible image file you find on the internet. It's just point and shoot too, no tricks or traps to be found.
The best part about this tool is that it will also automatically repair an SD card that previously had an OS installed. Before we found etcher, we had to run a command prompt and run some lines of code to restore it from it's Linux filesystem (shown in this guide). Now, we can follow the absolute easiest workflow ever to flash our SD cards.
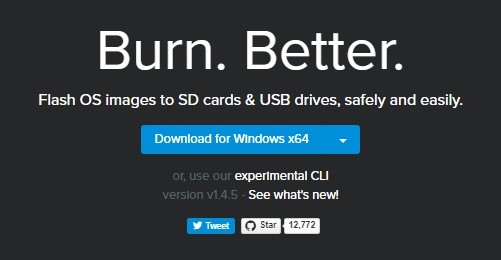
Download Etcher.io
Etcher.io is a simple to use, standalone application that is available for all operating systems. All you need to do is download the most relevant version for you, install it and follow the prompts. I'll show you how.
Get your SD Image files
The way that we manage Operating system files for Raspberry Pi is via image files. Usually this is in a .img filetype. To burn your own SD card, you'll need a blank SD card (usually larger than 4GB, we recommend 16GB) AND your OS image. You can find image files with a quick google of the Operating system name + image. For example, if I needed to write a LibreElec card I could google LibreElec Raspberry Pi Image and find the most trustworthy image file through google. Here's some links to some of the popular SD images for Raspberry Pi:
- Raspbian - The all-purpose starting OS for Raspberry Pi. Easily the most used OS for Raspberry Pi.
- Pi Music Box - The Pi Music Box is a relatively untalked about gem. This allows you to get all popular music streaming services working flawlessly on your Pi.
- RetroPie - This OS is the most popular emulation software for Retro Gaming consoles, but you need to bring your own games.
- LibreElec - This OS is one of the two most popular Home Theatre OS's for your Pi.
- OpenMediaVault- This one is less used, but cool nonetheless. It's the best OS for setting up a RPi NAS for home file storage.
Simply download the files you need and extract them (if you need to, 7Zip is a really good free piece of software). Now you're ready to use Etcher!
Etcher.IO Workflow
This piece of software is so great, this section is hardly needed but here we go.
Insert your SD card to your PC (grab an SD Reader here)
Load up Etcher.io (you should have a desktop shortcut available)
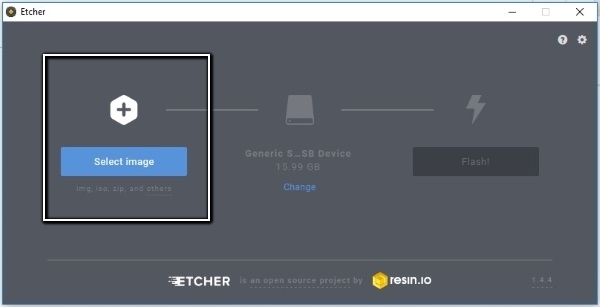
Select the relevant image file using the file browser

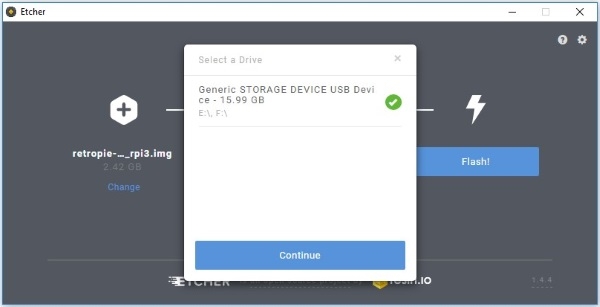
Make sure the right SD card/device is selected
Start the write

Once you have gotten the success message, safely remove the SD card, put it in the Pi and boot it up!
That's it. No command prompt, no formatting, nothing fancy. The best part is this works for all the different Image files you can find, and it works the same way on every Operating system. You can even use this program to make bootable USB drives for other devices! If you have any questions or issues burning your sd card, let us know in the comments and we will help you out.

