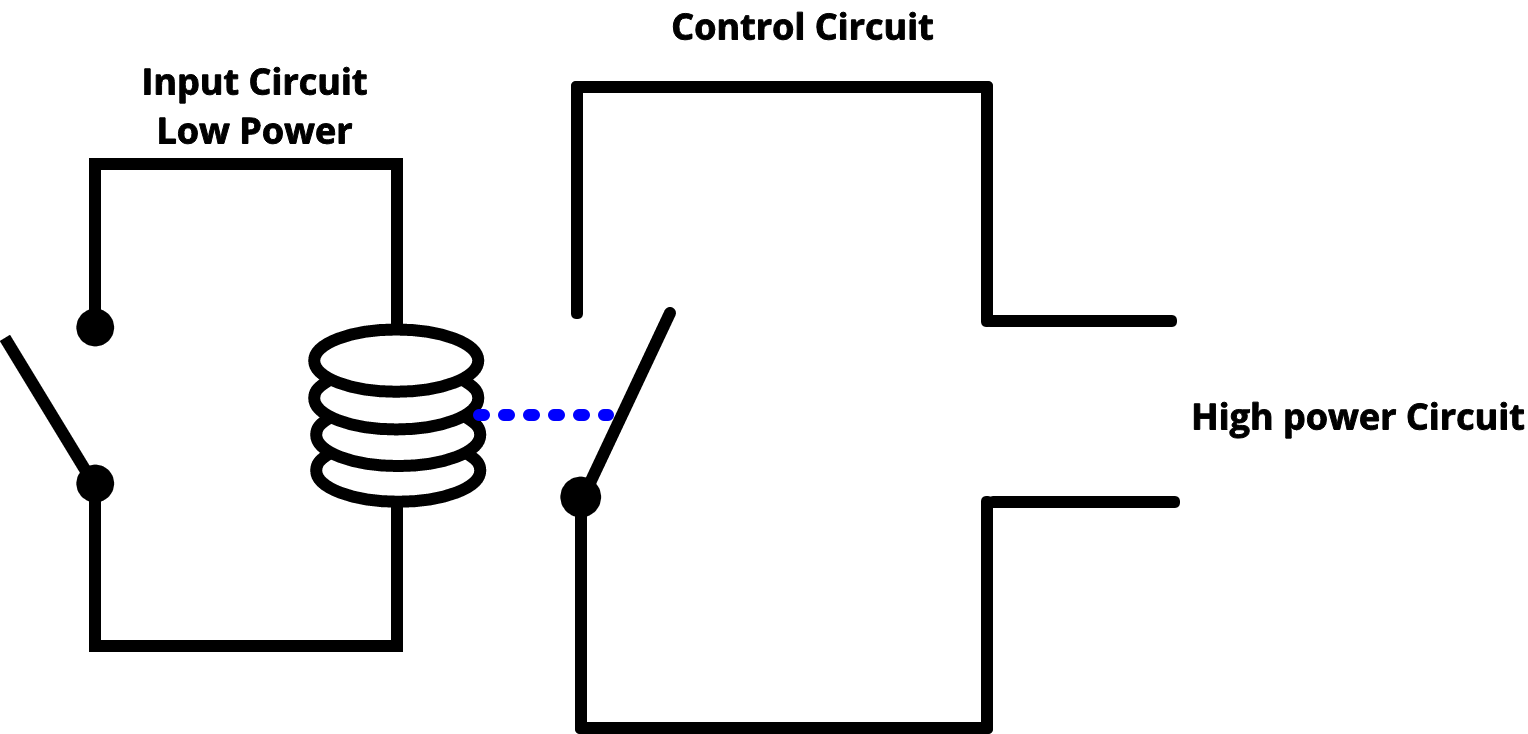
 If you could operate your switch without physically toggling it on and off, you would open yourself up to an entire section of electronics. Relays are one of the best ways of doing this. A relay is essentially just a switch, controlled by an electromagnetically charged coil. When the coil charges up, it toggles the switch into its open or closed position. Another fantastic application of relays is when you want to use a low-power signal (think Arduino’s 5V, 50mA pins) to control a higher-power (240VAC if you are savvy) circuit. You could be controlling all the lights in your home via a Wi-Fi connected Arduino microcontroller; the realm of the home automation open to us when we venture down the path of relays.
There are multiple types of relays; the Wikipedia page lists almost 18 different types of multiple applications for each type. We are dealing in the realm of hobbyist electronics, and we will break that down to the two typical types we see, simple electromechanical relays and solid-state relays. Check out all the different relay breakouts and shields we have available.
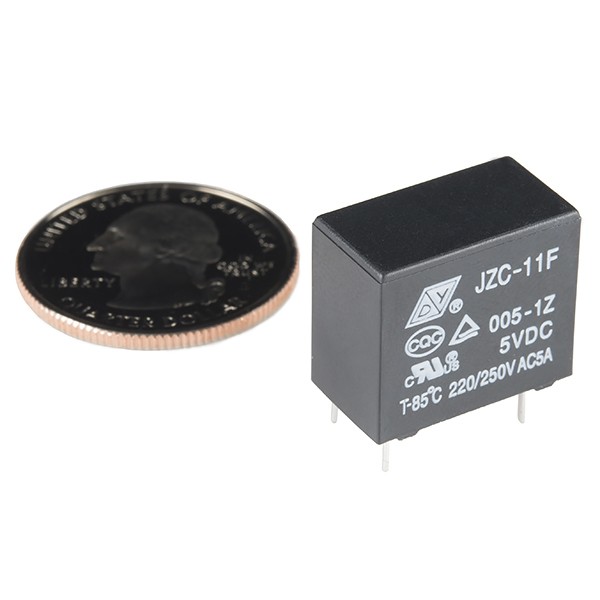
In an electromechanical relay, we see a low-current circuit toggled to energise an internal coil. This low-current coil, when energised, will create an electromagnetic field around itself that toggles a higher-power switch. This high-power switch is usually rated for currents and voltages far greater than the input circuitry. For example, this relay from SparkFun is an example of a Single Pole Double Throw relay. It uses 5-12V DC input power to control loads as high as 250V AC or 30V DC @ 5A. That is a massive jump in power across the tiny relay unit and its exactly what you expect with relays! Mains Power can and will kill you if you do not know what you are doing, we do not advise/recommend you go manipulating 240V AC power directly from the wall. The relays may be able to control the voltage/current loads, but it is simply too dangerous to play around with.
Solid-State Relays (SSR) work a little differently but do all the same things. Instead of using electromagnetic forces and mechanical movements, they utilise Light Emitting Diodes to active light-sensitive semiconductors that switch the massive loads. Due to the lack of moving parts in an SSR, these relays are far more reliable and have longer working lives in the circuit. SSRs also cycle on and off far faster than an electromechanical relay can, making them perfect for applications when switching is taking place at high speeds (think of heating elements to maintain temperatures).
What are we going to use relays for?
We are going to be using a small, 5V relay to switch a higher power load with our Arduino. As with most of the things we do here, first, we are going to show you the barebones basics of interfacing with a relay. That way you can apply the logic of using this component to your circuits later! So, our relay is just going to be switching a load today, but the idea itself is certainly scalable. We are going to use a transistor to control a relay which will switch a LED on and off; LED will be on a separate circuit with its power supply.
 The Setup
 The Setup
Our friends over at Sparkfun have made the perfect little relay for our purposes today. Grab the following components if you want to follow along:
The Code
const int relayPin = 2;     // use this pin to drive the transistor
const int timeDelay = 1000; // delay in ms for on and off phases

void setup()
{
  pinMode(relayPin, OUTPUT);  // set pin as an output
}


void loop()
{
  digitalWrite(relayPin, HIGH);  // turn the relay on

  delay(timeDelay);              // wait for one second

  digitalWrite(relayPin, LOW);   // turn the relay off

  delay(timeDelay);              // wait for one second
}
You should be able to hear your relay clicking away as the mechanical components tick over every second, essentially you can have any circuit in place of the 2 LEDs, and your relay will be able to handle switching the current. Of course, it still depends on the rating of the relay itself, but the idea is sound!

