So what does it mean to run headless?
A computer setup without a monitor is said to be running headless. You might want to do this if you're installing your Pi into some project, or want to keep power-usage and cost minimal. This kind of setup is what the Pi Zero W was built for. The idea is that you can still access your Pi's terminal interface over your network using a protocol called SSH.
All we need to do is get our Pi set up with the right WiFi credentials and we'll be able to remotely access it through a terminal program, as if we were using the terminal Pi's own desktop. What's more, we'll get our Pi connected to WiFi without ever having to plug in a monitor, keyboard or mouse to configure it.
What you'll need:
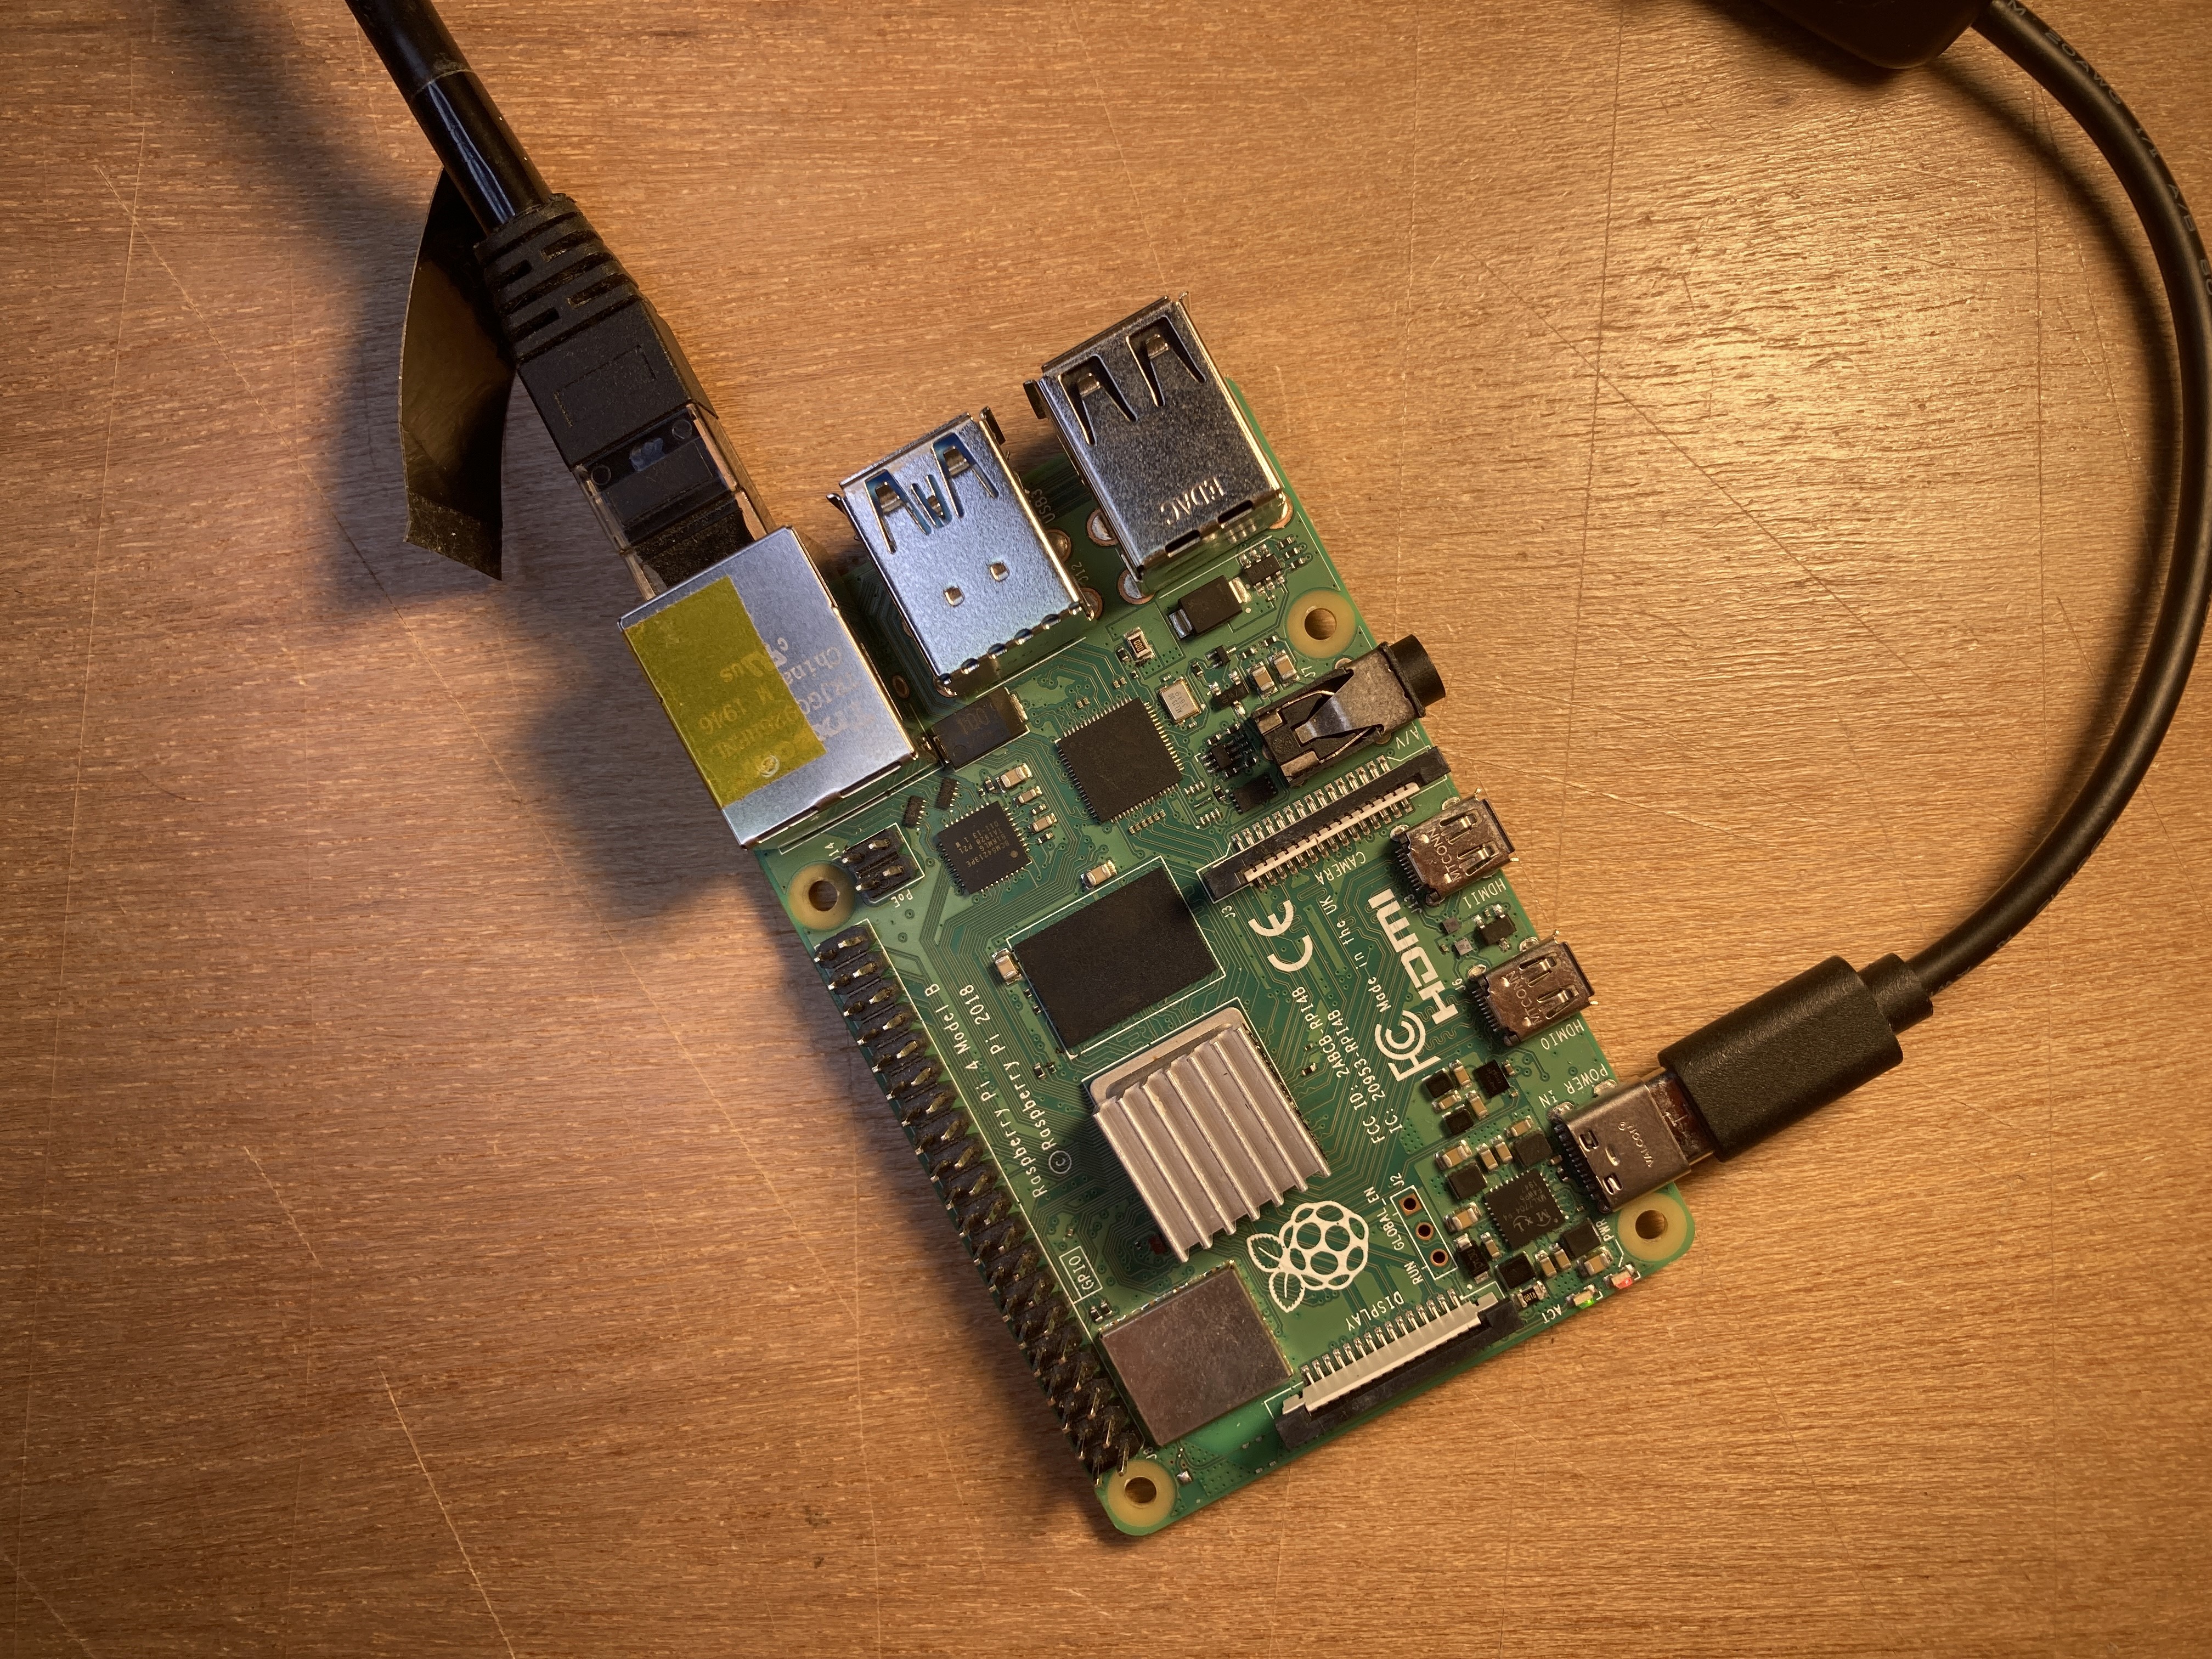
- A Raspberry Pi with WiFi or Ethernet on-board - All Pis except the original Zero should work just fine
- A microSD card and a way to write to it - If you PC has a full-size SD reader slot you'll need an adapter, or if there's no slot at all, a USB reader
- A power supply for your Pi - we recommend the official supply
- A computer connected to the same network you wish to connect your Pi to
- The Raspberry Pi Imager software installed on your computer - download it here if you don't already have it
- PuTTY, a free SSH program. If you're on MacOS or Linux, you can already use the ssh command from your terminal
Flashing your Pi
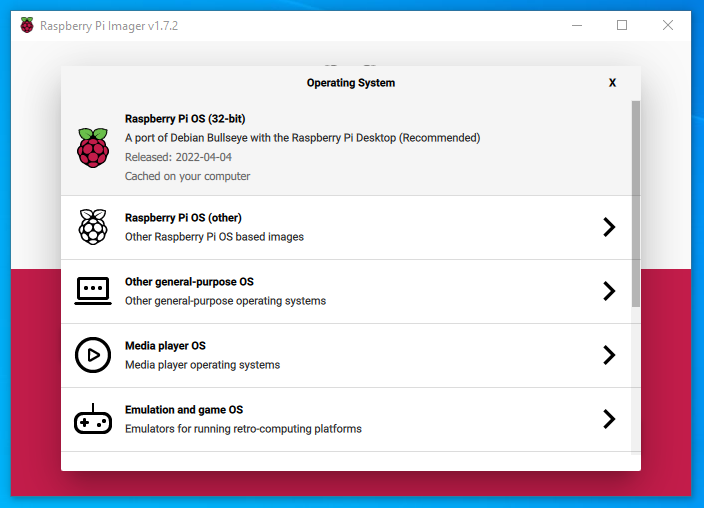
Start by opening the Pi Imager and selecting your desired Operating System (OS). For regular headless installs this will likely be Rasbperry Pi OS (Other) > Raspberry Pi OS Lite (32- or 64-Bit depending on your hardware). See this in the image below.
Having done this, you now need to select what will be flashed. As you have the desired Micro-SD card plugged into the computer this should appear automatically when you click the |CHOOSE STORAGE| button. Keep in mind when you flash a Micro-SD card it will start by deleting everything that is on that Micro-SD card. Make sure to use an empty Micro-SD so you do not lose any important data. See this in the image below.

Finally to access the advanced settings, click the gear icon highlighted in the image below which will let you configure your OS further.

Configuring Your OS
- If your headless Pi will be connecting over WiFi, set your SSID and Password here, and be sure to set the WiFi country to AU to make sure your Pi can turn its WiFi radio on. Your settings may look a little different to the above depending on your OS, but the principle is the same.
- You’ll need a way to talk to your Pi without a keyboard so toggle on “Enable SSH”.
- You’ll also need to create a user in advance, otherwise your headless Pi will prompt you to the first time you boot it up. So toggle “Set username and password” on and pick some credentials unique to you, as this Pi will be accessible from your network.
- Setting a unique hostname is a good idea at this stage too. If your PC and router support Bonjour, you can usually access your new headless pi from your_new_hostname.local, rather than hunting around for an IP address.
- Setting your time zone now is also a good idea – one less thing to do later ????
Flashing and Booting
With everything configured, you can close the options window and hit | WRITE |
All going well, you’ll get a success pop-up, and your uSD card will be ready to pop into your Pi.
Make sure your Pi is connected via ethernet or in range of WiFi, connect it to your power supply, and move on to the next step!
Finding your Pi and connecting over SSH
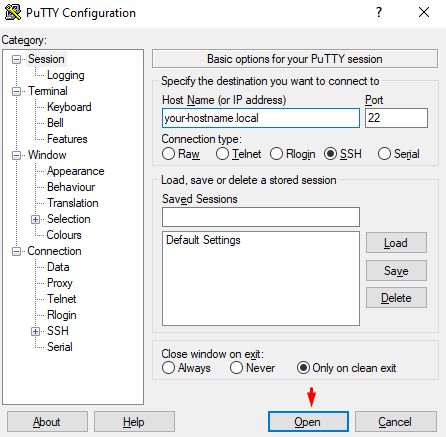
Once your Pi has finished booting (usually when the green activity LED stops blinking), you can start the process of talking to it over SSH. Open PuTTY and enter your hostname/IP then hit | Open |
If your address/hostname is correct, you’ll get a popup asking you whether you recognise the Pi, just hit yes, but if you get an error message stating your Pi wasn’t found, you may need to locate it.
If you have an Android device, Network Analyzer does a good job of finding Pis with its Ping function.
Otherwise, Zenmap will do the trick.
Once you’ve found your Pi on the network, try opening an SSH connection through PuTTY again, and it should work!
If you’re still having trouble, or your Pi doesn’t appear on your network, go through the flashing steps again to make sure there aren’t any typos in your SSID or password, and that you ticked the right options, and if you still can’t get it working, hop on to our Tech Support Forum and we’ll help you out as best we can!

