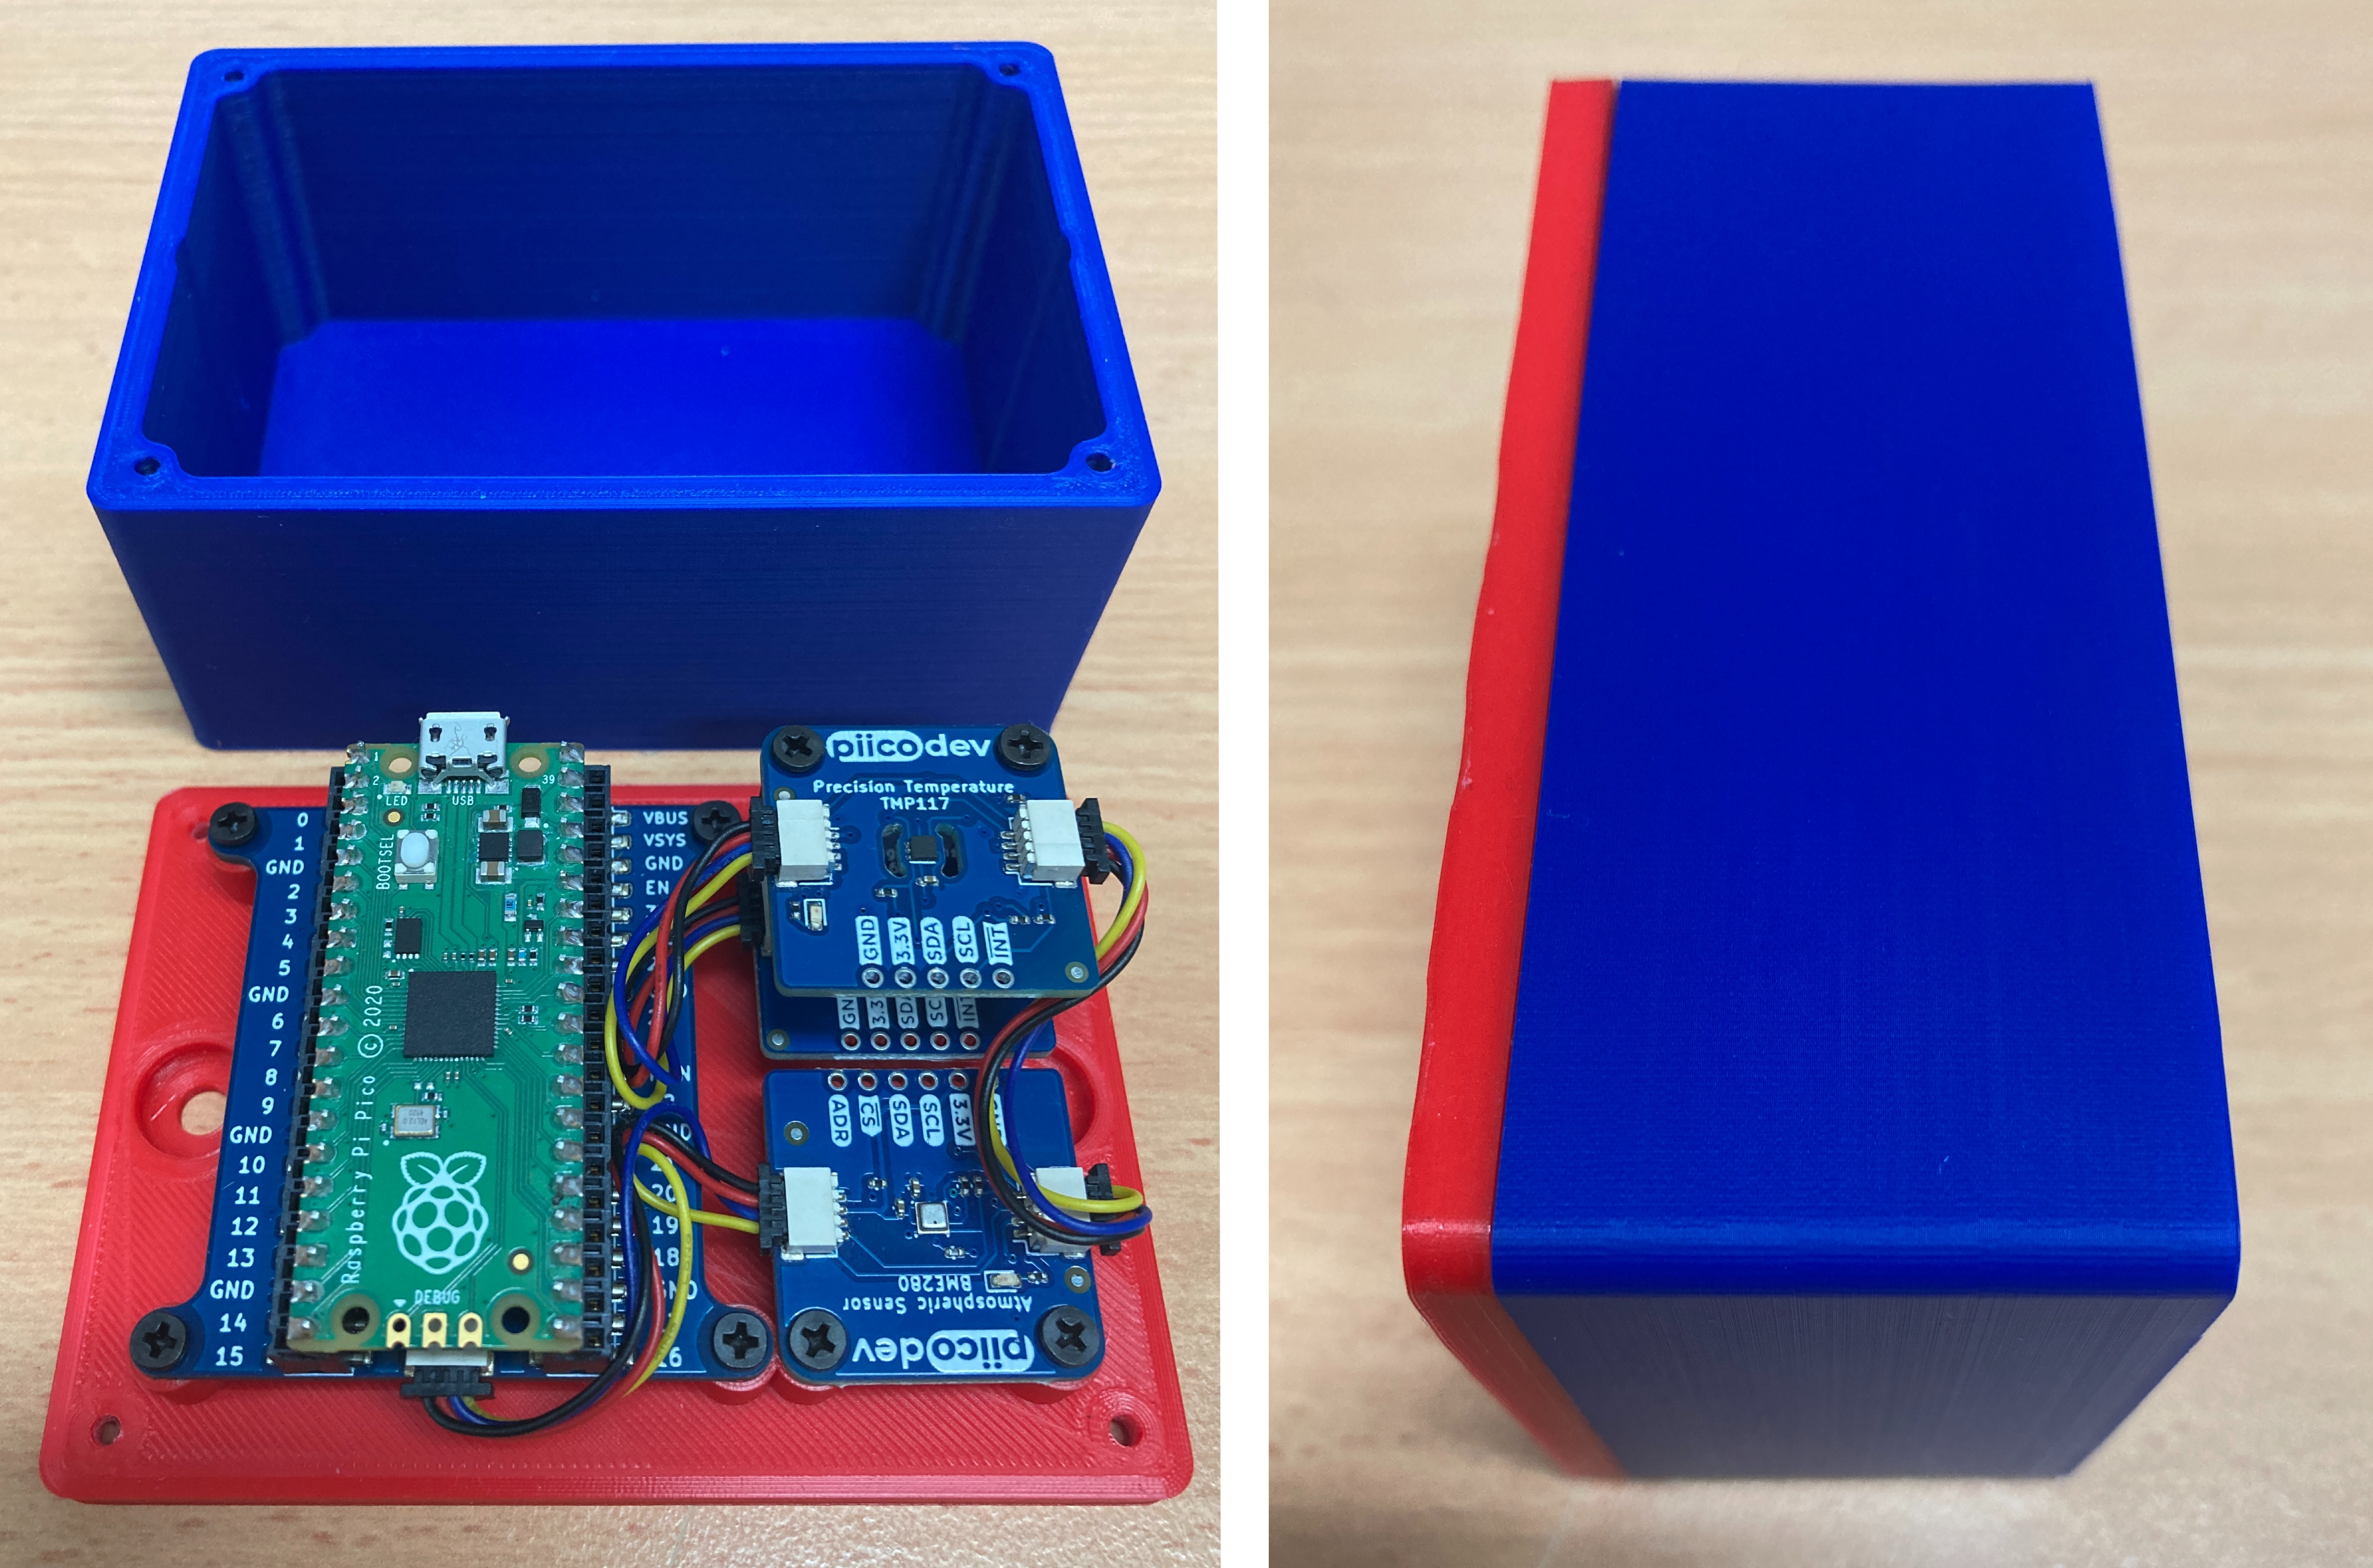
Let me introduce a new 3D printable case for the Raspberry Pi Pico and the PiicoDev ecosystem. There are variants of the case, one which allows you to wall-mount the system and another variation that makes it possible to charge the device directly via USB micro even when the top is connected.
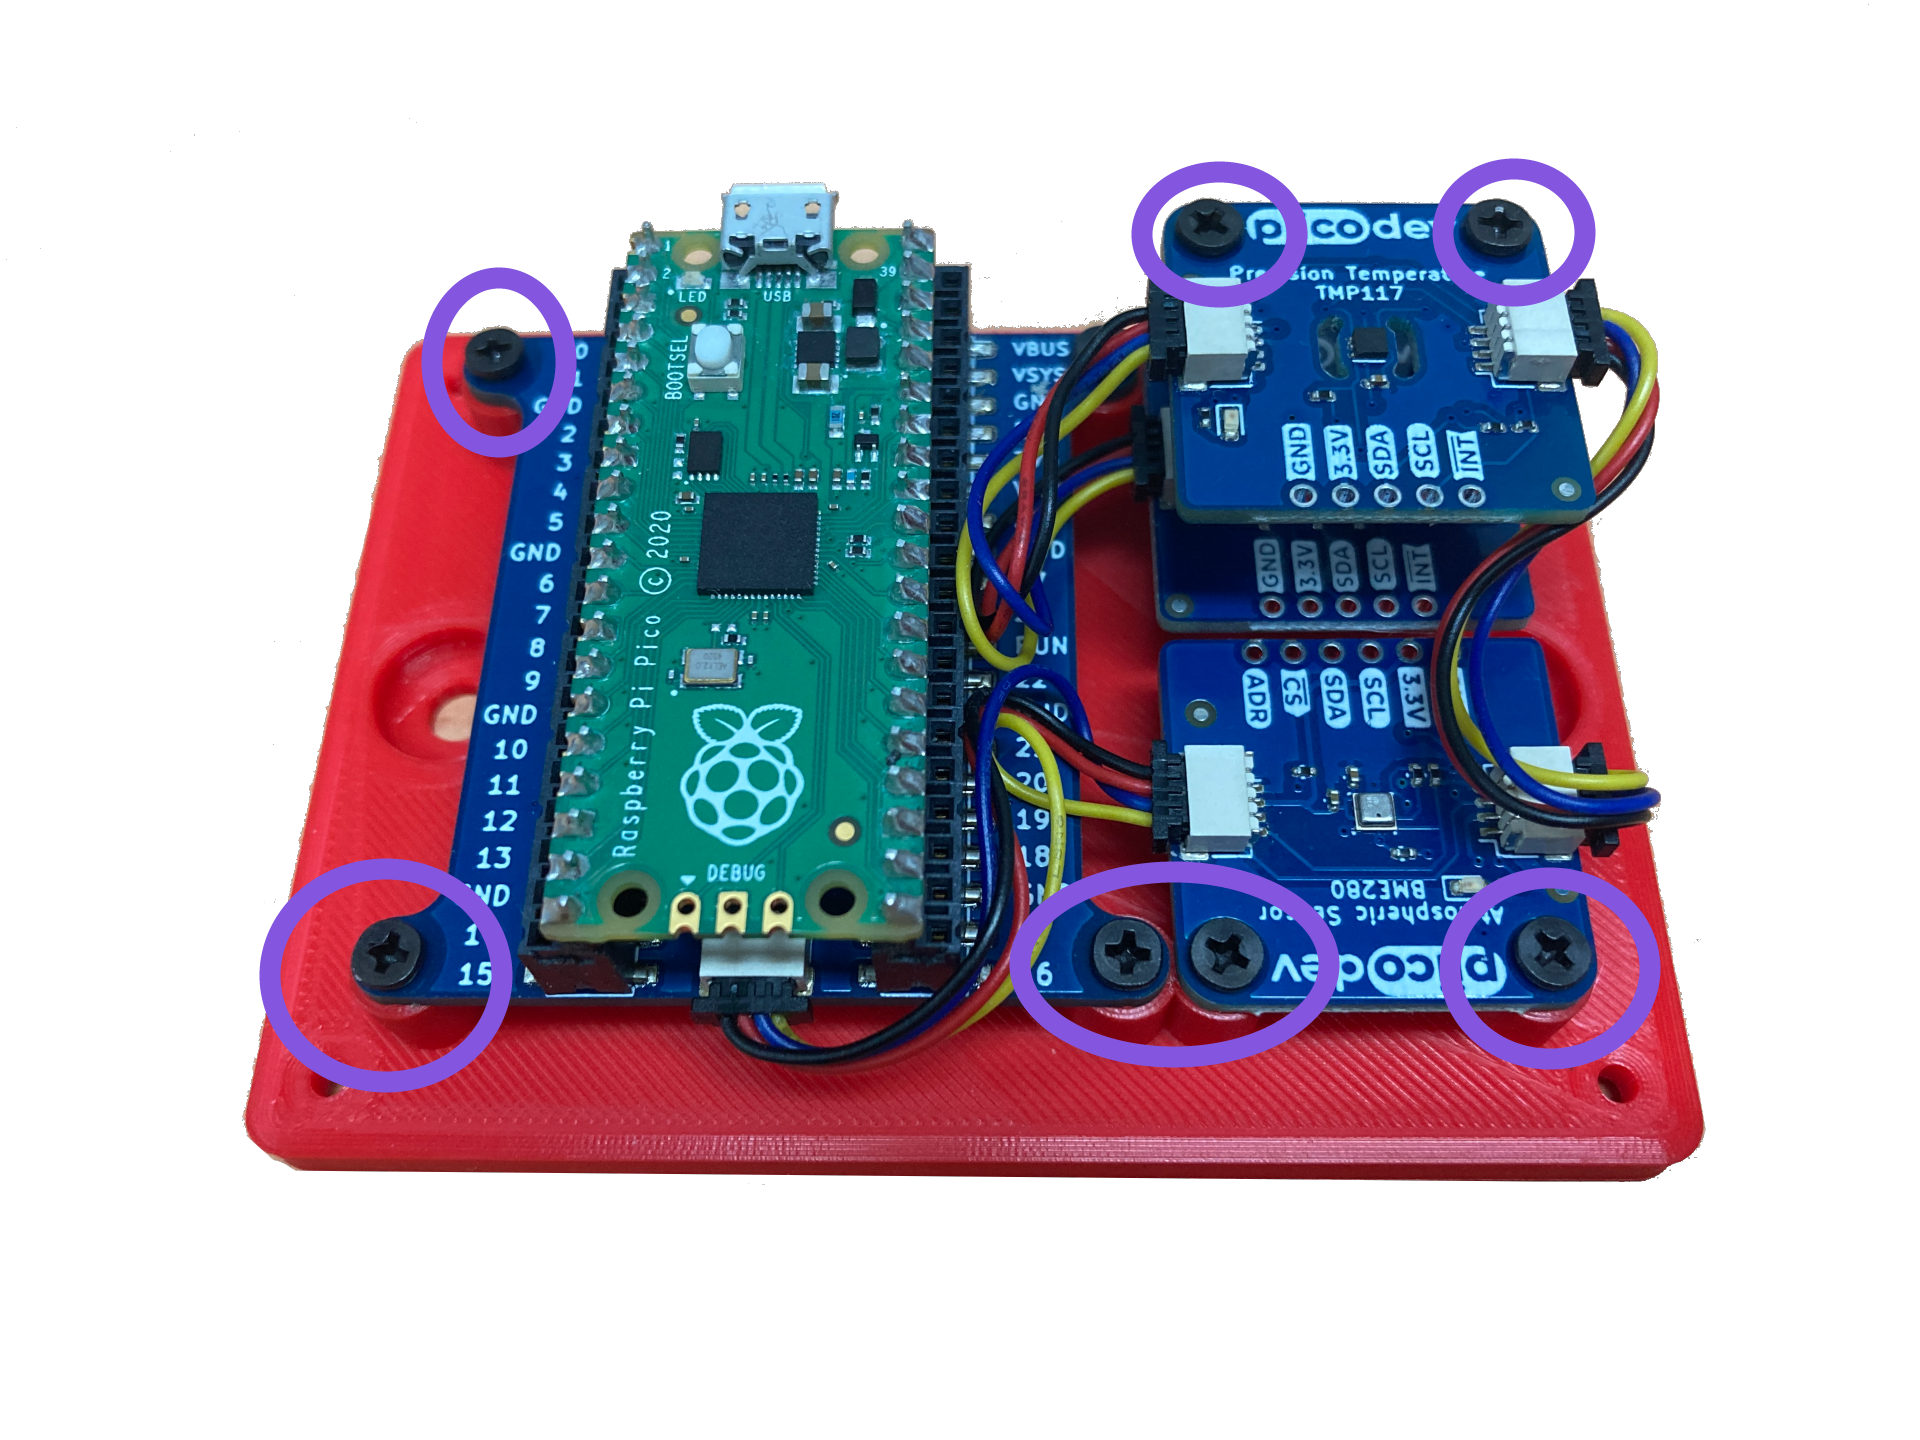
The design will require M2.5 screws to fit all the electronics and the two 3D printed components securely together. The holes can be screwed directly into the holes and will last multiple installations. When wall mounting you will need to use 40mm M2.5 screws which will often require a trip to a hardware shop to get.
All the electronic components are connected securely together with PiicoDev Cables making connection a breeze. There is enough space for 4 PiicoDev Modules to fit and the design can be easily modified to fit more. The case also provides room for a Lithium-Ion Battery that will connect directly to the JST connector on the Raspberry Pi Pico. This will fit securely underneath the PiicoDev expansion board and can be secured with double-sided tape. That means if your interesting in obtaining data about temperature, atmospheric pressure or ambient light sensors you can do so with the current set up. It will also work in conjunction with PiicoDev Prototype Boards. This design works best with the PiicoDev Pico Expansion Board and a Raspberry Pi Pico which has the headers soldered onto it. See below for the completely enclosed (battery powered) and wall-mountable design.
Links to the STL files for all designs are found at the bottom of this page. Also attached at the bottom is a CAD file of the Raspberry Pi Pico in case you feel inspired to make your own case. Also, if you don't have a 3D printer we have 3D Printing Services that you can use to get this design (and anything else you want to be printed) sent directly to you and into your hands.
As always if you've got any questions, queries or things you'd like to see added please let us know your thoughts!
All the Angles of The Components and Variations
This is so you know exactly what you're downloading. Clean lines and beautiful utilitarianism was the design memo I followed. Below is the top of the case with a Raspberry Pi shaped hole to access the USB Micro port of the Raspberry Pi Pico.
Below is the top of the case without a hole to access the USB Micro port of the Raspberry Pi Pico, designed to run off battery power.
Below is the bottom of the case without wall-mounting holes.

Below is the bottom of the case with a quick attach wall mounting system.
Below is the bottom of the case with wall-mounting holes.
SETTINGS FOR FUSED FILAMENT 3D PRINTING
Below is the orientation to print these models. All the models will automatically open up to the correct orientation and also be scaled correctly. I used a 0.1mm layer height, 0.4mm nozzle. Materials used have been Ultimaker Blue ABS for the top, Ultimaker Tough PLA Red and Ultimaker CPE for the bottom in this example. I used 40% infill and 6 wall line count to improve the strength. No supports are required even for the Top with the Raspberry Pi hole.
Installation Process
Once it is printed you just place all the components together, use M2.5 screws and standoffs to connect all the electronics and close the case using M2.5 as well. There is also an option to wall mount the set-up using button-head mounting M5 screws. All the electronics are connected using Qwiic Cables
Acknowledgements and CAD Design Process
Seen below is the very beautiful Raspberry Pi Pico CAD Model which I used to create my Pico Prototyping 3D printed Case. Nowadays I find the best way to design cases for micro-controllers is to directly import an accurate model of the board and build around those dimensions. It does take some time to double-check that the model is accurate however it takes fewer iterations to create a fantastic final result. At the bottom of this article are the download files which include a Raspberry Pi Pico model. This Raspberry Pi Pico CAD model was is great for the job however it is a little bit 2D in regards to the actual chips on the board. The best model I have found for the Raspberry Pi Pico is by Hasanain Shuja which I will link right here. He has also done a superb Raspberry Pi 4 Model B CAD file. If I was going to design a new case from scratch then that is the model I would use.
Good design goes to Heaven and bad design goes everywhere. Please help us by giving your input about your experiences with these cases.
Downloadable Model Files
The Pico Prototyping Cases and the Raspberry Pi Pico Model are attached below. There are a total of four Pico Prototyping Case variation combinations. These are with/without USB charging access and with/without wall mounting.


