A big project request for the Raspberry Pi is the ability to make a digital sign, that loops images/videos/other media fullscreen with no interactivity. This can be a great way to display dashboards, promotional videos and other media. For past revisions of the Raspberry Pi, we relied on the MP4 Museam project which worked fantastically for .mp4 video files but not so good for anything else.
In this tutorial, we are going to show you how to setup a easy to use piece of software for digital signage with the Raspberry Pi. It can play any video file with a H.264 encoding (which is most video files around) as well as images (jpeg, gif, png and more) AND it can also play web hosted videos (such as youtube clips). My favorite part about it is that it's plug and play, and configurable over the network. That means you can have it setup and just use it like you need, swapping out media as the occassion commands.
Download Screenly OSE (Open Source Edition)
Screenly is the most popular flavour of Video Kiosk software available on the Raspberry Pi. it's kept up to date, so newer boards are always included and allows you to login to the device from anywhere on the local network to have control over what's being displayed.
![]()
Screenly OSE can display any of the following media types, for configurable amounts of time:
- PNG, JPG, and GIF (The software will do it's best to display images at 1920x1080 resolution)
- H264 MPEG4 videos (this is one of the most common video file types)
- Online video, just provide the URL
- RTSP Video feeds (for things like surveillance cameras)
- Websites (most websites can be rendered using screenly)
There's a Pro version of the software available too, but it's not needed for single standalone signs. It has a bunch of features, but we're just using the OSE in this guide.
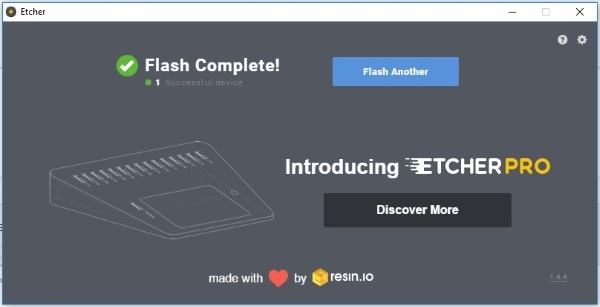
Now that you have the image file, you need to burn it to a spare SD card you have around. We've got a pretty easy to follow guide for this.
Booting into Screenly
Insert your newly written SD card and boot up your Pi. Bear in mind that if you haven't got it connected via Ethernet, you'll need to configure the Wifi on the device. We won't go into the details for that here because you can boot your Pi connected to an ethernet interface and confgure the wifi via the control panel. So do that if you need to.
The first thing you should see as the Pi boots up is this screen pop up briefly.
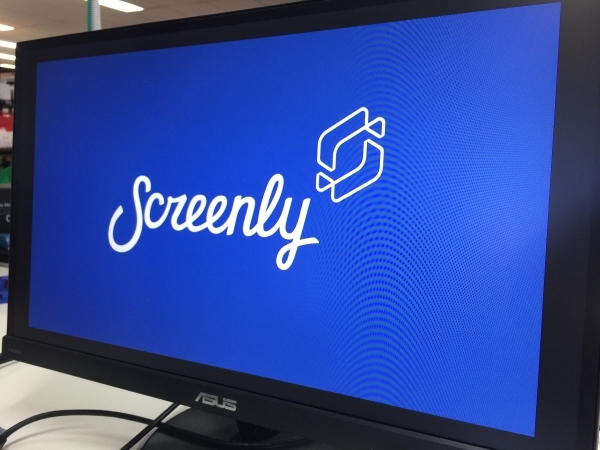
Then it will proceed to this screen with your local IP information displayed, you will need this number to login to your Raspberry Pi via another PC. Remember, this device is a dedicated video kiosk now, so you won't be able to use a keyboard/mouse to control it.

That's all that you need to do on the Raspberry Pi side of the equation. Now, jump over to another PC that's on the same local network and we will login and get a feel for Screenly.
Loading Screenly and setting up your media to play
Simply enter the IP address for your Raspberry Pi (the address that's displayed on the image above) into the URL bar in your browser of choice to automatically login to the Screenly configuration page. It's really as easy as that. We go to 10.0.0.10 for our network and see the following screen.
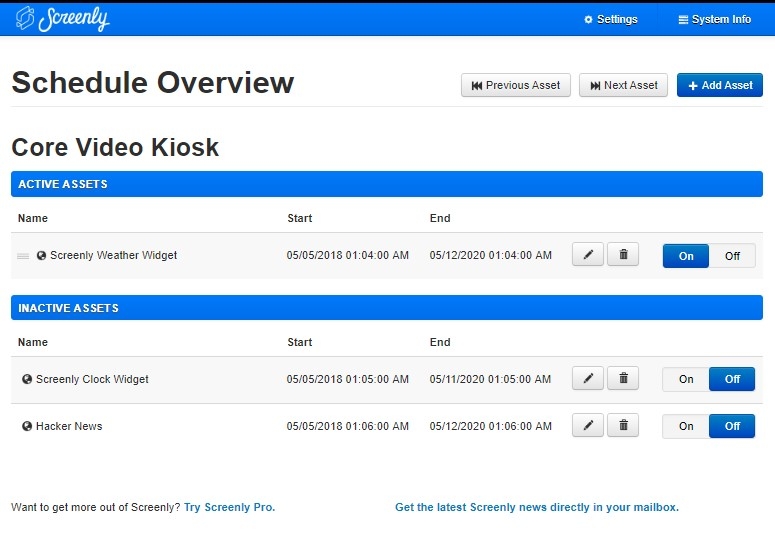
The way this works is that you can choose to add "Assets" to the Assests list and then choose for them to be Active/Inactive. Active simply means that it is part of the looping displays playlist. Let's add some files to the Screenly Device.
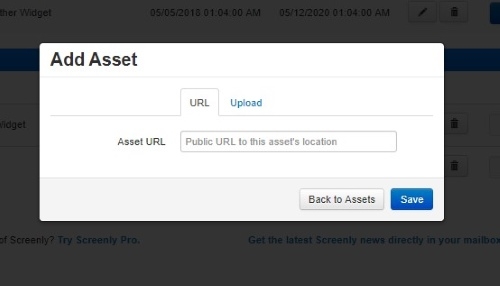
Simply select Add Asset, then either enter a URL to the video/image file you want displayed or upload it directly to the device.

Now the newly added asset will be Inactive by default. Simply select the On radio option to the right of the asset name.

Now that asset is in your devices playlist and will play on repeat. You can edit the playback options by clicking on the edit icon in the Asset name line (to change playback length for images, simply edit these values).
I've just got a picture and video of a couple of my recent 3D prints on our test rig here. I have the image set to display for 10 seconds and the video to fully play. And it works just like I want, with the two alternating play time.
That's how you create your own digital sign using a Raspberry Pi and the Screenly OSE operating system. if you have any ideas for this software, or need any help setting it up, please get in touch! We're here to help.

