How-to guides are very useful, but while “do this, then do that” is great to reproduce exactly what is in the guide, it’s less helpful if you want or need to modify the project. This is especially true with technology projects because everything changes so quickly.
A project guide written only 6 months ago can be obsolete in a few details. So, I prefer guides that expose some of the thinking behind the steps, because the rationale is likely to last better than the details. I recently used a basic Raspberry Pi kit to make a media player. This was so simple it hardly counts as a project, but you might find the reasoning behind some of the decisions to be helpful.
Motivation
I have a couple of dumb TVs around the house and a collection of ripped CDs and DVDs stored on a NAS, so I need media player devices to play music and videos on the TVs. I won’t get smart TVs because they are surveillance sinkholes. In the past I have used proprietary media players, but they inevitably cease to be supported after a while. Then things start to fail as other services they rely on change, while the media player is stuck at the last update.
The high-level requirements are that I want something that does the job well, is well supported, is likely to continue to be well-supported for a very long time, allows me to make changes and support it, isn’t based on a surveillance-capitalism business model, and is toward the front of the pack on security updates. To me, that requires an open-source media player with a long-ish history and a large and diverse user community, running on a main-stream open-source platform (some flavour of Linux).
Hardware
On the hardware side, I wanted something as cheap, small, and low powered as possible while still having adequate media streaming performance. Once again, I want something that’s widely available, as open as possible, and with a very large and active user base. Raspberry Pi ticks those boxes. Obviously it also needs to run the software I want. So the choice of hardware and software was actually a circular process of choosing both simultaneously.
Comparing the available models, I found plenty of online evidence for RPi Model 3 being sufficiently powerful for my intended use case. I don’t need the extra power of a Model 4 and I found some comments saying that because the Model 4 is new, it is not as well supported by third-party software.
Core Electronics have a good range of Raspberry Pi kits, so I started there on the grounds that I wanted something with all the pieces that I could assemble as rapidly as possible. They have three media centre kits:
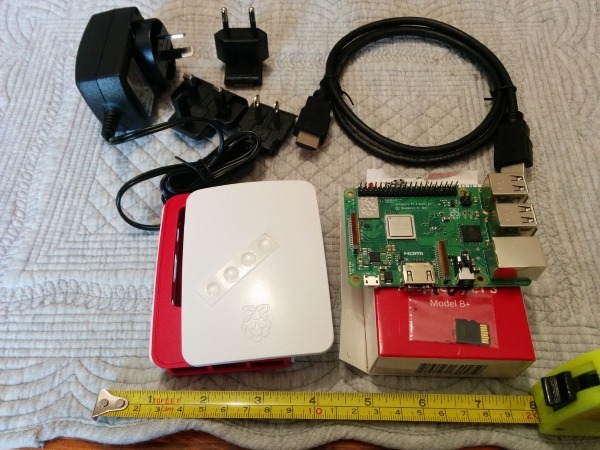
The computer part of these kits is identical. They differ only in the external hardware: keyboard, case, and mounting system. I already had a decent wireless keyboard with a trackpad so I didn’t need any of the keyboards that came with the media centre kits. I ended up ordering the Raspberry Pi Starter Kit.
This is essentially the basic media centre kit minus the keyboard. There is only one difference on the computational side - the SD card is preloaded with NOOBS rather than the media centre software. This wasn’t a problem because NOOBS makes it easy to install the media centre software I had chosen.
Software
The available media player software can be roughly divided as media servers and media streamers. The servers manage the media files and serve it on demand to the streamers. The streamers receive the media content from somewhere and play it to the TV/speakers. Most media centre software contains both the server and streamer components on the assumption that it’s convenient to have one box do everything. In my case, I have a NAS which stores the media files and is perfectly capable of running decent media server software. However, because I am lazy, I chose to initially run combined-media server/streamer software on the Raspberry Pi. This minimised setup time for me because that’s how most media software is configured out of the box. The NAS just acts as remote disk storage without a media server. I may later configure the media server on the NAS and use the Raspberry Pi as a streamer only.
Here is a comparison of some Linux media server software. Note that some of the alternatives such as LibreELEC and OSMC are actually based on Kodi with a stripped-down operating system. So I chose something Kodi-based as best meeting my criteria. I also decided to initially use a Kodi/Linux bundle rather than installing Kodi on a generic Linux distribution because I presumed any configuration issues were more likely to be solved out of the box.
Here is a comparison of Kodi-based media server software that runs well on Raspberry Pi and comes pre-configured for RPi:
All other things being equal I would opt for XBian because it is based on Debian (a major Linux distribution) and has rolling releases. This means that improvements, bugfixes, and security updates get rolled out pretty rapidly. However, XBian isn’t one of the choices in NOOBS, so I chose OSMC over LibreELEC on the grounds that the OSMC OS is less stripped down and nailed down than the LibreELEC and I wanted a bit more freedom to tinker on the software side in case I had problems integrating with my LAN and NAS. In the medium term, I will probably switch to Xbian. In the longer term, I will probably configure the media server on my NAS. I don’t know if that has any implications for what I run on the client media players.
Assembly
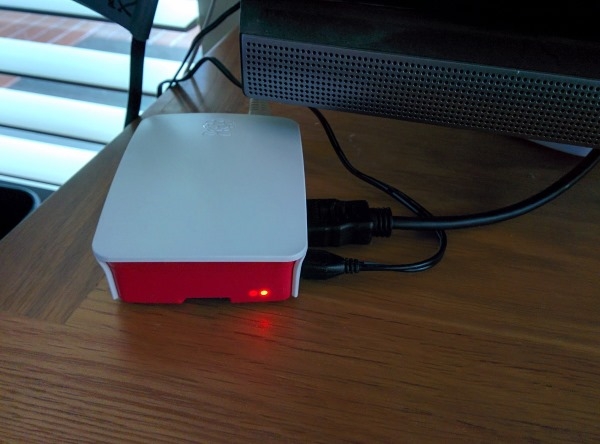
So, having gone through the reasoning, we *finally* get to the building. The starter kit turned up and I have to say that I had seen the photos online but hadn’t appreciated how small the computer board is - about the size of a pack of cards.
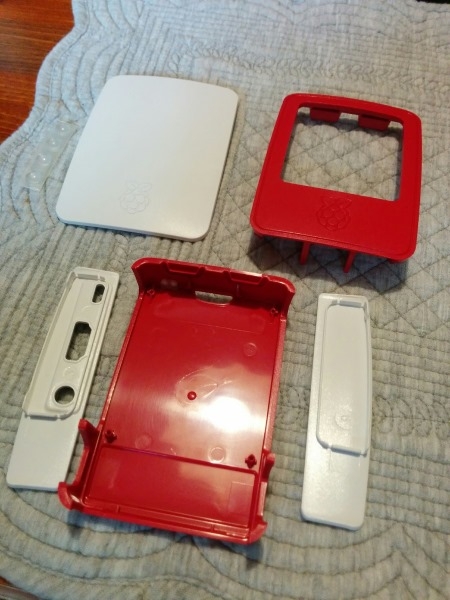
Assembly of the board into the case is ridiculously easy. It would have been less than 5 minutes if I hadn’t been taking photographs.

Software Setup
Plugin the cables and connectors and the hardware is done. Then comes the software. The system booted straight into installing Raspbian. I didn’t know what to expect so I ran with that. This took a couple more reboots than I expected, possibly because the system was not connecting properly to my network. It initially had an IP address that was unrelated to my LAN. After some random fiddling with network settings and reboots it eventually got itself sorted out and was behaving like a perfectly standard Linux desktop.
At that point, I decided that I didn’t want to install Kodi on the Raspbian desktop, but rather to install OSMC from NOOBS. A bit of Googling showed me how to boot into NOOBS - reboot and click SHIFT to get into safe mode. Installing OSMC was straight forward - select it and go.
Then when I had OSMC installed and running I couldn’t connect to my NAS because it has some reasonably strict default security levels. Some more Googling found instructions for NAS configuration to expose the media directories to random players on the LAN. I won’t cover those here because they are specific to the NAS that I am using, but you are generally going to have to go through some process on any NAS to make sure the media directories are accessible to players.
Conclusion
All up, the software configuration took considerably longer than the hardware assembly, but only maybe an hour, which is pretty good when you don’t know what you are doing.