In this guide, we are going to be unboxing and setting up your Bambu Lab H2C so you can get printing quickly!
A quick but important note: always consult your included instruction manual alongside this guide. The packaging layout and shipping materials on these machines can change a little from time to time, so there might be a minor extra step in a future revision. Most of these steps are going to remain very much the same, though.
Let's get right into it!
Unboxing the Printer
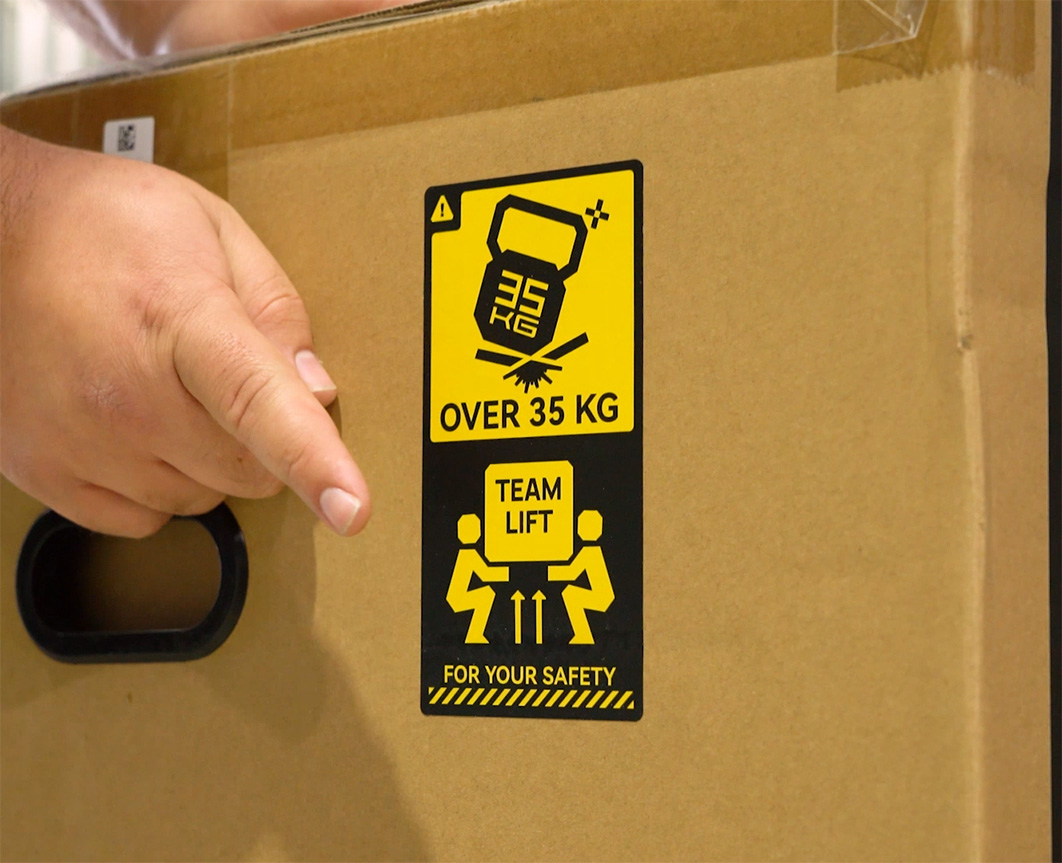
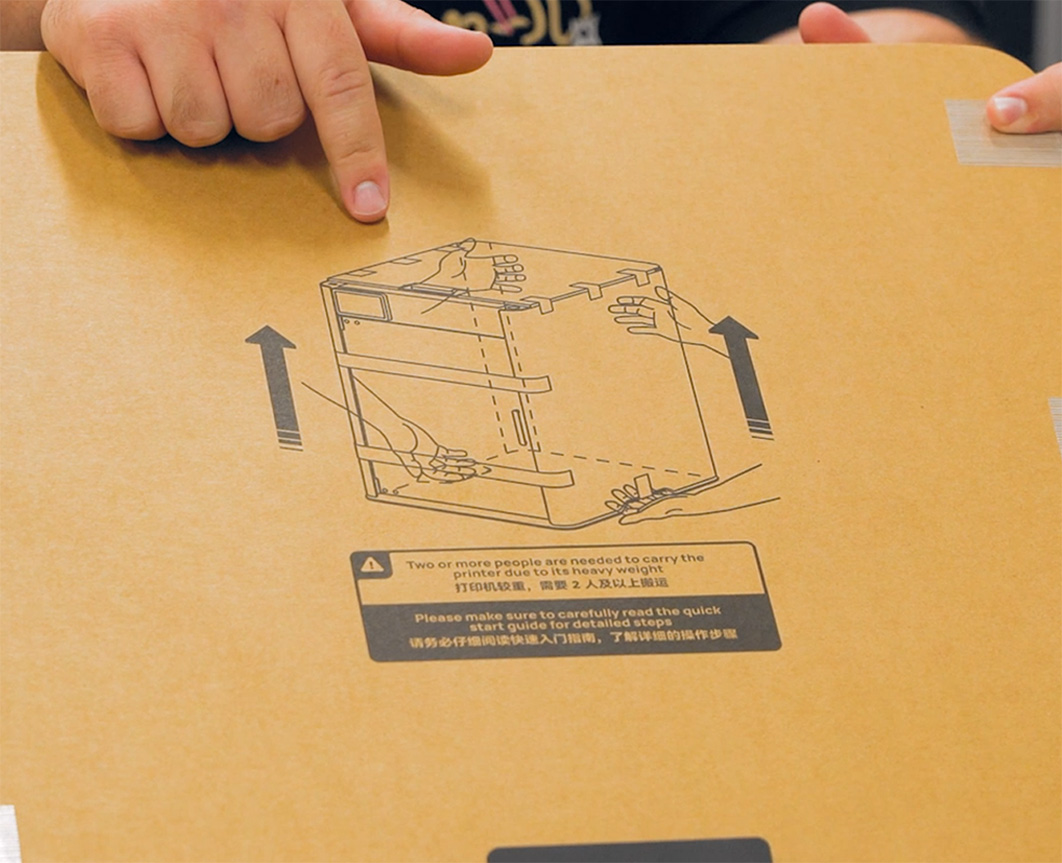
Starting off, the box weighs about 50kg, so lift with your knees, not your back, and ensure that you use at least 2 people to lift or move the machine.
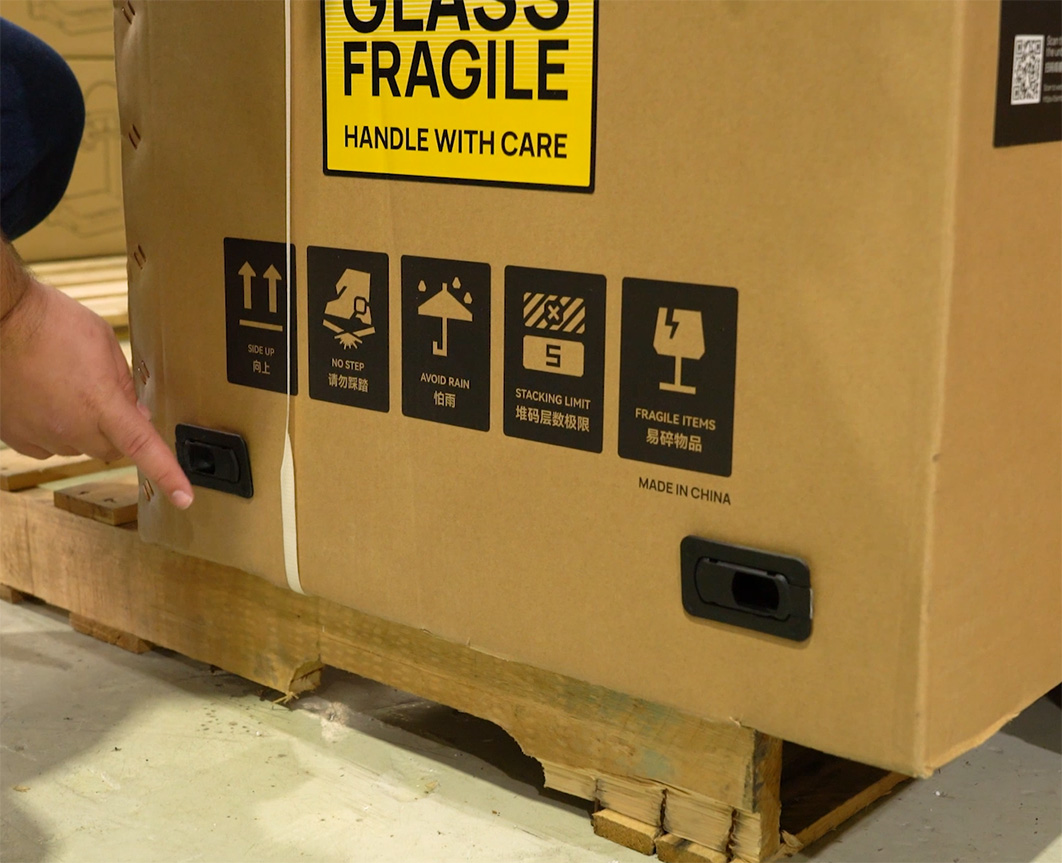
When it comes to opening it, don't be an excited ape with a box cutter! instead look for the four box clips on the bottom. Simply pull these out to allow the entire top of the box to lift right off.
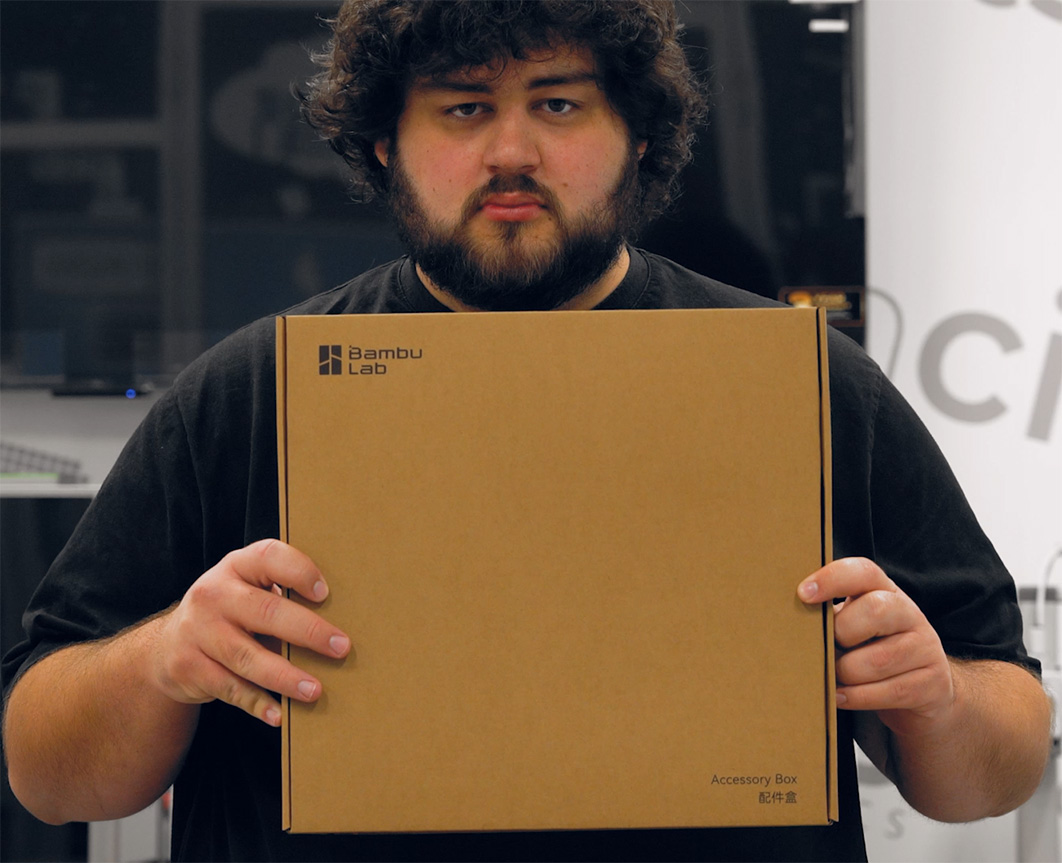
On the very top of your box, you will find your instruction manual, your accessories box, and very importantly, your cool Bambu Lab stickers.

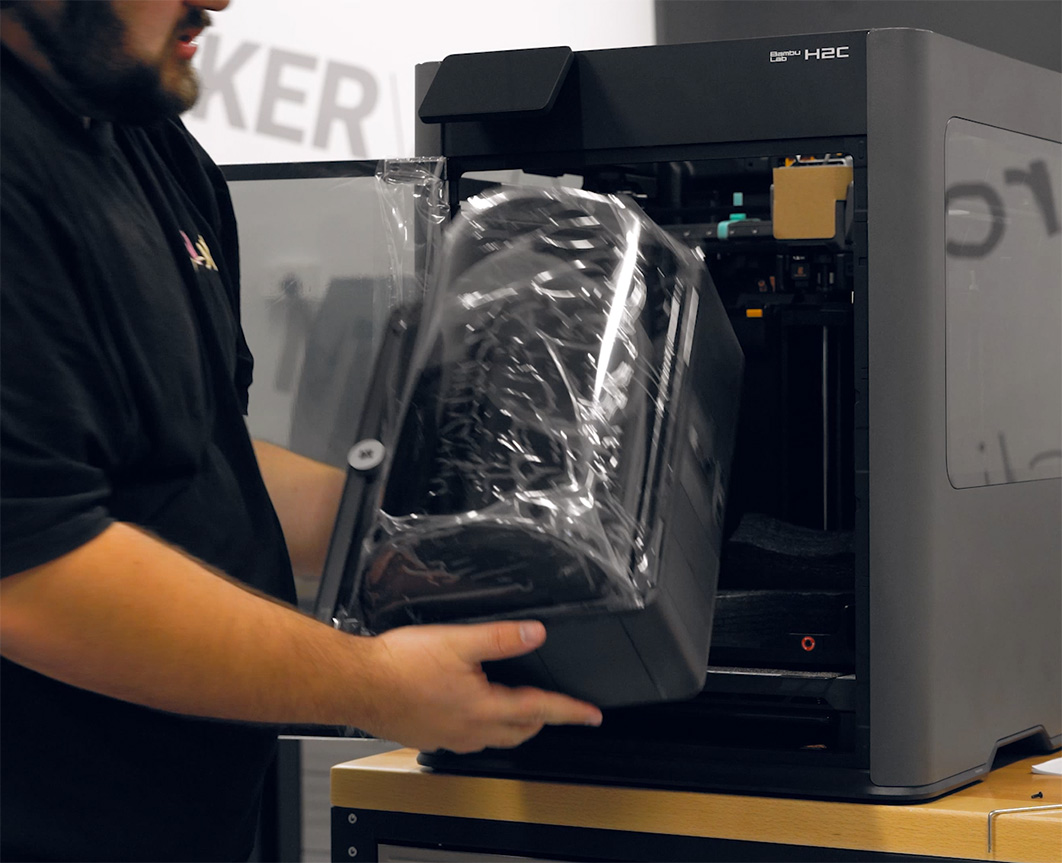
Go ahead and remove the top foam, as well as all the packaging material, air cushioning, and bubble wrap that protected the printer on its journey. You should then be able to take it out of its plastic bag and place it on your shelf, workbench, or wherever it will live. To help you lift it out, there are handles located under the side of the machine (as shown on the top diagram of the packaging).
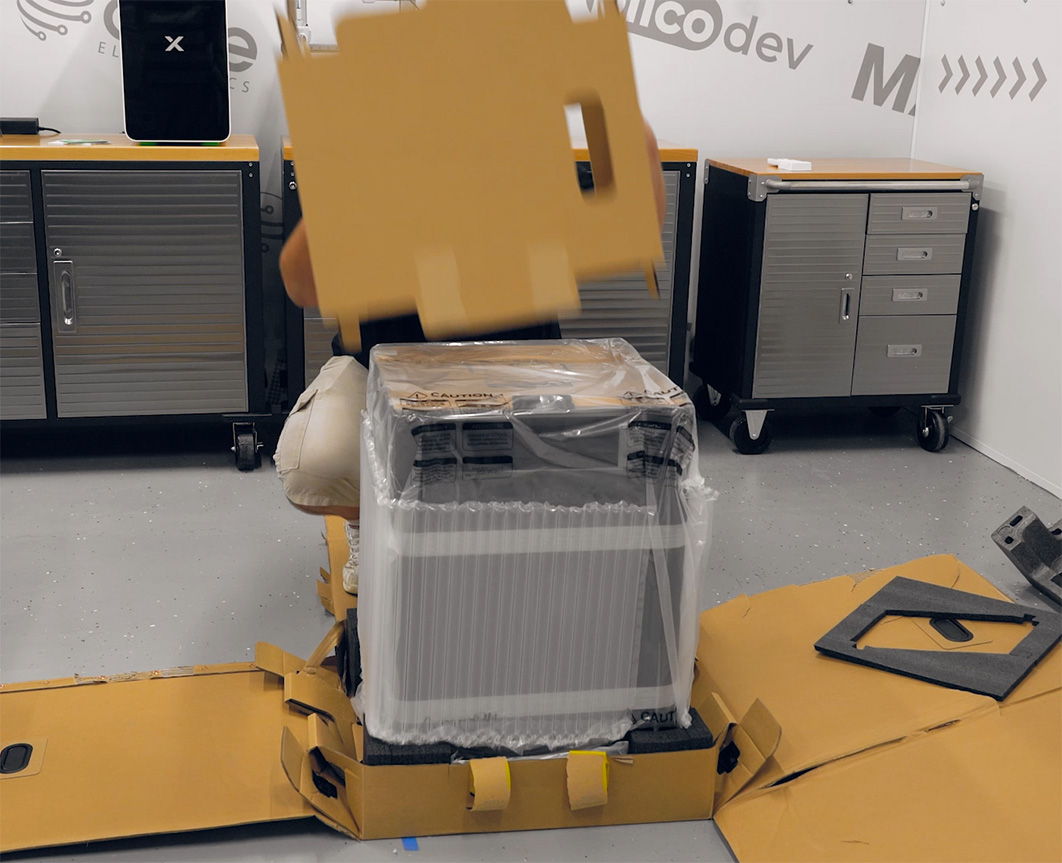
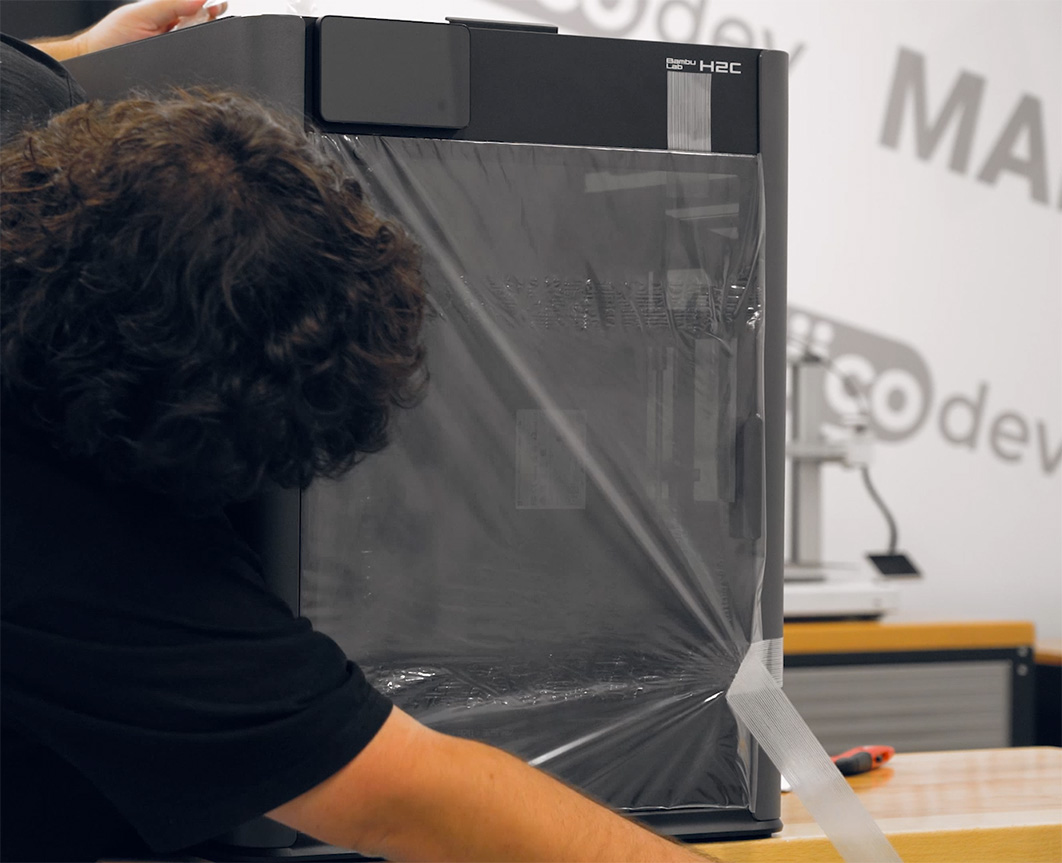
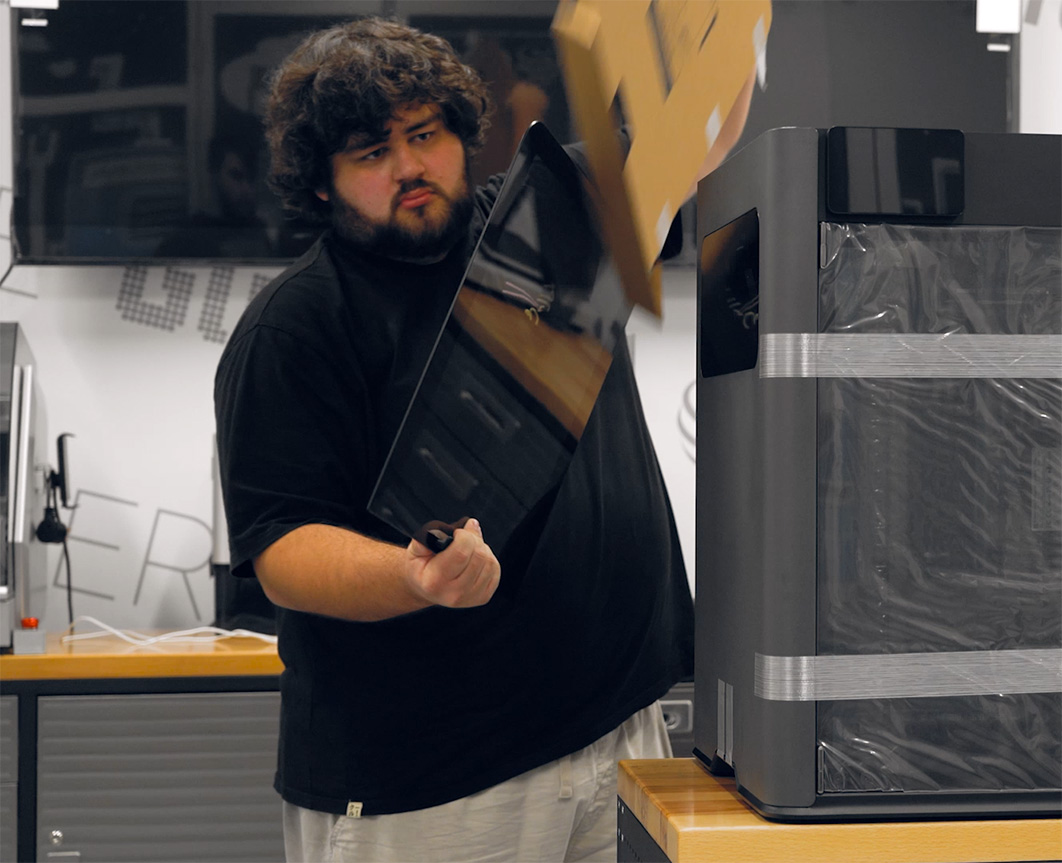
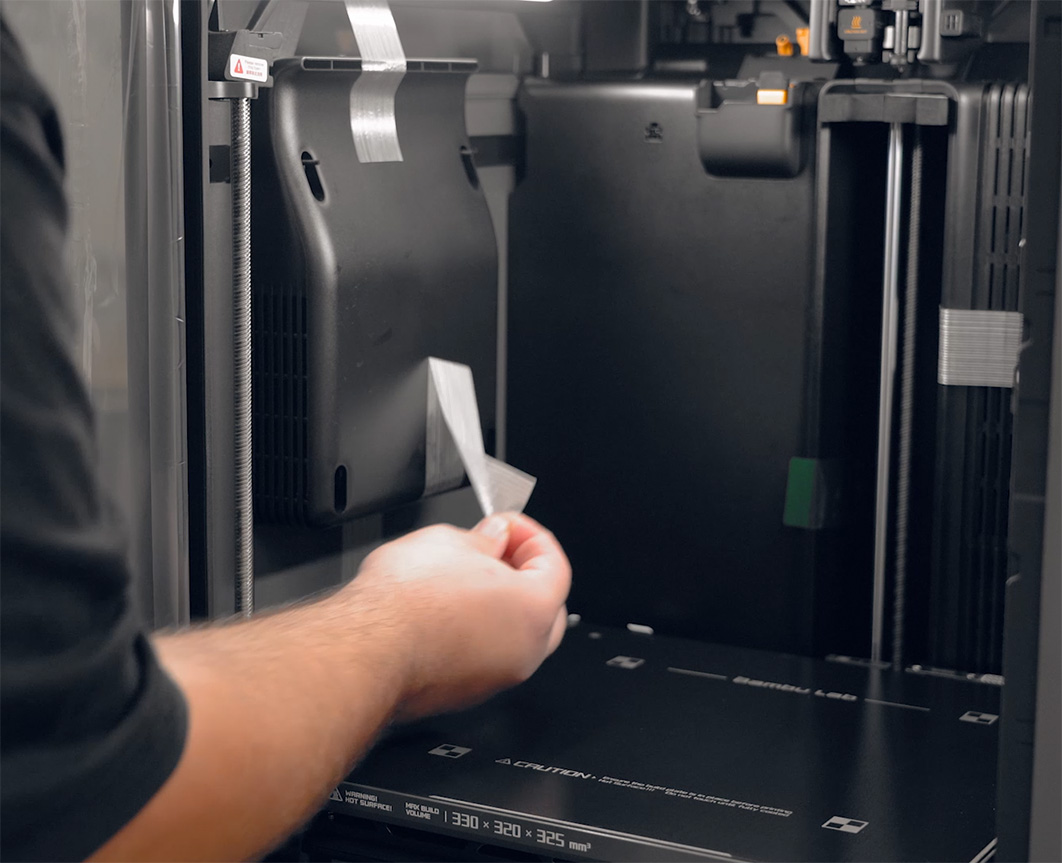
Once it is safely on the bench, remove all bits of tape from the outside of the machine. You will also need to remove the top piece of cardboard, but be careful with it, as it contains your glass lid!
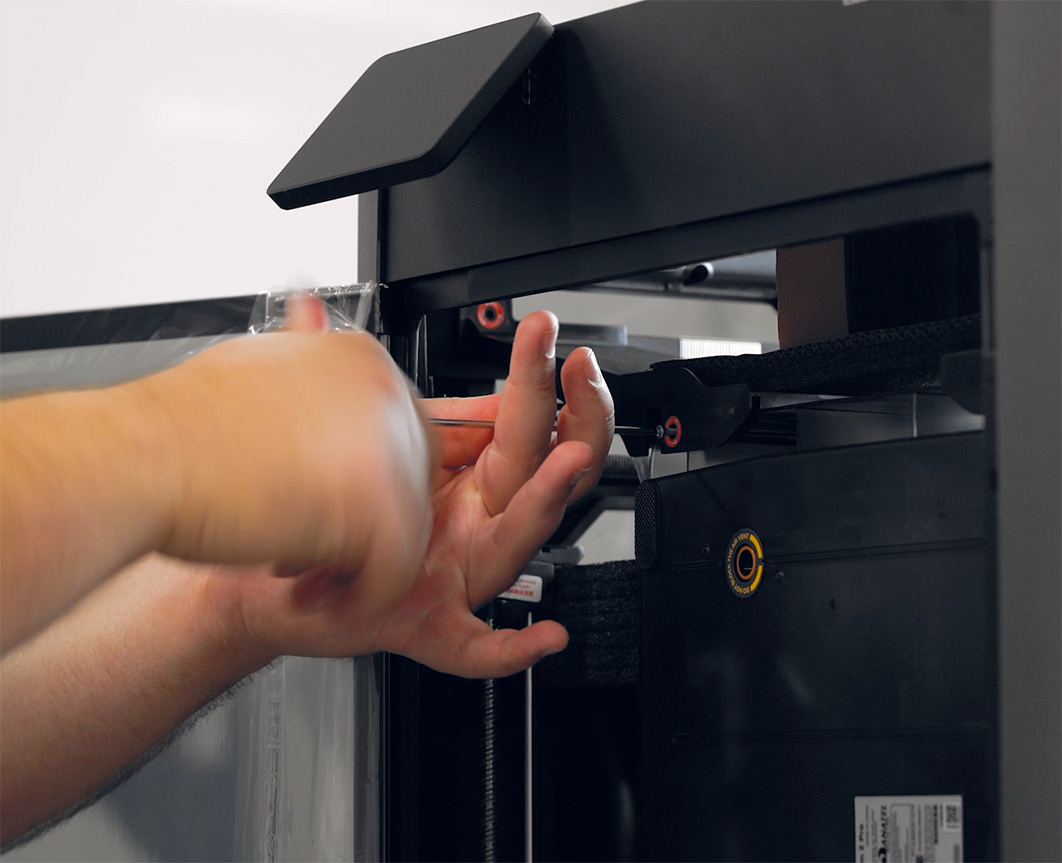
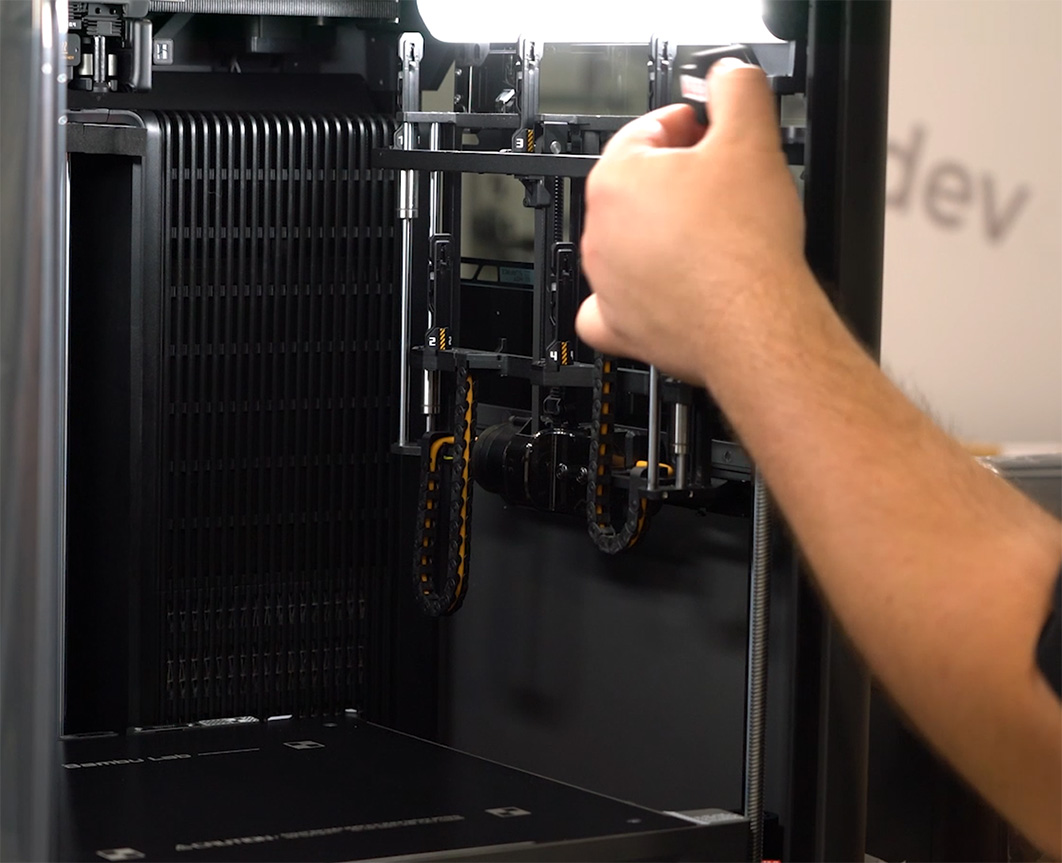
Now it is time to get inside the machine and free up the moving parts. Grab your accessory box and find the included toolbox. Inside is an Allen key that you will use to take out the six screws holding the AMS unit in place (two at the top on each side, and two on the bottom). Each bolt is circled with a red ring to make them easy to find. Once those are out, remove the supporting bracket and the foam holding it in place, and the AMS unit will just pop right out.
Next, remove that last bracket sitting inside by unscrewing the four screws holding it in place - there are 2 on each side.
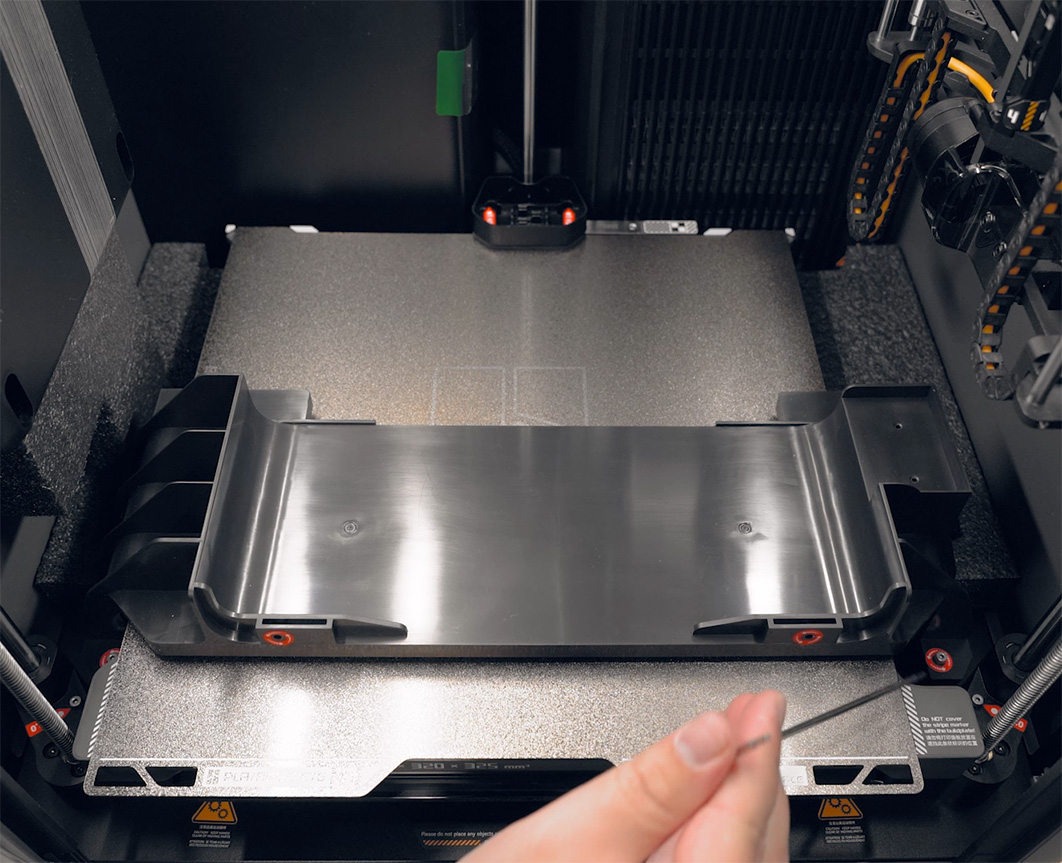
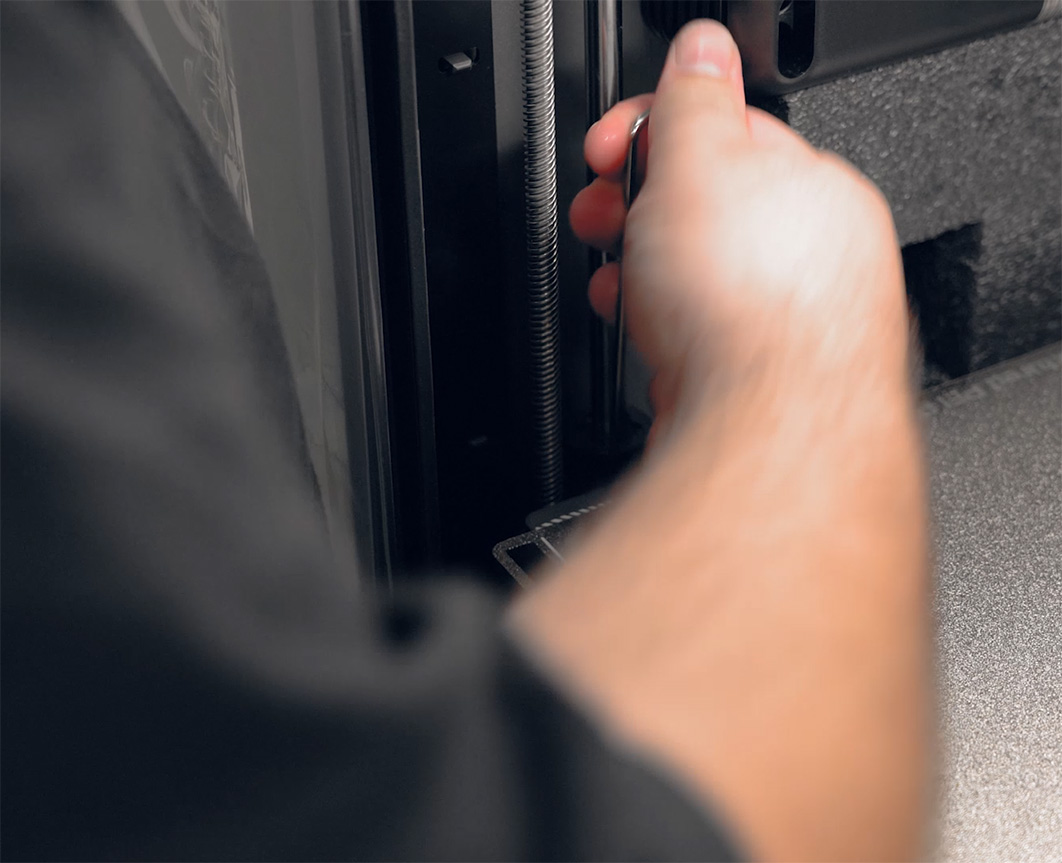
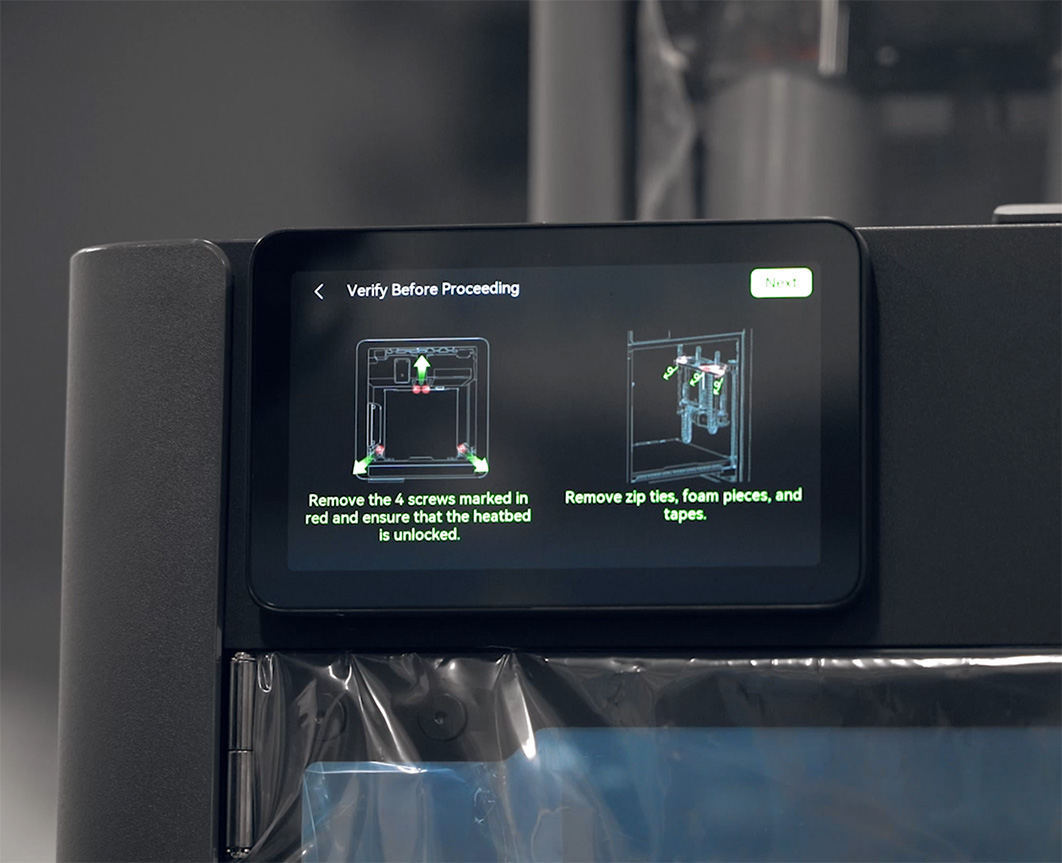
With the AMS out of the way, we need to free the print bed. The bed is held down with a bracket on each rail to prevent it from moving during shipping. To remove these, take out the two bolts on the centre-back bracket, and one bolt from each of the two side ones. They will then slide right off!
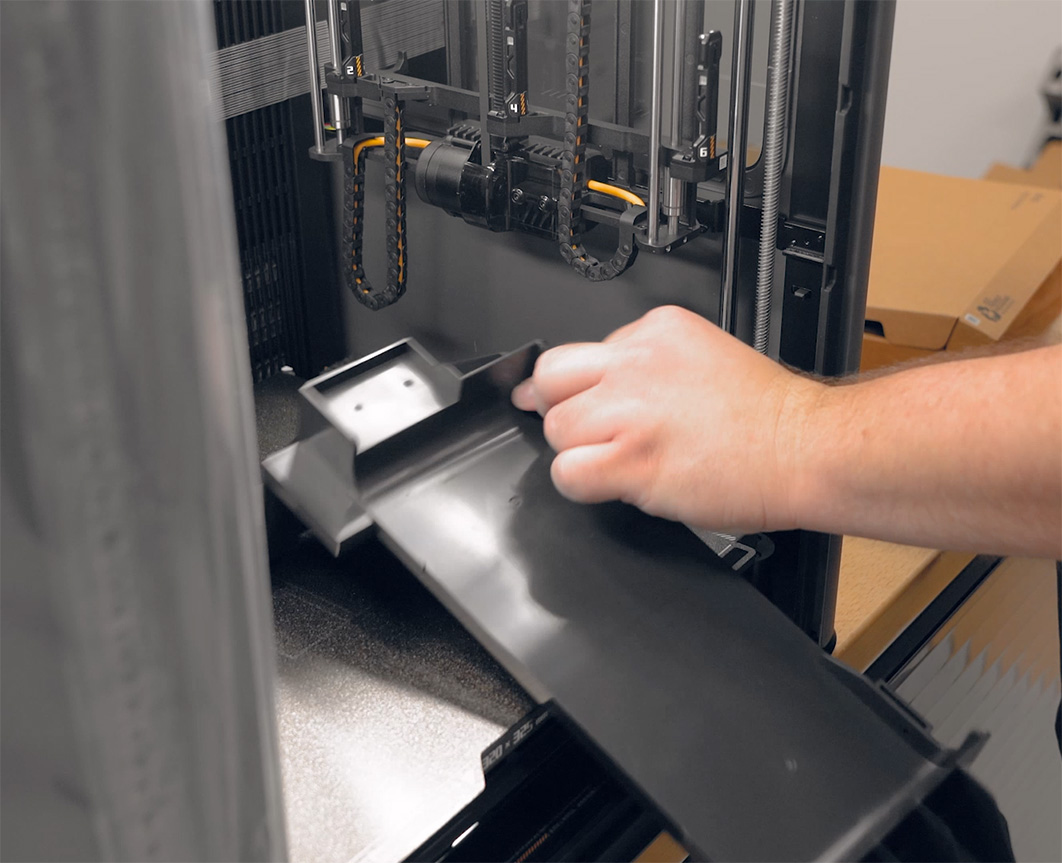
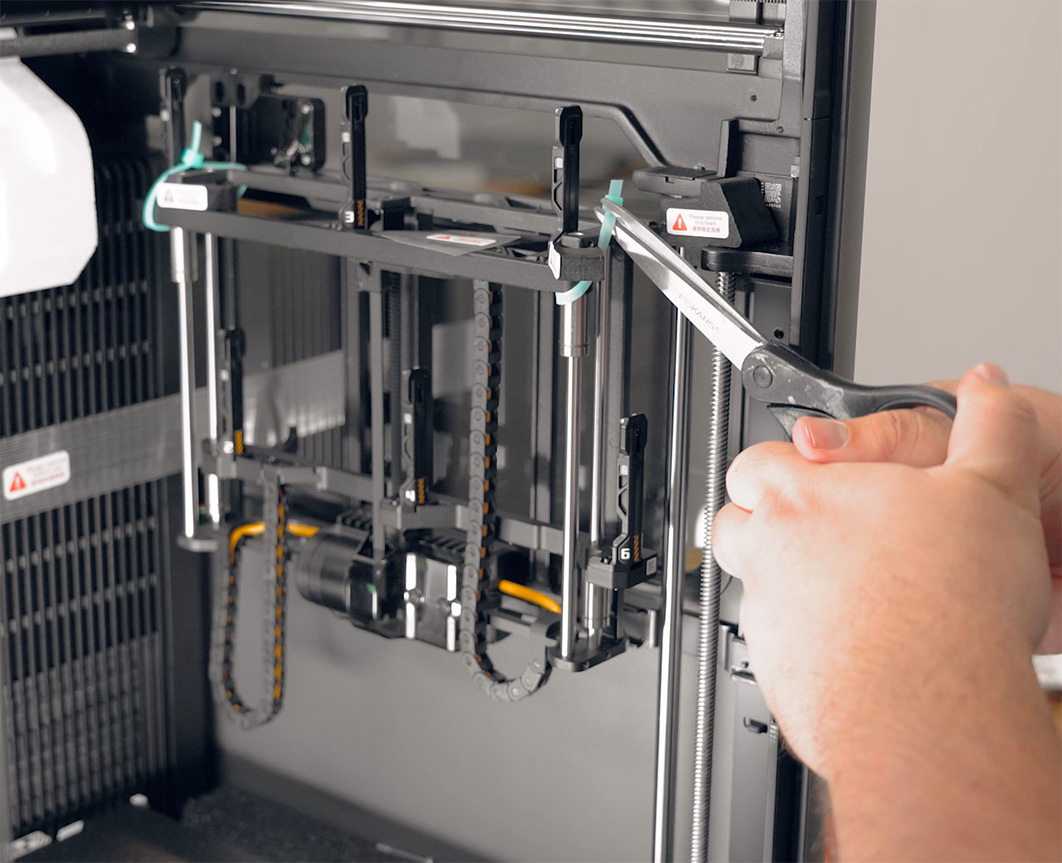
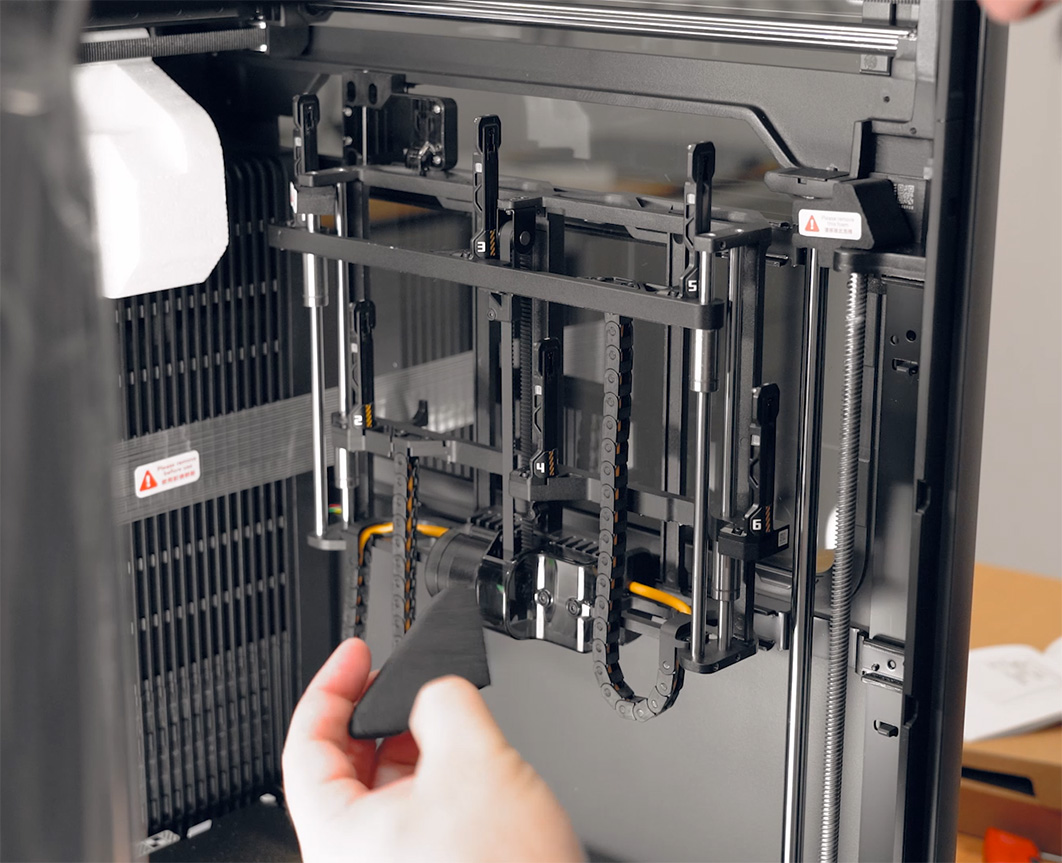
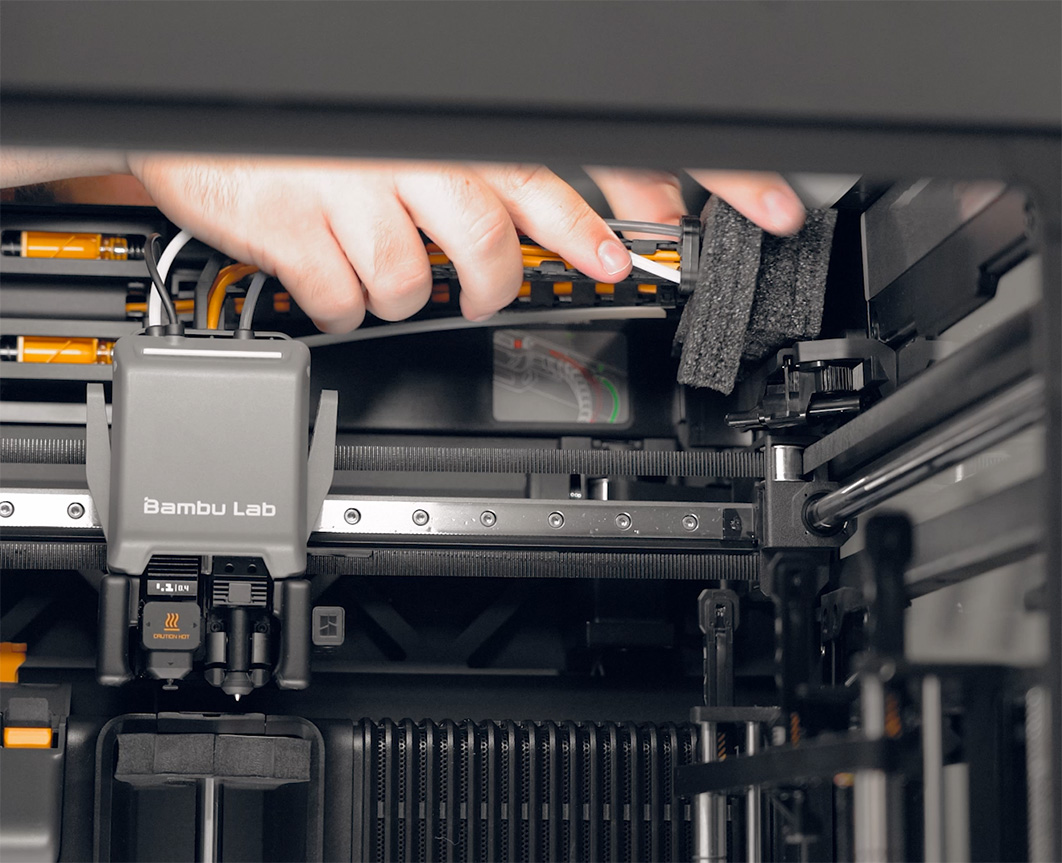
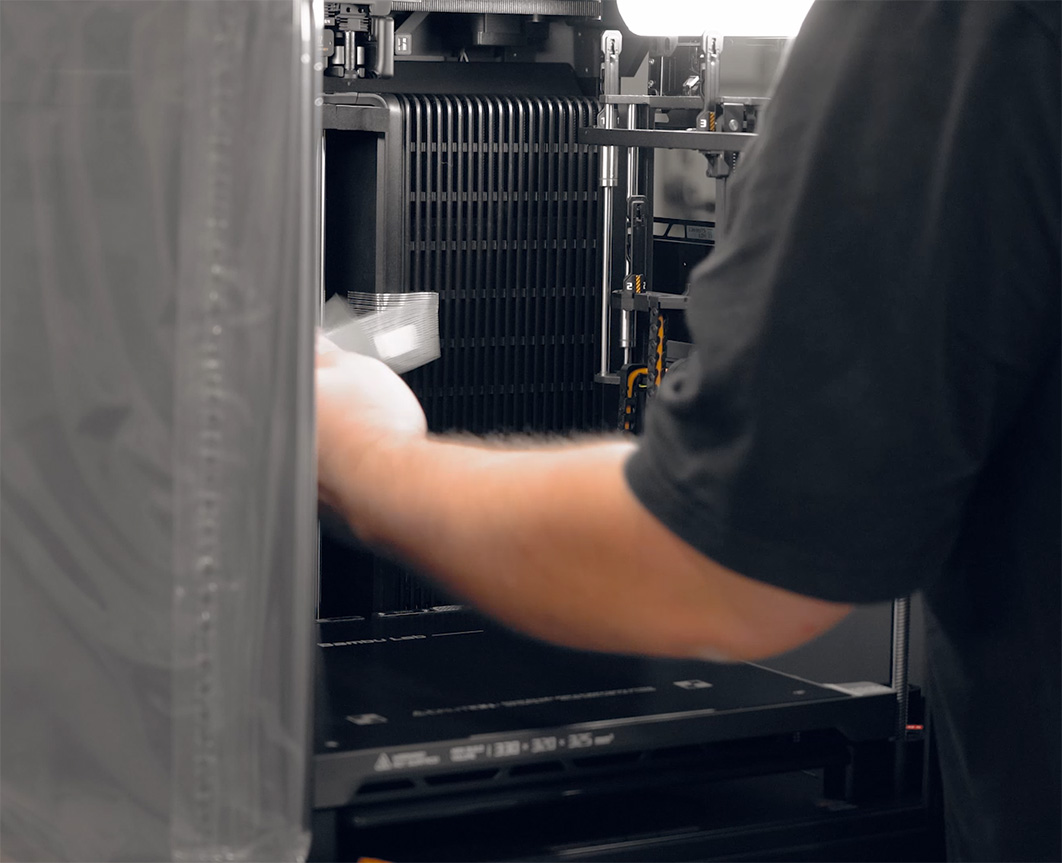
Next, free up the hot end rack by snipping away the cable ties holding it. BE VERY CAREFUL NOT TO CUT ANYTHING ELSE! Once the ties are gone, remove all the little bits of foam tucked inside it. These foam pieces are easy to miss, so look closely, and perhaps move the rack up and down slowly to check that it moves freely.
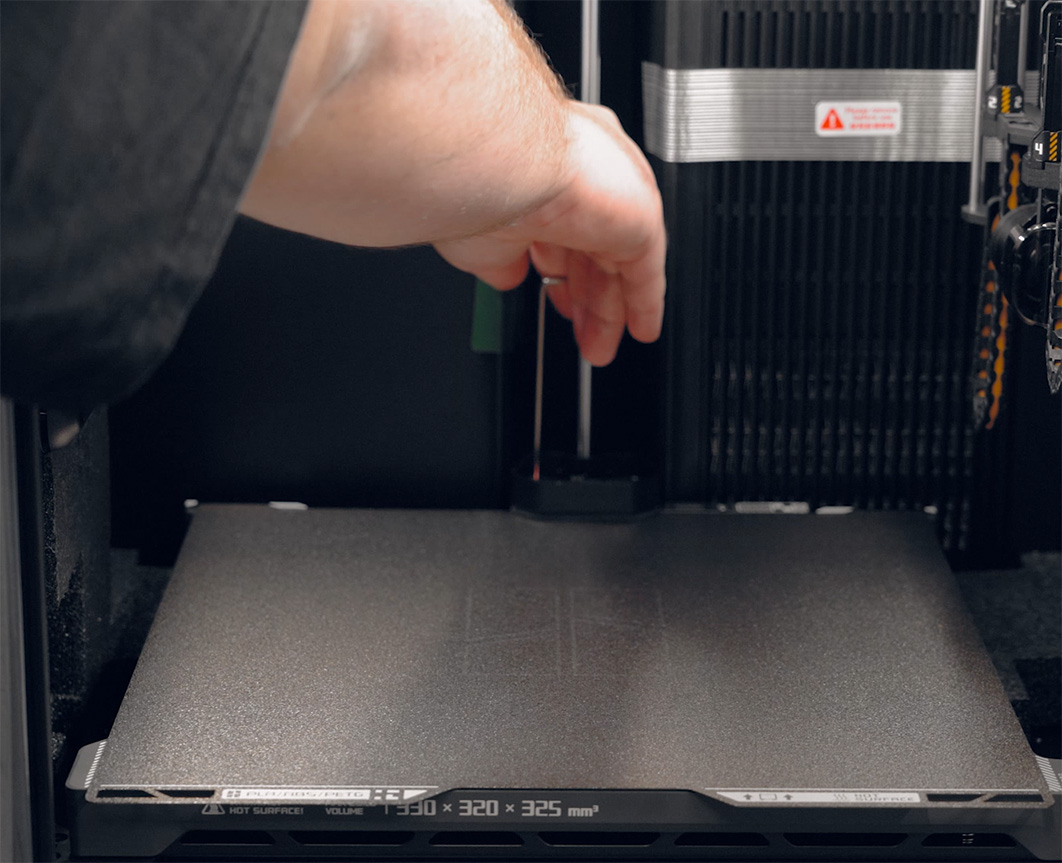
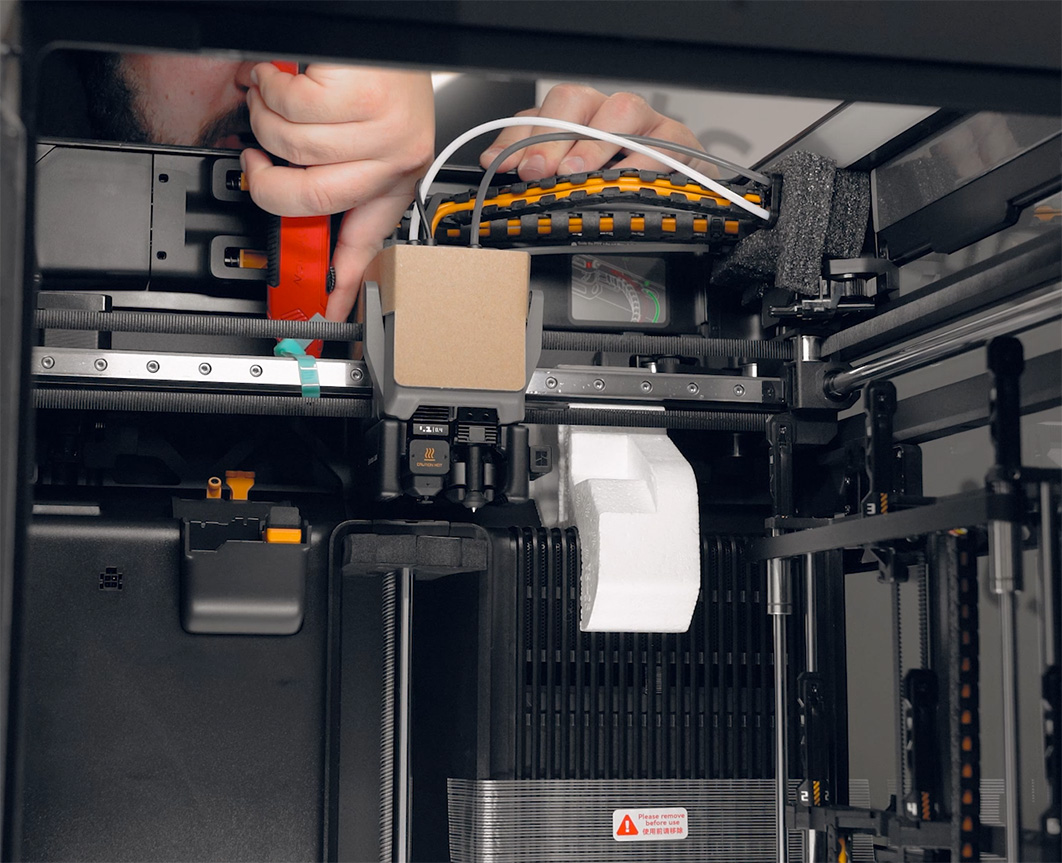
Do the exact same thing to the print head. Cut away all the cable ties and remove the foam, being very careful not to cut the belt, or you will be in for a really bad time! Push the print head forward a little bit to remove the extra bits of foam, as well as the cardboard covering the head itself. Then, push it forward just a bit more to remove the foam from the cable and tube chain.
Another important thing to remove is the foam block that sits at the top of each of the three vertical rails of the printer.
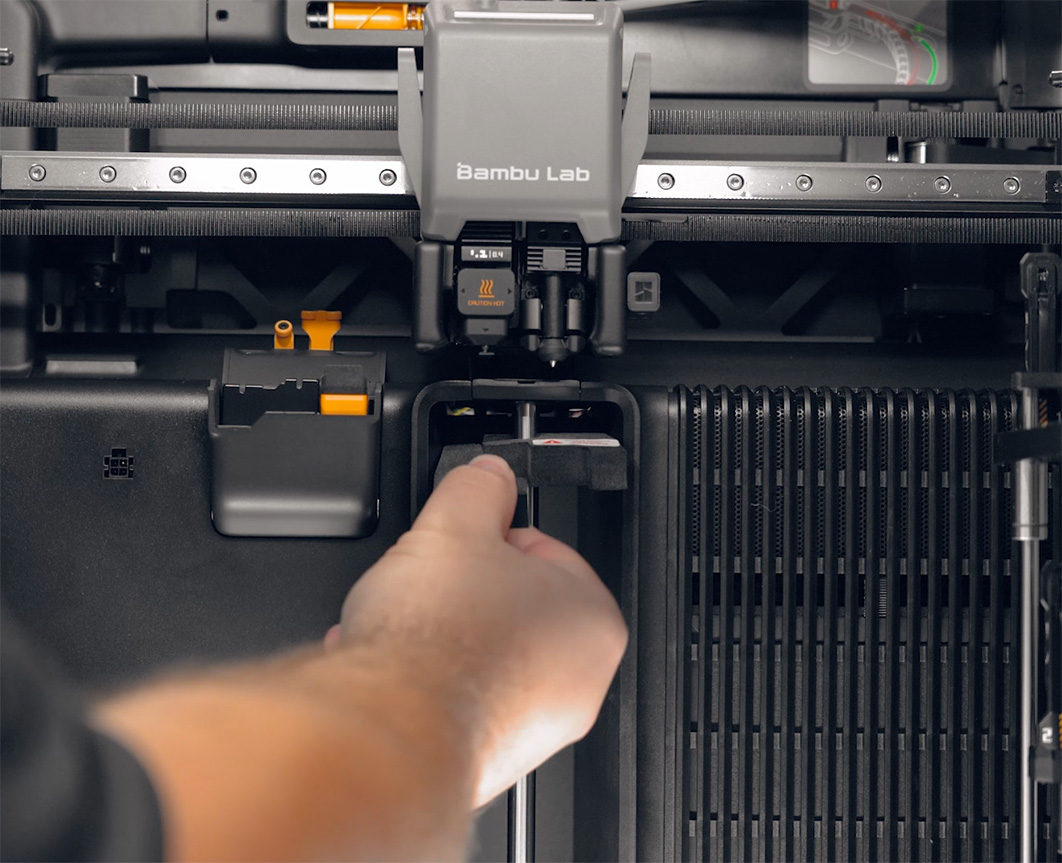
And as a final step, have a good look around inside the machine to see if there are any more pieces of tape to remove. Some of them are well hidden, so it might be worth one more check around for them and any foam blocks accidentally left behind.
And that is the inside of our machine ready!
Setting up the AMS
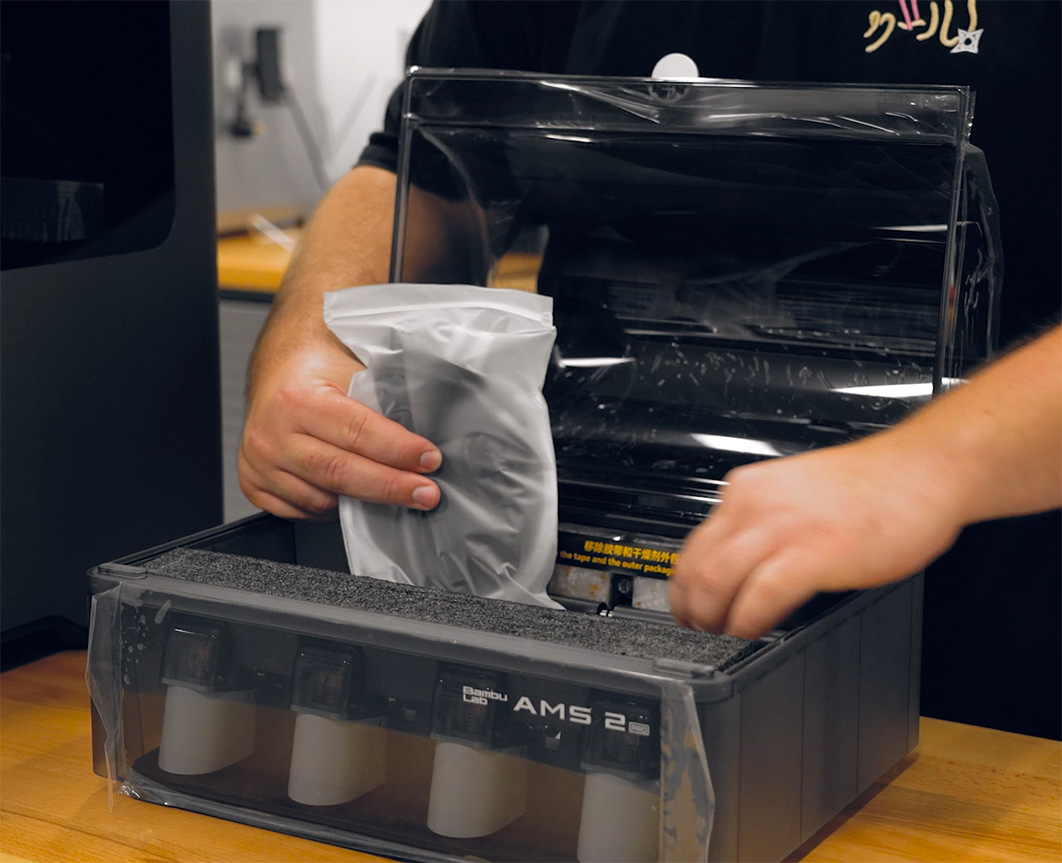
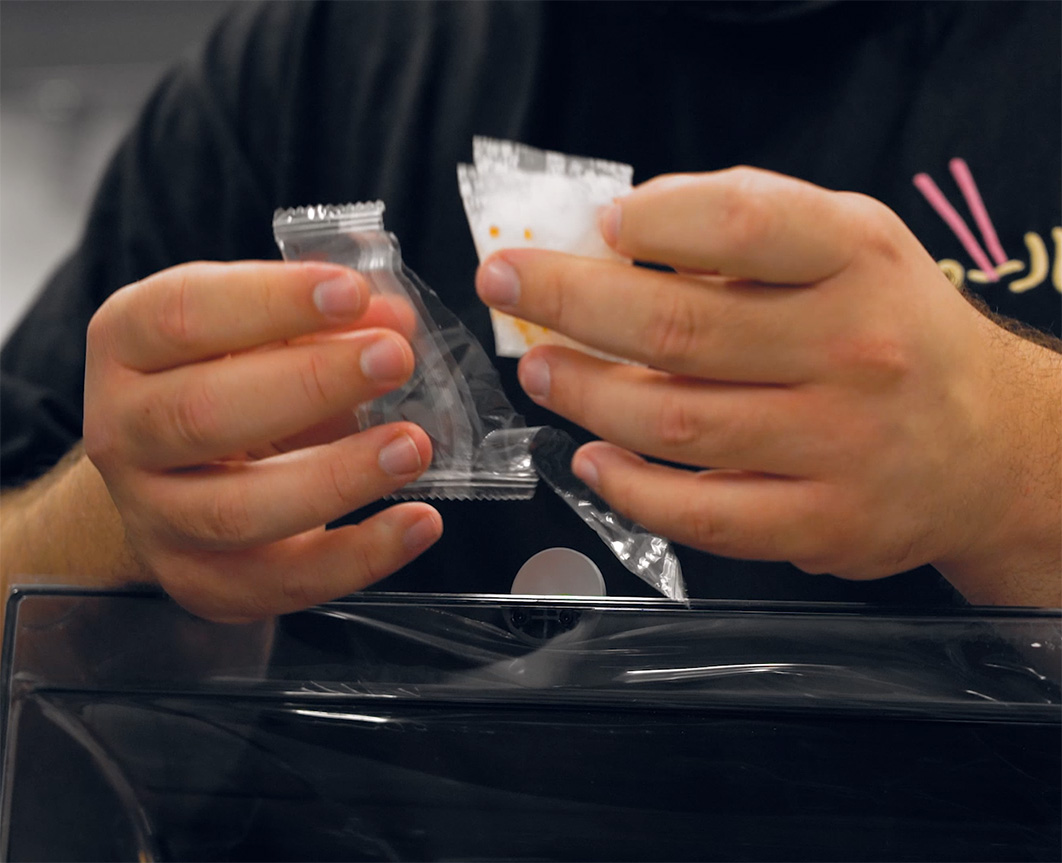
Moving over to the AMS, if you open it up and look inside, you will find a bag of cables and tubes, a big block of foam at the front that needs to be removed, and some silica gel packets.
Make sure to take these silica packets out of their plastic bag, keeping them fresh. They will sit in the back of your AMS unit and do the very important job of helping keep your filament dry. Just pop them back into the slots you found them in at the back of the ams unit.
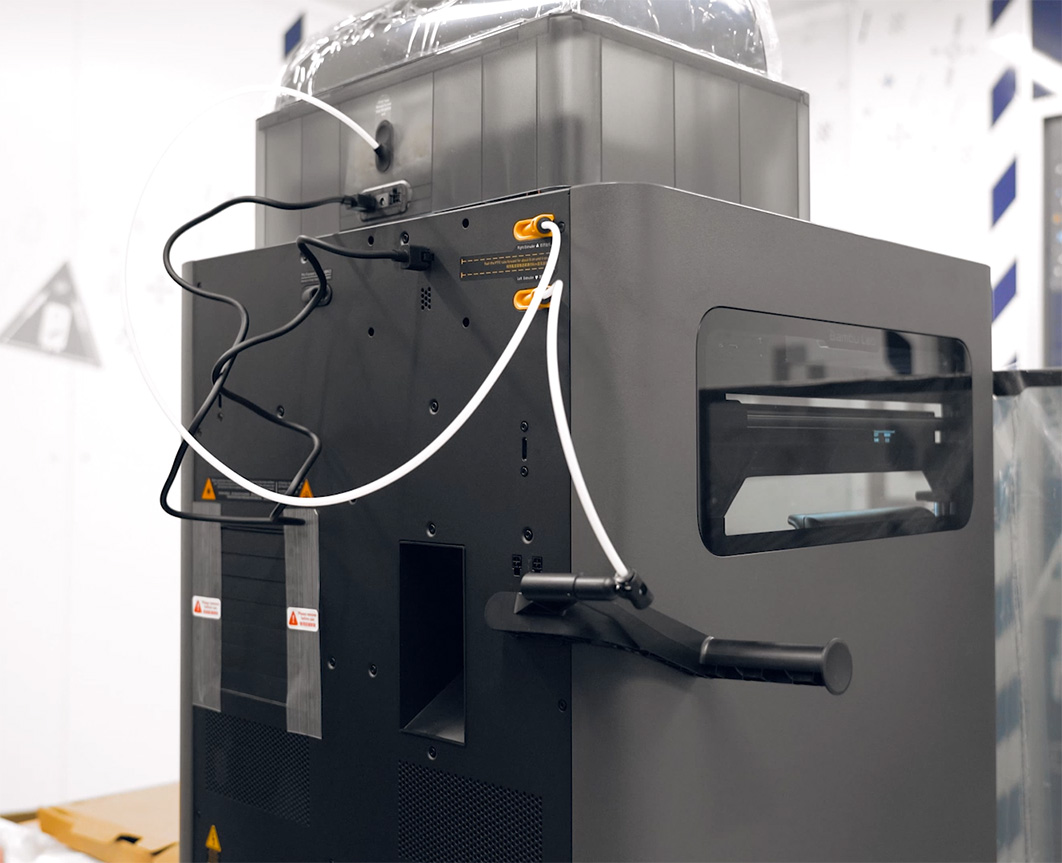
Once the AMS is prepped, put your glass lid back onto the printer. You can then place your AMS on top of your printer, or wherever you plan to keep it, provided the tubes will comfortably reach.
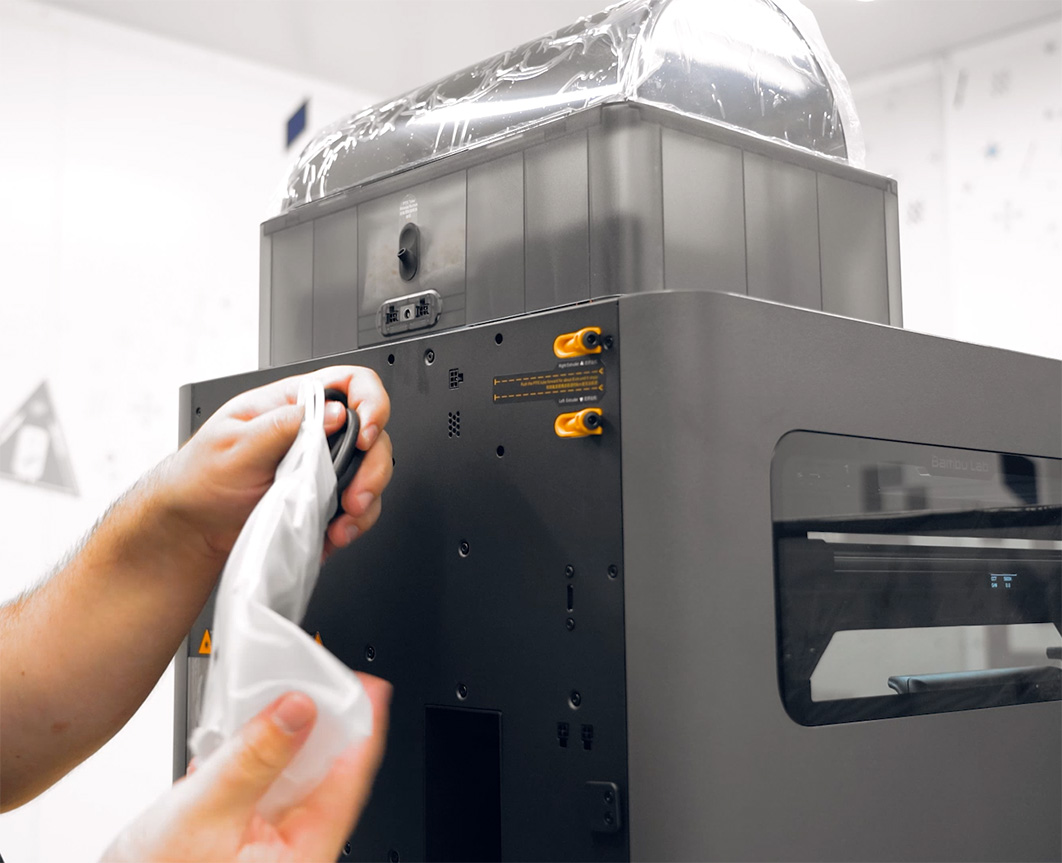
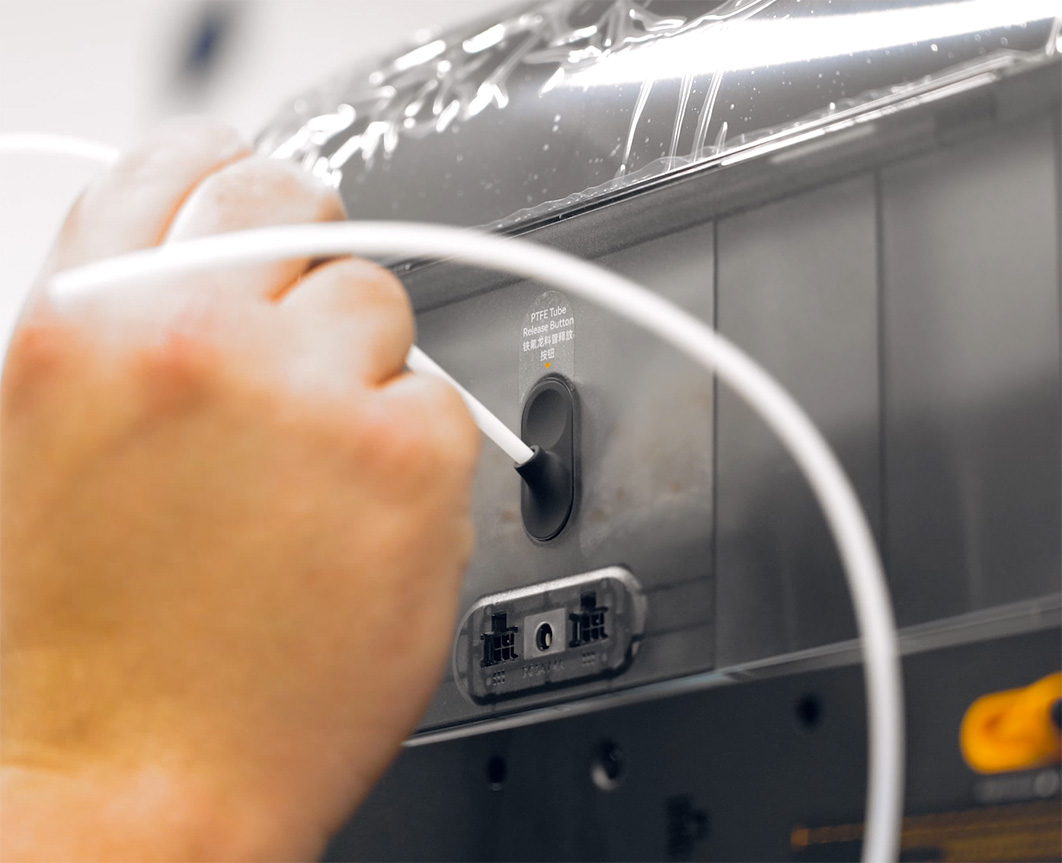
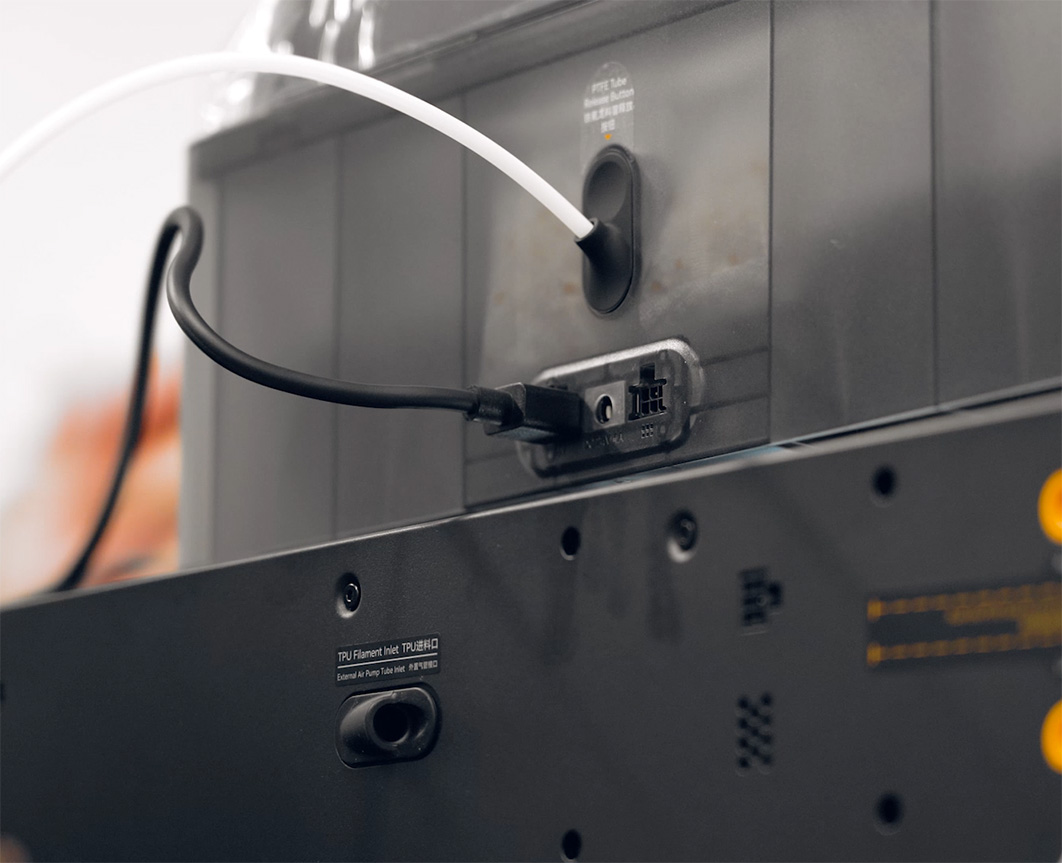
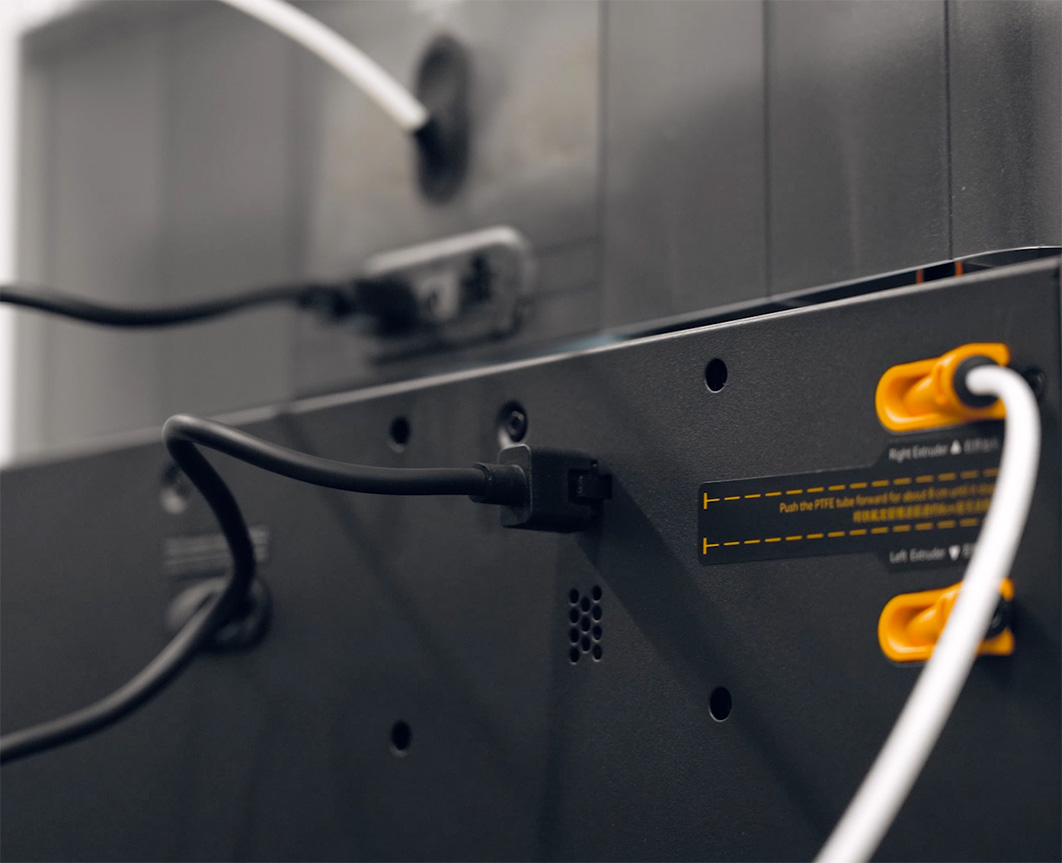
Grab your PTFE tubes and find the longer one. Insert one end into your AMS, and the other end into the top inlet of your machine. When pushing it into the machine, it will go in a little bit and then naturally stop. If you can see it from inside the machine poking through the inlet slightly, it is seated correctly in place.
Next, go ahead and plug your AMS into your printer using the included 6-pin connector cable.
Your AMS likely came with a standard power cable as well, but there is a good chance you won't actually need it. If you are only using one AMS unit, the 6-pin connector handles everything just fine. The separate power cable is only required if you are connecting multiple AMS units to your machine, as the extra ones will need their own dedicated power.
Again, if you just have a single AMS unit, you can leave that power cable in the box!
In your accessory box, you will also find the side spool holder for running single rolls of filament - most likely into the second nozzle. This just nicely slides onto the mounting slot on the side of your machine.
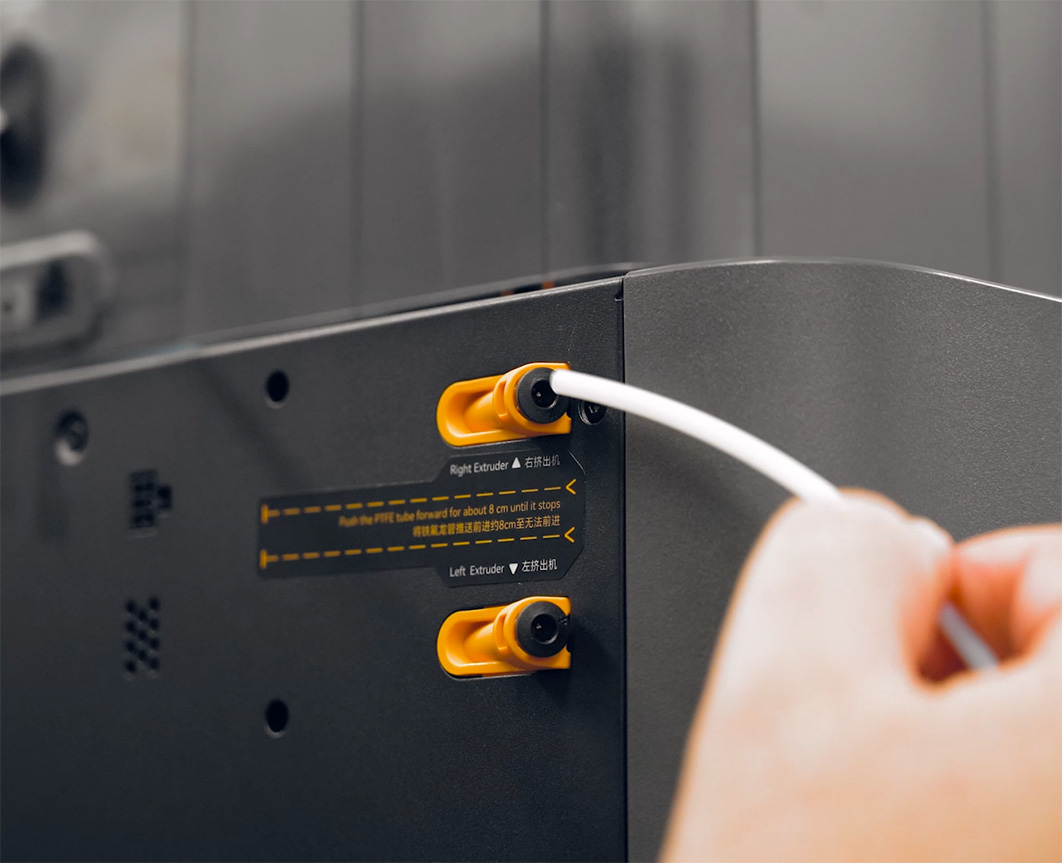
Then, grab the shorter PTFE tube and slide it into the bottom slot of the machine, exactly like you did with the top one. And then slide the other side into the spool holder.

Running a Test Print
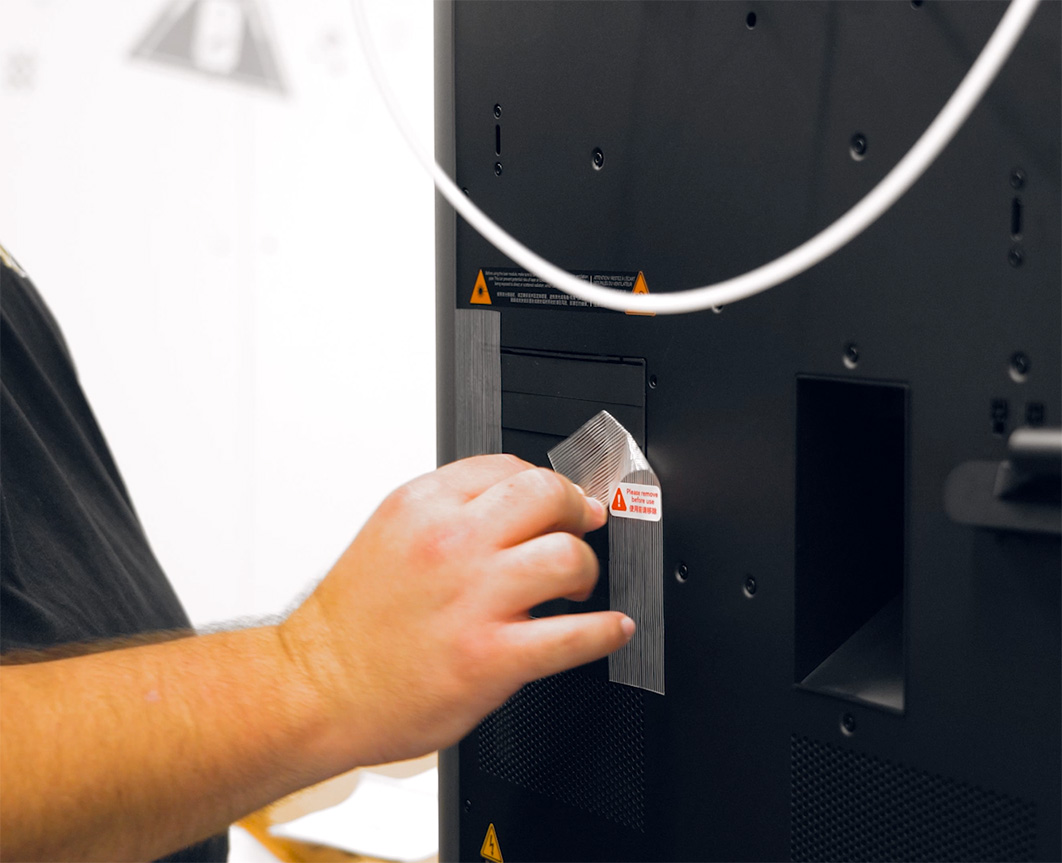
Finally, before we power things up, just double-check that you have removed the protective tape from the machine's air vents and that you have taken the safety key out of the bag taped to the back, and inserted it into the rear of the machine.
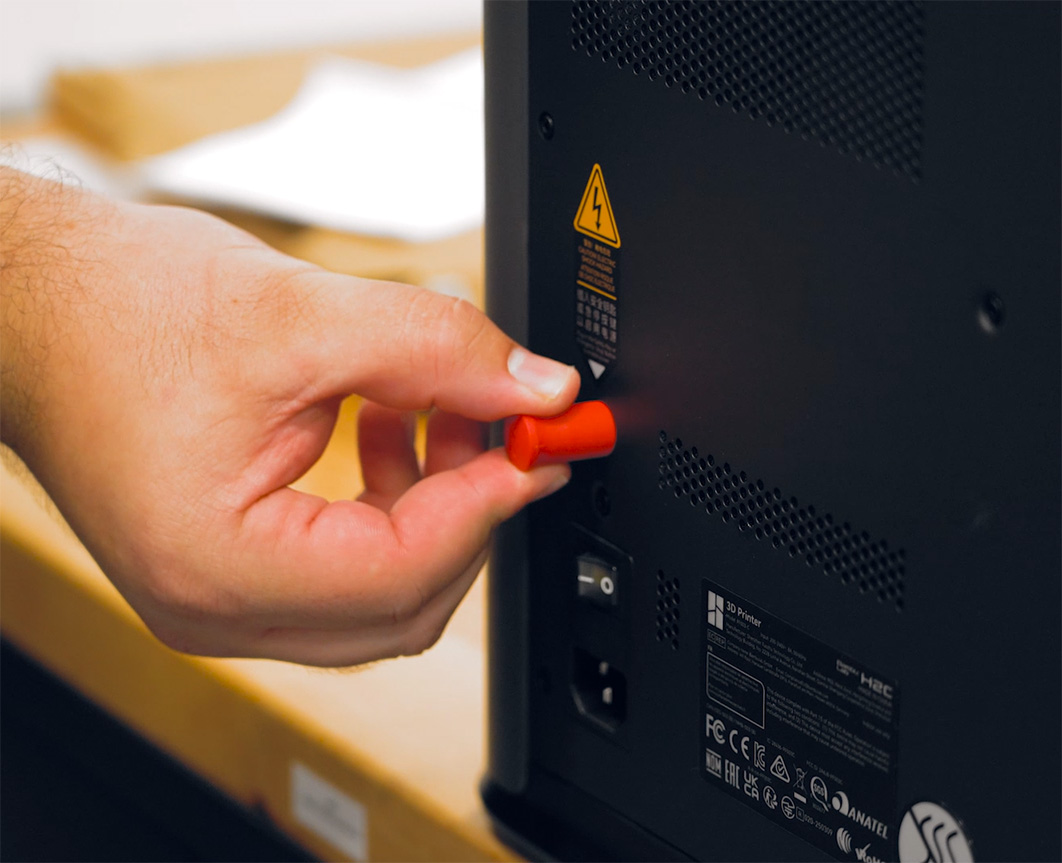
Now we can finally plug our machine in and turn it on! The front touch screen will boot up and walk you through the rest of the machine setup. First, it will run through its initial calibration, which involves aggressively shaking practically every part of the machine so don't panic, this is completely normal!
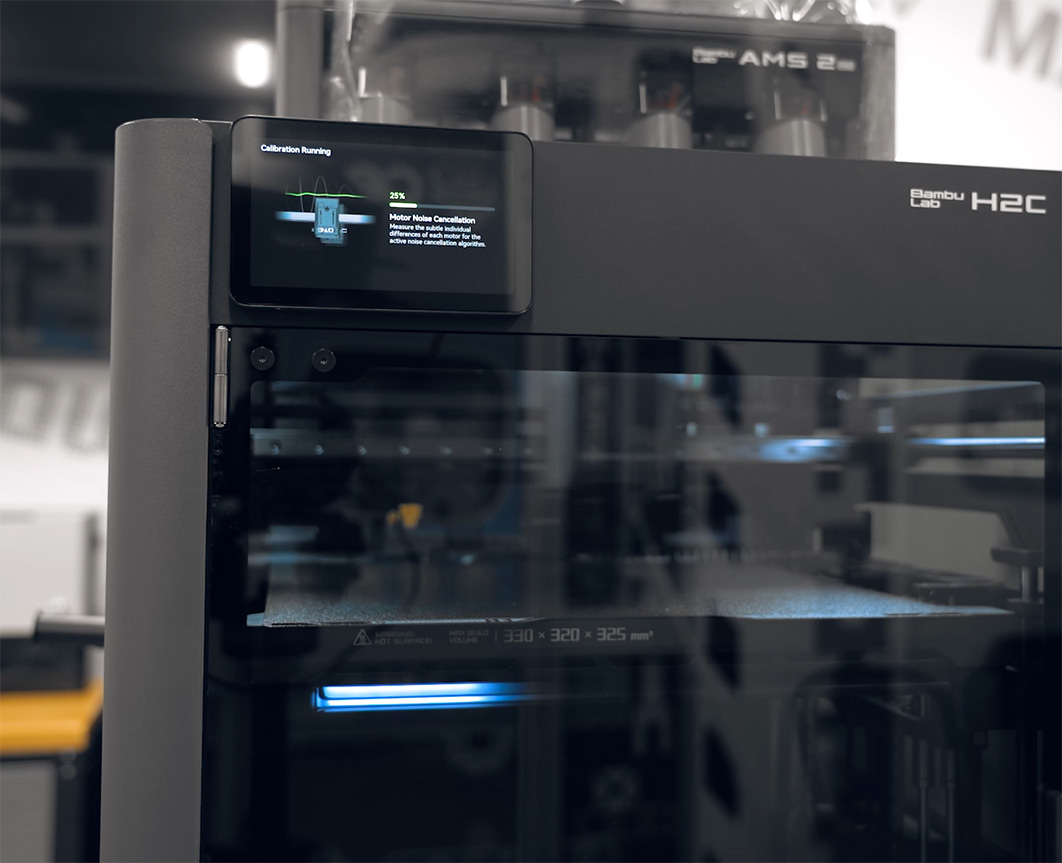
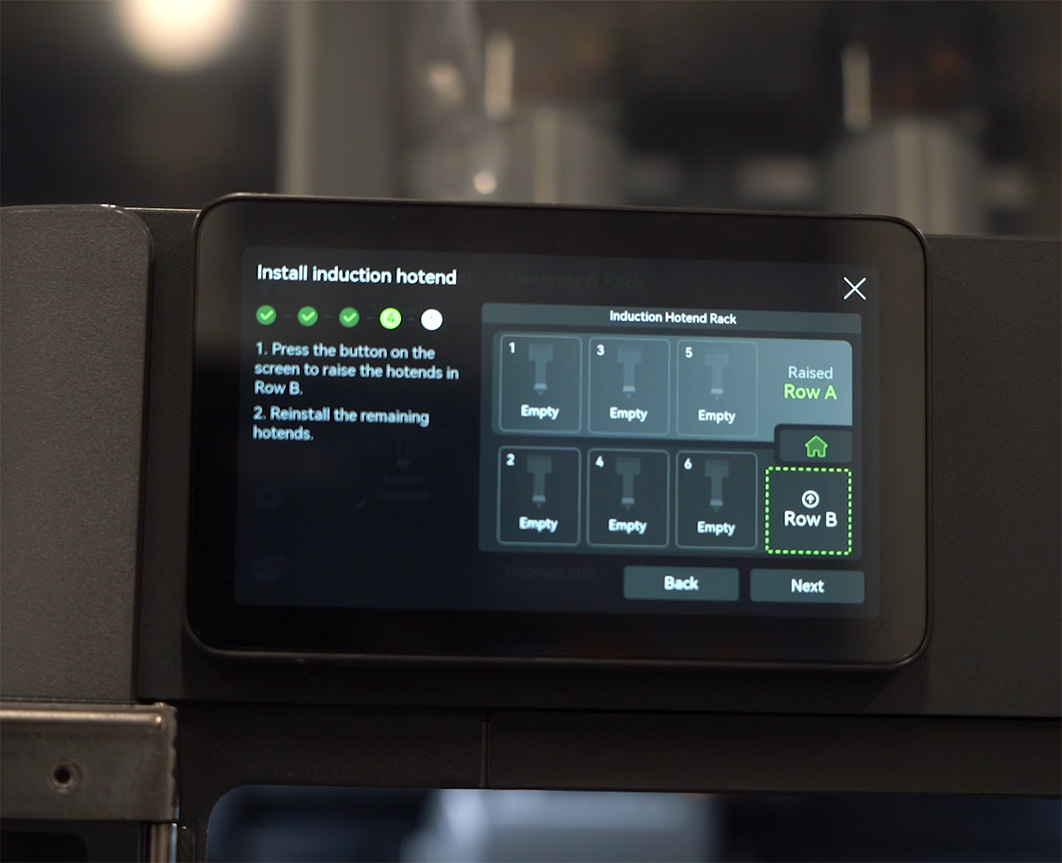
Once the shaking has subsided, the screen will prompt you to set up the hot end rack and perform a rack calibration.
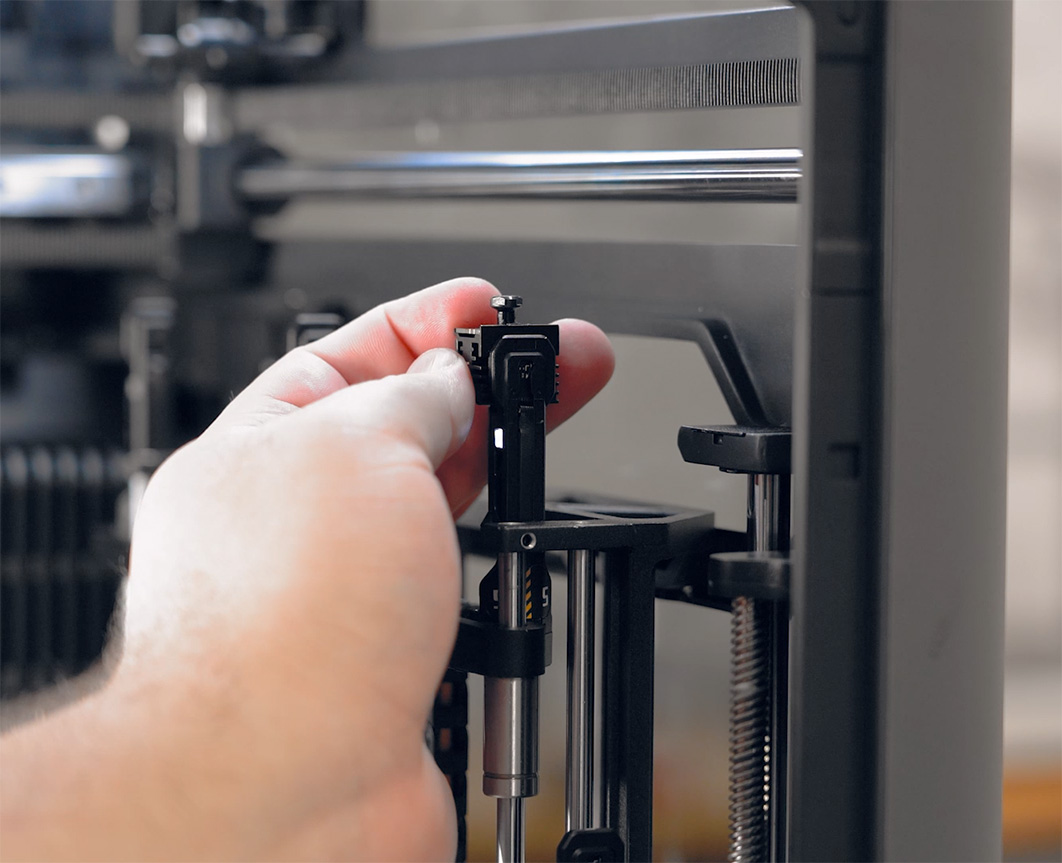
After it finishes that, the prompt will ask you to grab the hot-swap nozzles from your accessory kit and load them into each row of the rack. The printer will then automatically go through and read exactly which nozzle you put into what slot.
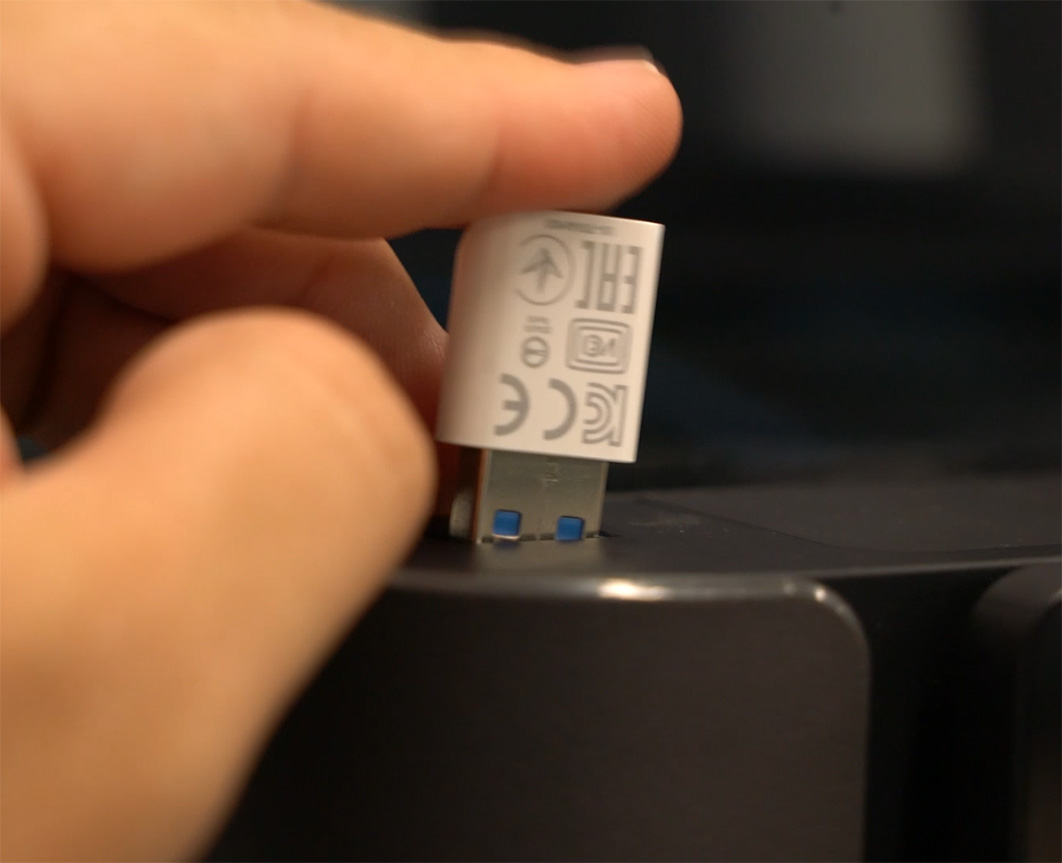
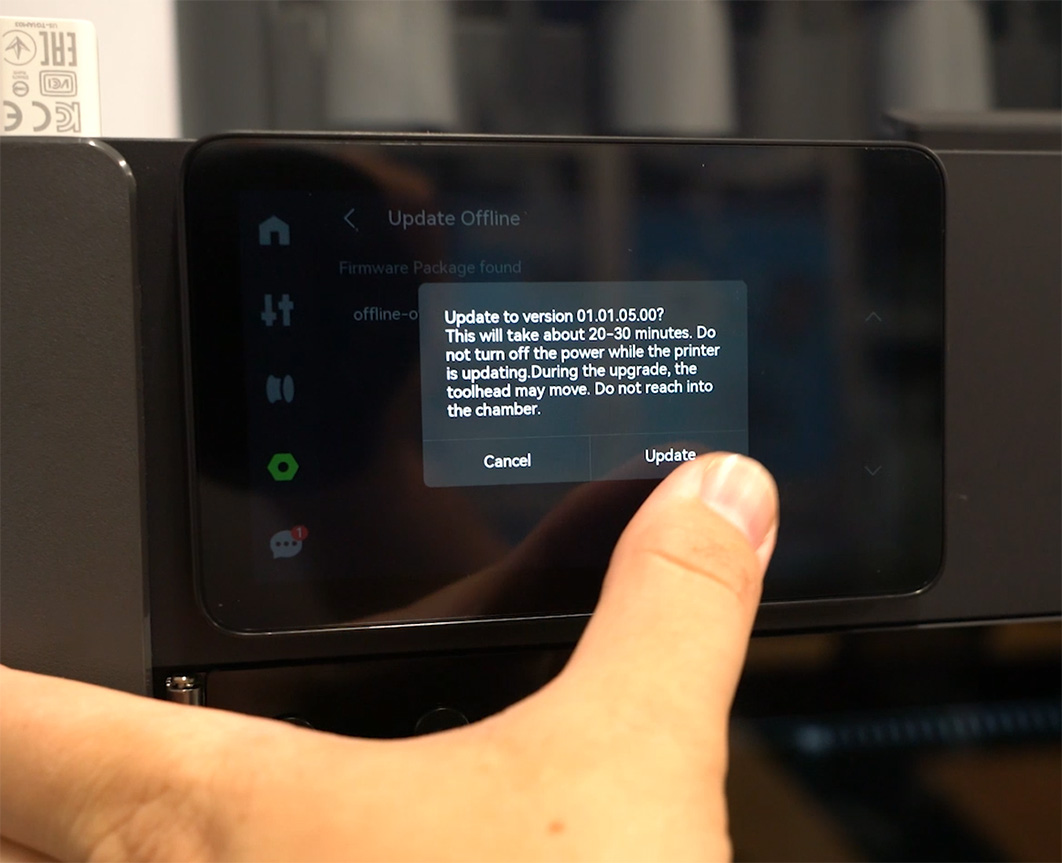
If you haven’t already during the screen prompts, connect your machine to your Wi-Fi network and update the firmware. If you prefer keeping your printer offline and using a USB drive to transfer files, you can also update the firmware manually via USB.
Regardless of your method, updating the machine right out of the box is always a good idea.
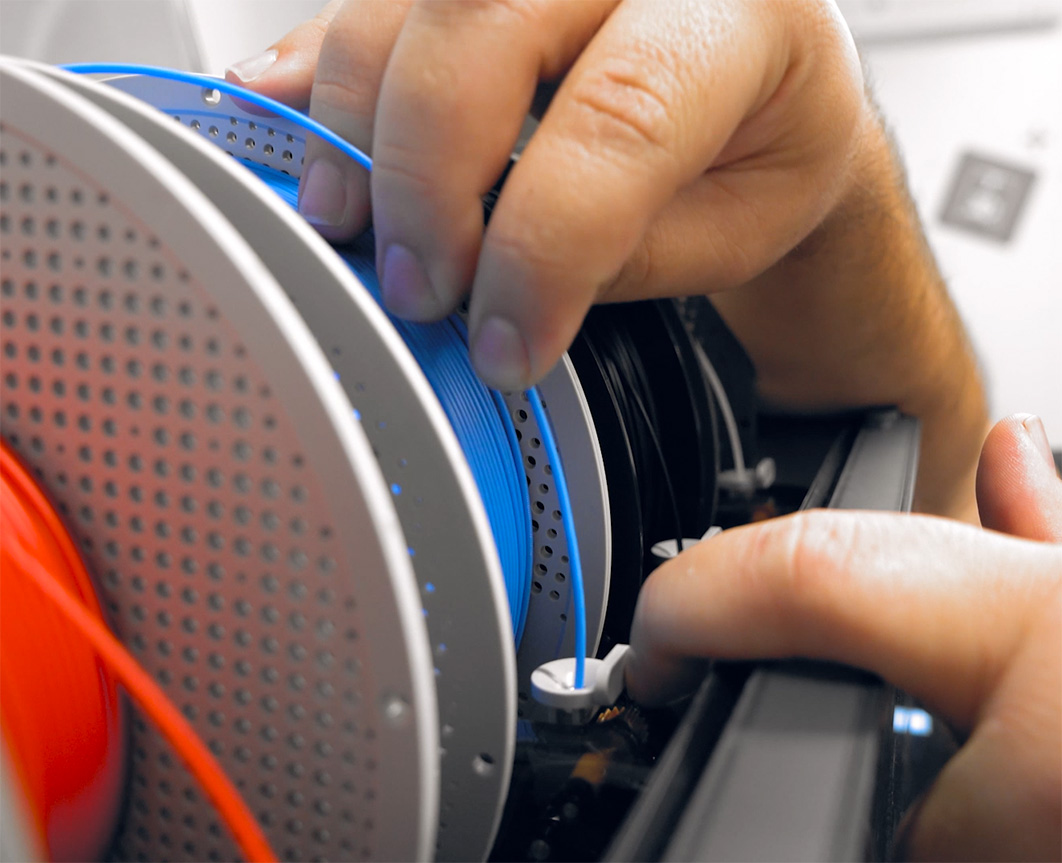
Once that is done, we can finally get to printing something. Go ahead and load a spool of filament into the machine. If you are feeding it through the AMS, you can just push the inlet tab back, insert the filament into it, and the system will automatically grab it and feed it through.
If you want to use the side spool holder instead, you will need to manually tell it to load the filament through the printer's touch menu.
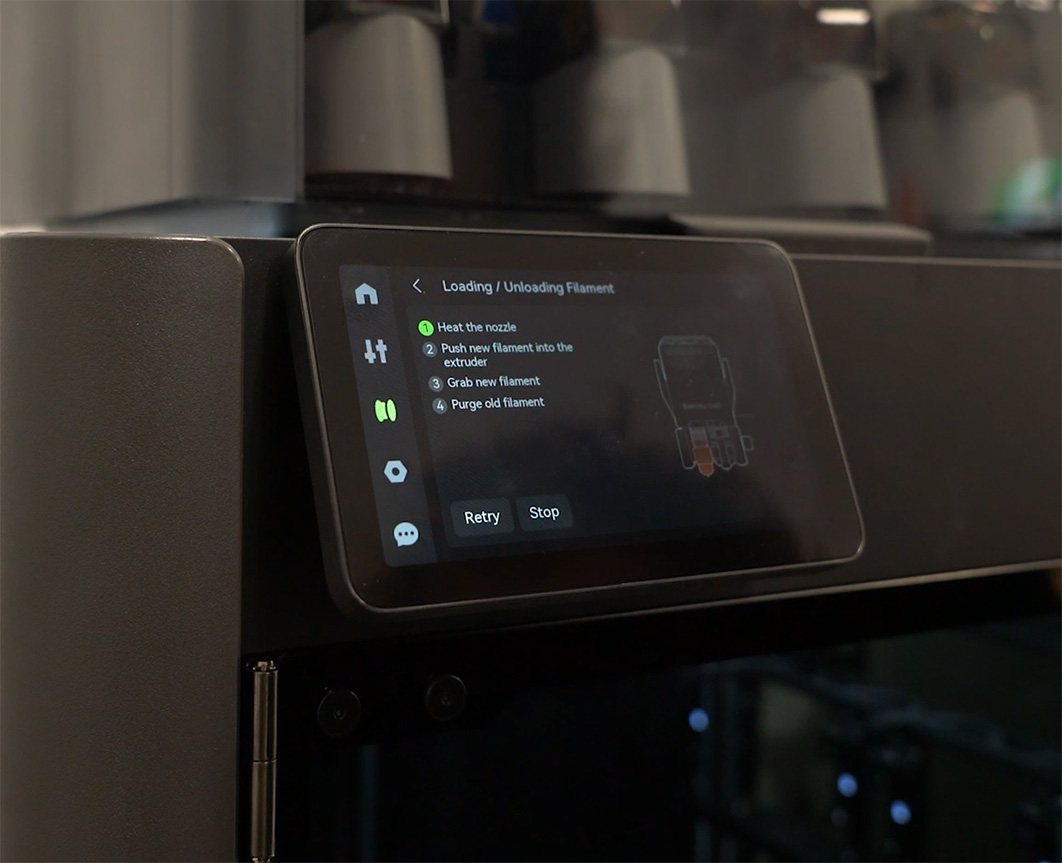
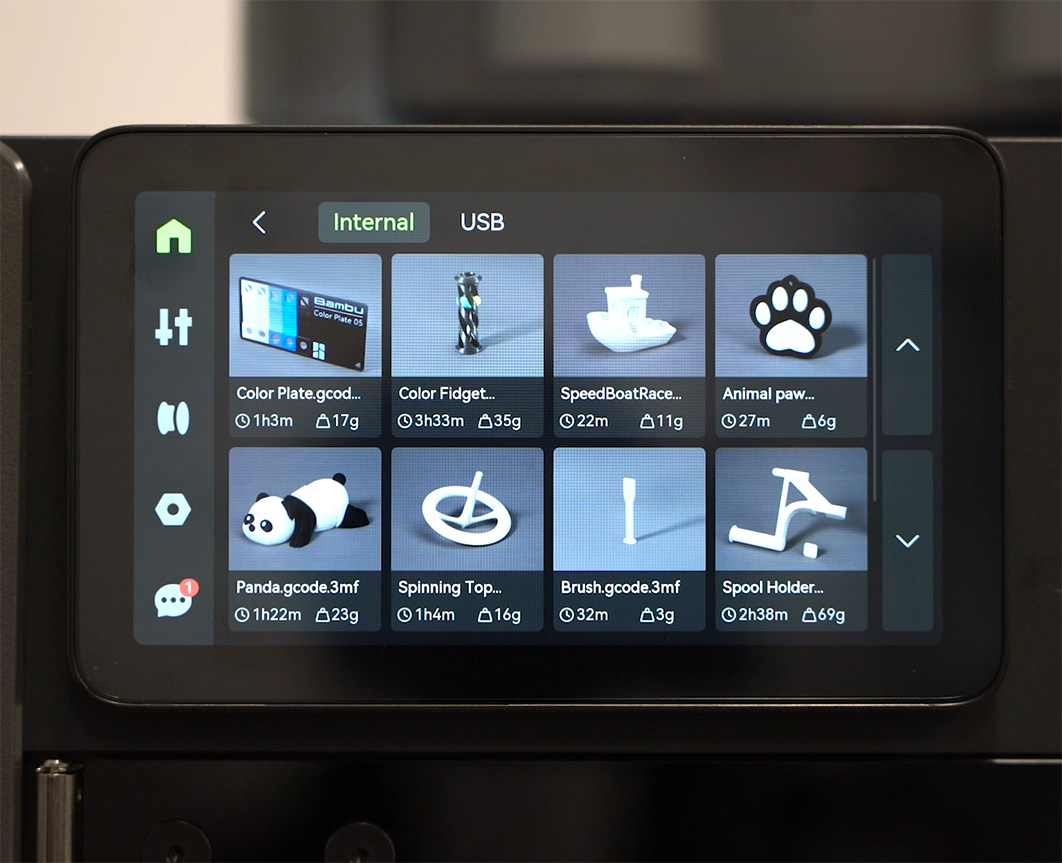
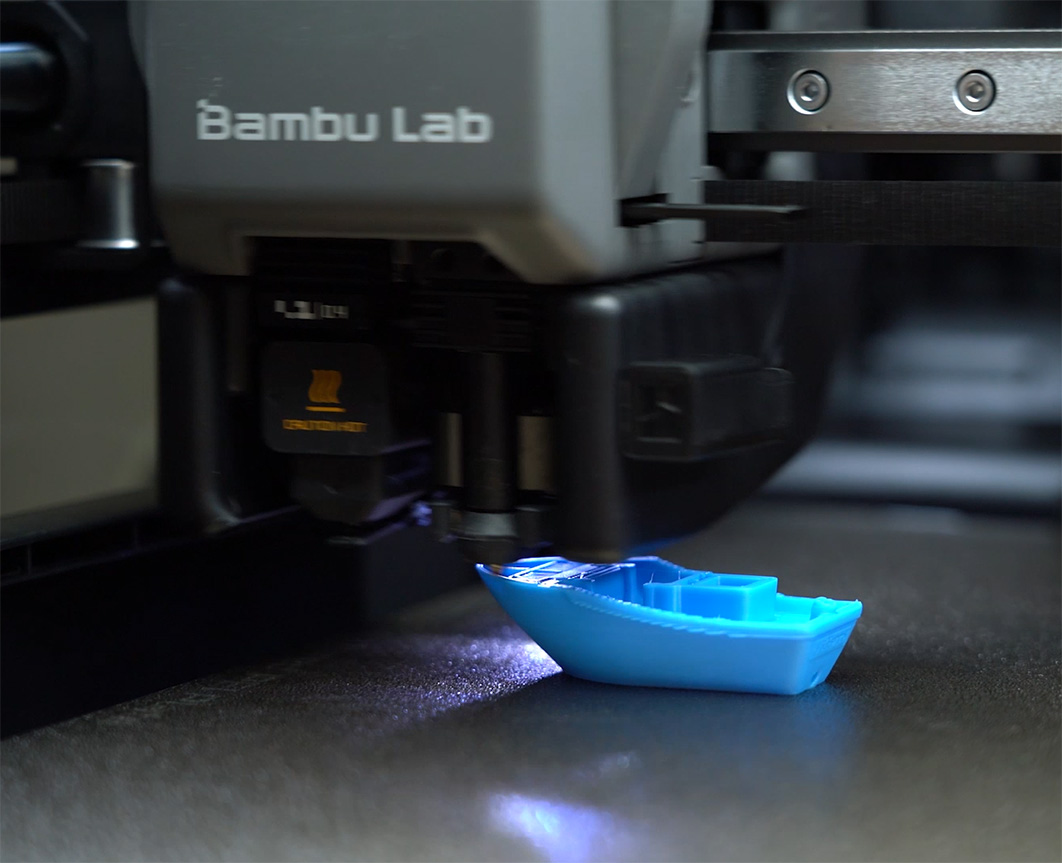
Through this same menu, you can kick off a print! There are some fantastic models pre-loaded right onto the machine, including a classic Benchy test. Just ensure that you have standard PLA loaded into the machine before you start these test prints (it can be any colour).
Where to From Here
And just like that, your machine is fully set up and ready to go! You can now head over to your computer, install Bambu Studio to slice your own custom 3D models, and print whatever you want.
If you are chasing things to print or looking for inspiration for what to make, check out MakerWorld, Bambu Lab's model repository. There are some fantastically helpful 3D printable things on there that you probably didn't even know existed!
If you need a hand with anything from this guide, or just have a general question about the H2C, feel free to ask on the community forum post linked at the bottom of this page.
Happy making!


