In this short and sweet guide, we are going to take a look at how to set up and use a virtual environment (or Venv) on a Raspberry Pi - both in the terminal and in Thonny.
When using Bookworm OS or later, you may have come across this error when trying to install a Python package:
error: externally-managed-environment
× This environment is externally managed
╰─> To install Python packages system-wide, try apt install
python3-xyz, where xyz is the package you are trying to
install.
This is due to changes with Python in Bookworm OS which now requires us to use a virtual environment to install 3rd party packages with PIP. It does add an extra moving part to learn, but thankfully using environments is incredibly easy.
It also offers us an extra layer of protection as a virtual environment is simply a virtual space that we can use for our projects that lowers the risk of breaking or causing conflicts with the rest of the software and Pi operating system.
Creating a Virtual Environment
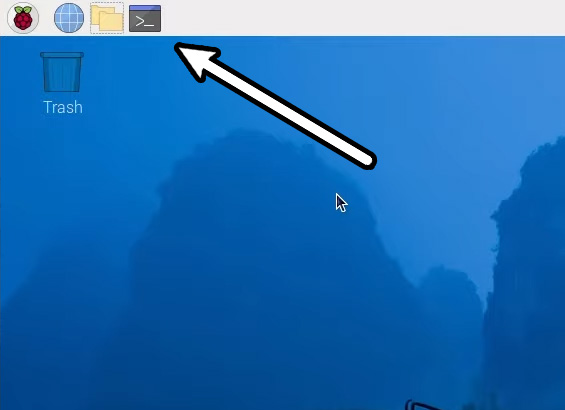
The easiest way to create a virtual environment is through the terminal. Open a new terminal window by selecting it from the taskbar.
The command to create a new virtual environment is:
python3 -m venv --system-site-packages "NAME OF VENV"
With the name of the environment on the end. The name doesn't matter so call it something meaningful, but easy to type. Also, ensure that you do not type the quotation marks.
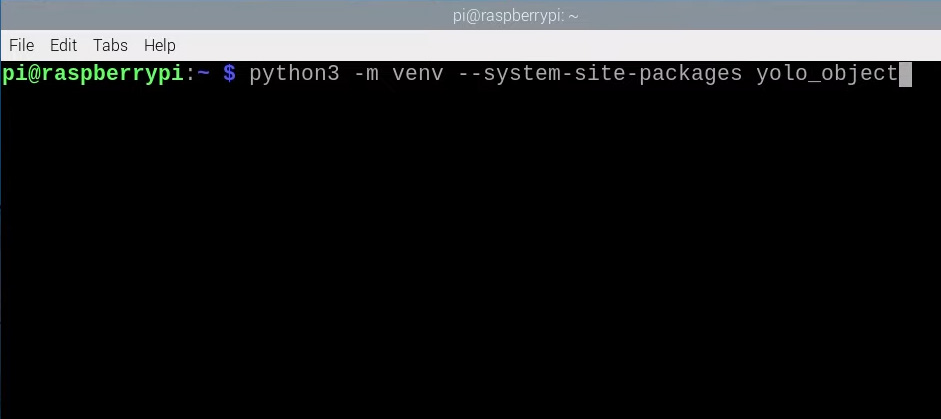
As an example, let's look at how we set up the virtual environment in our YOLO computer vision guide. Here we create a virtual environment called "yolo_object" so our line looked like:
python3 -m venv --system-site-packages yolo_object
After entering that command, it should take a few seconds to create that new environment.
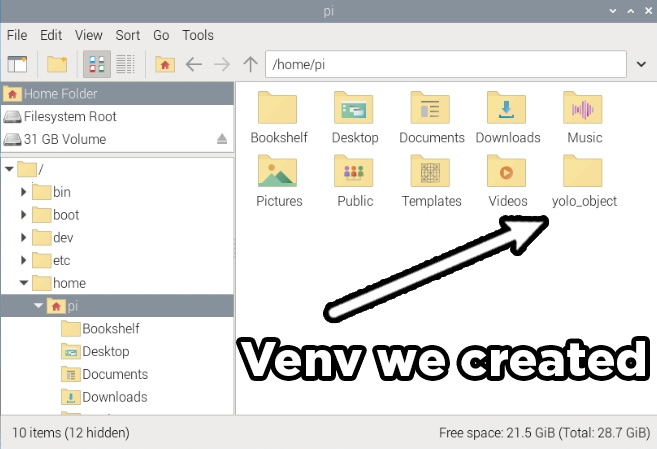
We can confirm it has by opening our home folder and seeing the folder for that venv.
Working In a Virtual Environment
Let's start by looking at how to work with virtual environments in the terminal. At any time you can enter a virtual environment by typing in the following source command:
source "NAME OF VENV"/bin/activate
Again you will need to replace "NAME OF VENV" with the name of the environment you created.
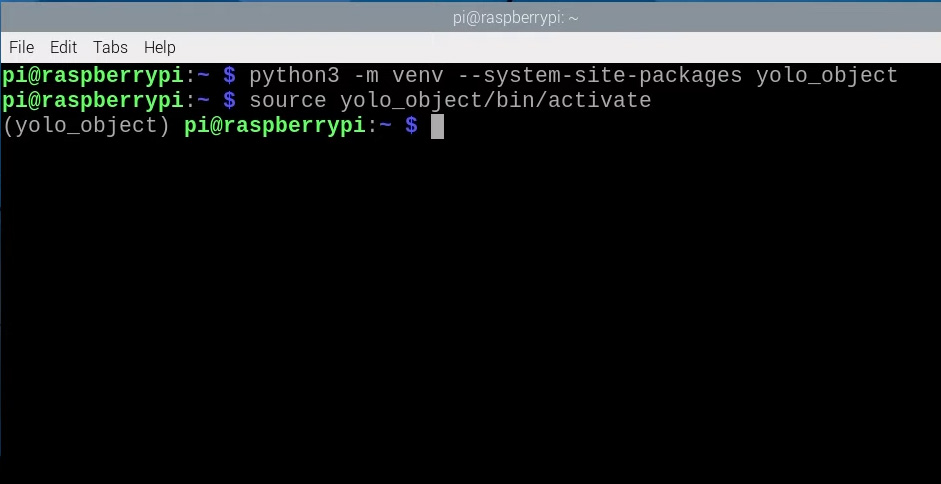
Our previous example used "yolo_object", so this line would look like:
source yolo_object/bin/activate
After entering this command you should see the name of the venv to the left of the green text like in the image on the right. This means you are currently working inside of the venv. At this point, you can install the needed libraries and packages needed in your project or do whatever you need to do.
If you ever need to get back into this environment, for example, if you close and reopen the terminal window or restart your Pi, you can simply enter the source command above again and you will reenter it.
Now we must set up Thonny to use this venv. If a library is installed inside of a venv, Thonny won't be able to access it unless it is set up to also work inside of it.
To do so start by opening thonny and ensure that it is in regular mode. It will likely be in simplified mode the first time you open it and will have "Switch to regular mode" in the top right like in the image on the right.
If it is present, select it and restart Thonny.
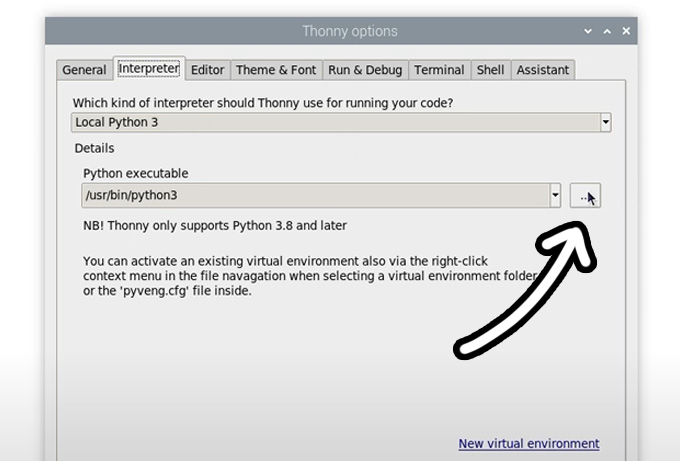
Now open the interpreter options menu by selecting Run > Configure Interpreter from the top menu bar. Under the Python executable option, there is a button with 3 dots.
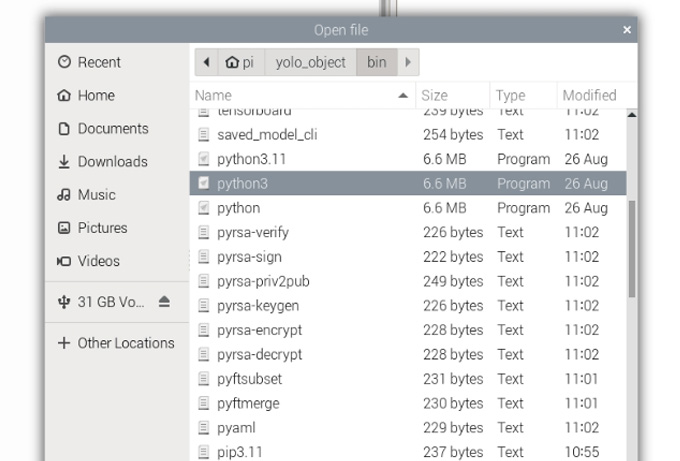
Select it and navigate to the virtual environment folder we just created. In the file called "bin" select the file called "python3" like shown on the right.
Following on from our previous example, the location should be something along the lines of home/pi/yolo_object/bin. Once you have selected the file, click okay.
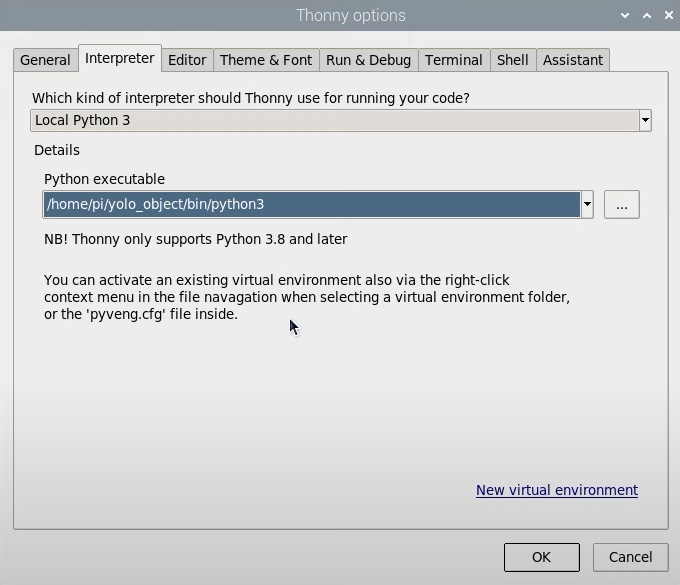
You should now see the location of that venv under the Python executable option. If you restart your Pi or close and re-open Thonny, it will automatically use this environment.
It will only exit this environment if you manually change it through this drop-down menu. If you ever need to re-enter this environment, simply select it from the drop-down menu.
And now you should be able to enter in your Python code and run your script!


