Introduction
This guide will help you read motion data from your PiicoDev® Motion Sensor and a Raspberry Pi Pico
To follow along, it's best to have:
- A Raspberry Pi Pico with pins soldered (pointing down)
- A PiicoDev Motion Sensor MPU-6050
- A PiicoDev Expansion Board for Raspberry Pi Pico
- A PiicoDev Cable
- (Optional) A PiicoDev platform helps secure everything together.
Connect the PiicoDev sensor to your Pico
Plug your Pico into the Expansion Board, connect your distance sensor to the Expansion Board via the PiicoDev cable, and finally connect your Pico to your computer with a USB lead.
If you're unfamiliar with connecting PiicoDev modules, read the PiicoDev Connection Guide before proceeding.
Download MicroPython modules
We will need three files to easily read data from the Motion Sensor:
- Download the PiicoDev Unified Library: PiicoDev_Unified.py (right-click, "save link as").
- Download the device module: PiicoDev_MPU6050.py (right-click, "save link as")
- Download the example script: main.py (right-click, "save link as")
It will be best to keep these files wherever you like to keep your coding projects eg. Documents > PiicoDev
Accelerometer Example
We'll be working in Thonny - if you're unfamiliar working with Thonny see our guide for Thonny and Raspberry Pi Pico.
Open Thonny, connect to your Pico and upload the three files (that we just downloaded) to your Pico. (Hint: View the files menu with View > Files)
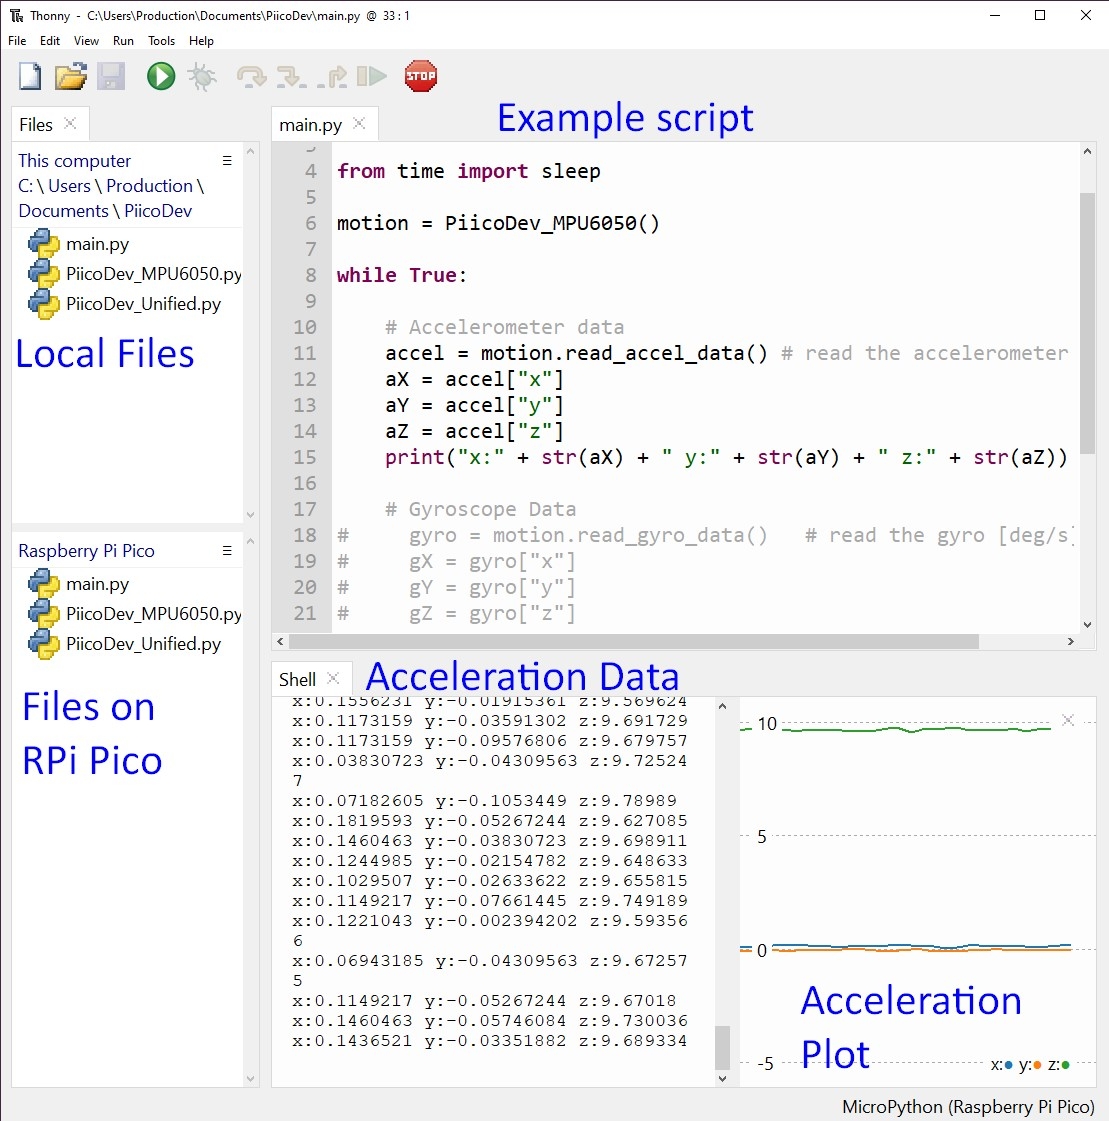
Restart your Pico (Keyboard shortcut, Ctrl+D) and you should see acceleration data streaming up the shell. Open the plotter with View > Plotter and see how the data reacts when you move the sensor.
Above: Acceleration data streams up the Shell, while the Plot shows historic data. Here the sensor is sitting flat on my desk, so the Z-axis reads about 9.8m/s^2 or about 1g.
This example plots acceleration if m/s^2. If you prefer, you can return acceleration in g by calling motion.read_accel_data(g=True)
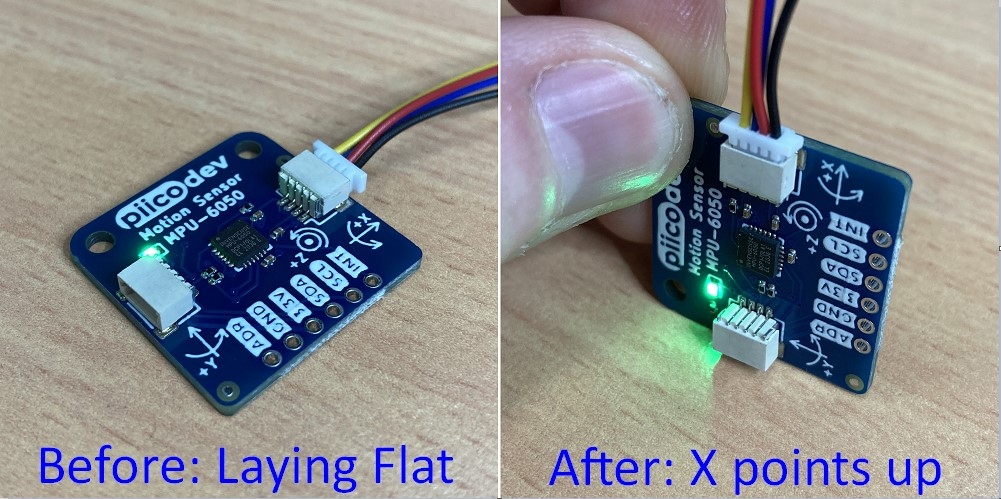
Now, we'll perform a maneuver and observe the data. Start with the sensor laying on a level surface, then roll it so the X arrow points up, as below:
In the plot below, I've labelled the axes (x,y,z). The plot begins with my sensor sitting flat, and face-up on my desk - the Z-axis reads about 10m/s^2 and the others read zero. That makes sense, because only the z-axis is experiencing inertial forces (gravity). I then rotate the sensor so the X arrow is pointing up; we see the z-acceleration fall to zero, and the x-acceleration climb to about 10m/s^2.
Gyroscope Example
Now, we'll gather angular-velocity data from the gyroscope. In the example script, comment out the "Accelerometer Data" block and uncomment the "Gyroscope Data" block. The script should now look like this:
Data returned here is the angular velocity measured in degrees per second. Rotate about your sensor on a level surface and observe the plot:

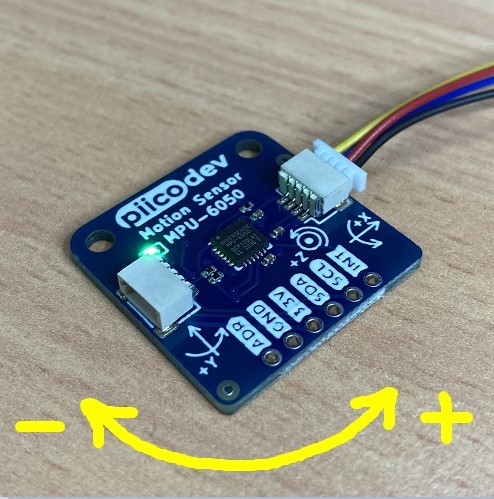
A twist in the anticlockwise direction (positive Z) first creates a positive slope, as the twist speeds up. The slope becomes negative and falls to zero as we come to a stop. A similar shape appears when we twist to the clockwise direction (negative Z), only the data is all negative. Of course, this works in the other axes also - this is just a simple way to isolate rotation to one axis only.
Other Examples
The example script also contains a couple more examples - give them a try!
- Temperature: Read the MPU-6050's internal temperature sensor. This isn't particularly accurate, and the device may also self-heat a little - but you can do it!
- G-Force: Returns the absolute acceleration in g. Where the accelerometer example returns the acceleration components x, y, and z; this example combines the acceleration components into a single magnitude. This could be useful for detecting freefall, when g-froce is near or at zero.
If you have any questions or uncertainty, start the discussion below. We're full-time makers and here to help!


