Co-Polyester is an astounding material in terms of properties, all the best properties of Tough PLA and ABS which are then dialled up just that extra bit in regards to both ruggedness and durability. Ultimaker offers two versions of Co-Polyester filament, CPE and CPE+ (with CPE+ having a higher impact resistance). Both of the filaments formulated for chemical resistance, toughness, and reliable dimensional stability. Also before going to deep it is worth knowing that all PETG (polyethylene terephthalate glycol-modified) filaments exist under the banner of co-polyester. It comes in heaps of colours too!
Co-Polymer material can easily compete with Poly-Carbonate (PC) in terms of UV/chemical resistance and durability. If you want a very unique perspective of these two materials head-to-head look no further than here. The interesting take away is that Poly-Carbonate has higher tensile strength but is more prone to shattering when impacted. If you want a quick strength test between the two this definitely gives a good hands-on understanding. All this means Ultimaker CPE material is an ideal choice for 3D printing functional prototypes and mechanical parts. It firmly situates itself in an Engineering tier 3D printing material and the prints you create with it have the potential to last a lifetime. Also when printing it is odourless and emits very few ultrafine particles or volatile organic compounds. This makes for a much healthier time. Technical datasheets for all Ultimaker 3D Printer Material can be found here.
All these great factors so why doesn't everyone use it? Challenging to print. Particularly in regards to bed adhesion and stringing. And I was running into these problems, particularly as I really wanted to print on a glass build platform. That was until I figured out my special trick! The trick is to print the CPE material directly onto build platform at a high nozzle temperature (~260 degrees celsius) and then after several layers tune that temperature right down (~233 degrees celsius).
So I will lay down the process to do this, provide the exact settings I use on the printers at my disposal (an Ultimaker S5 and an Ultimaker 3 3D Printer) and provide great general slicer settings for printing CPE.
- My Special Trick and Why It Works
- Further Pursuits
- General Slicer Settings to Alter When CPE Printing
- Download My Cura Profile For CPE
Side Note on the Build Platform. When I 3D print Ultimaker CPE (now) I always use a bed adhesion sheet, this filament is infamous for ripping chunks out of a glass bed. Ultimaker CPE on the other hand does this no more than Tough PLA. The best surface finishes come from glass beds and I did not want to limit myself when using this material. I do not use PVA glue on the build platform when printing for CPE as this completely ruins the surface finish, instead, I make the bed as clean as possible (using Isopropyl Alcohol and letting it evaporate off completely) to achieve mirror finishes on the pieces. See below for an example of the reflective finish of CPE that is possible when the 3D printer is dialled in perfect.
As always if you have got any questions, queries or things you would like to see added please let us know your thoughts!
My Special Trick and Why It Works
The More I spend time 3D printing the more I find myself comparing it to cooking and baking. Sometimes a bread recipe calls for an oven to have the temperature changed mid-way through and I thought to myself, why not apply that to 3D printing. I may have made that fact up. Nevertheless!
The trick is to print the CPE material directly onto build platform at a high temperature (260 degrees) and then after several layers tune the temperature right down (233 degrees).
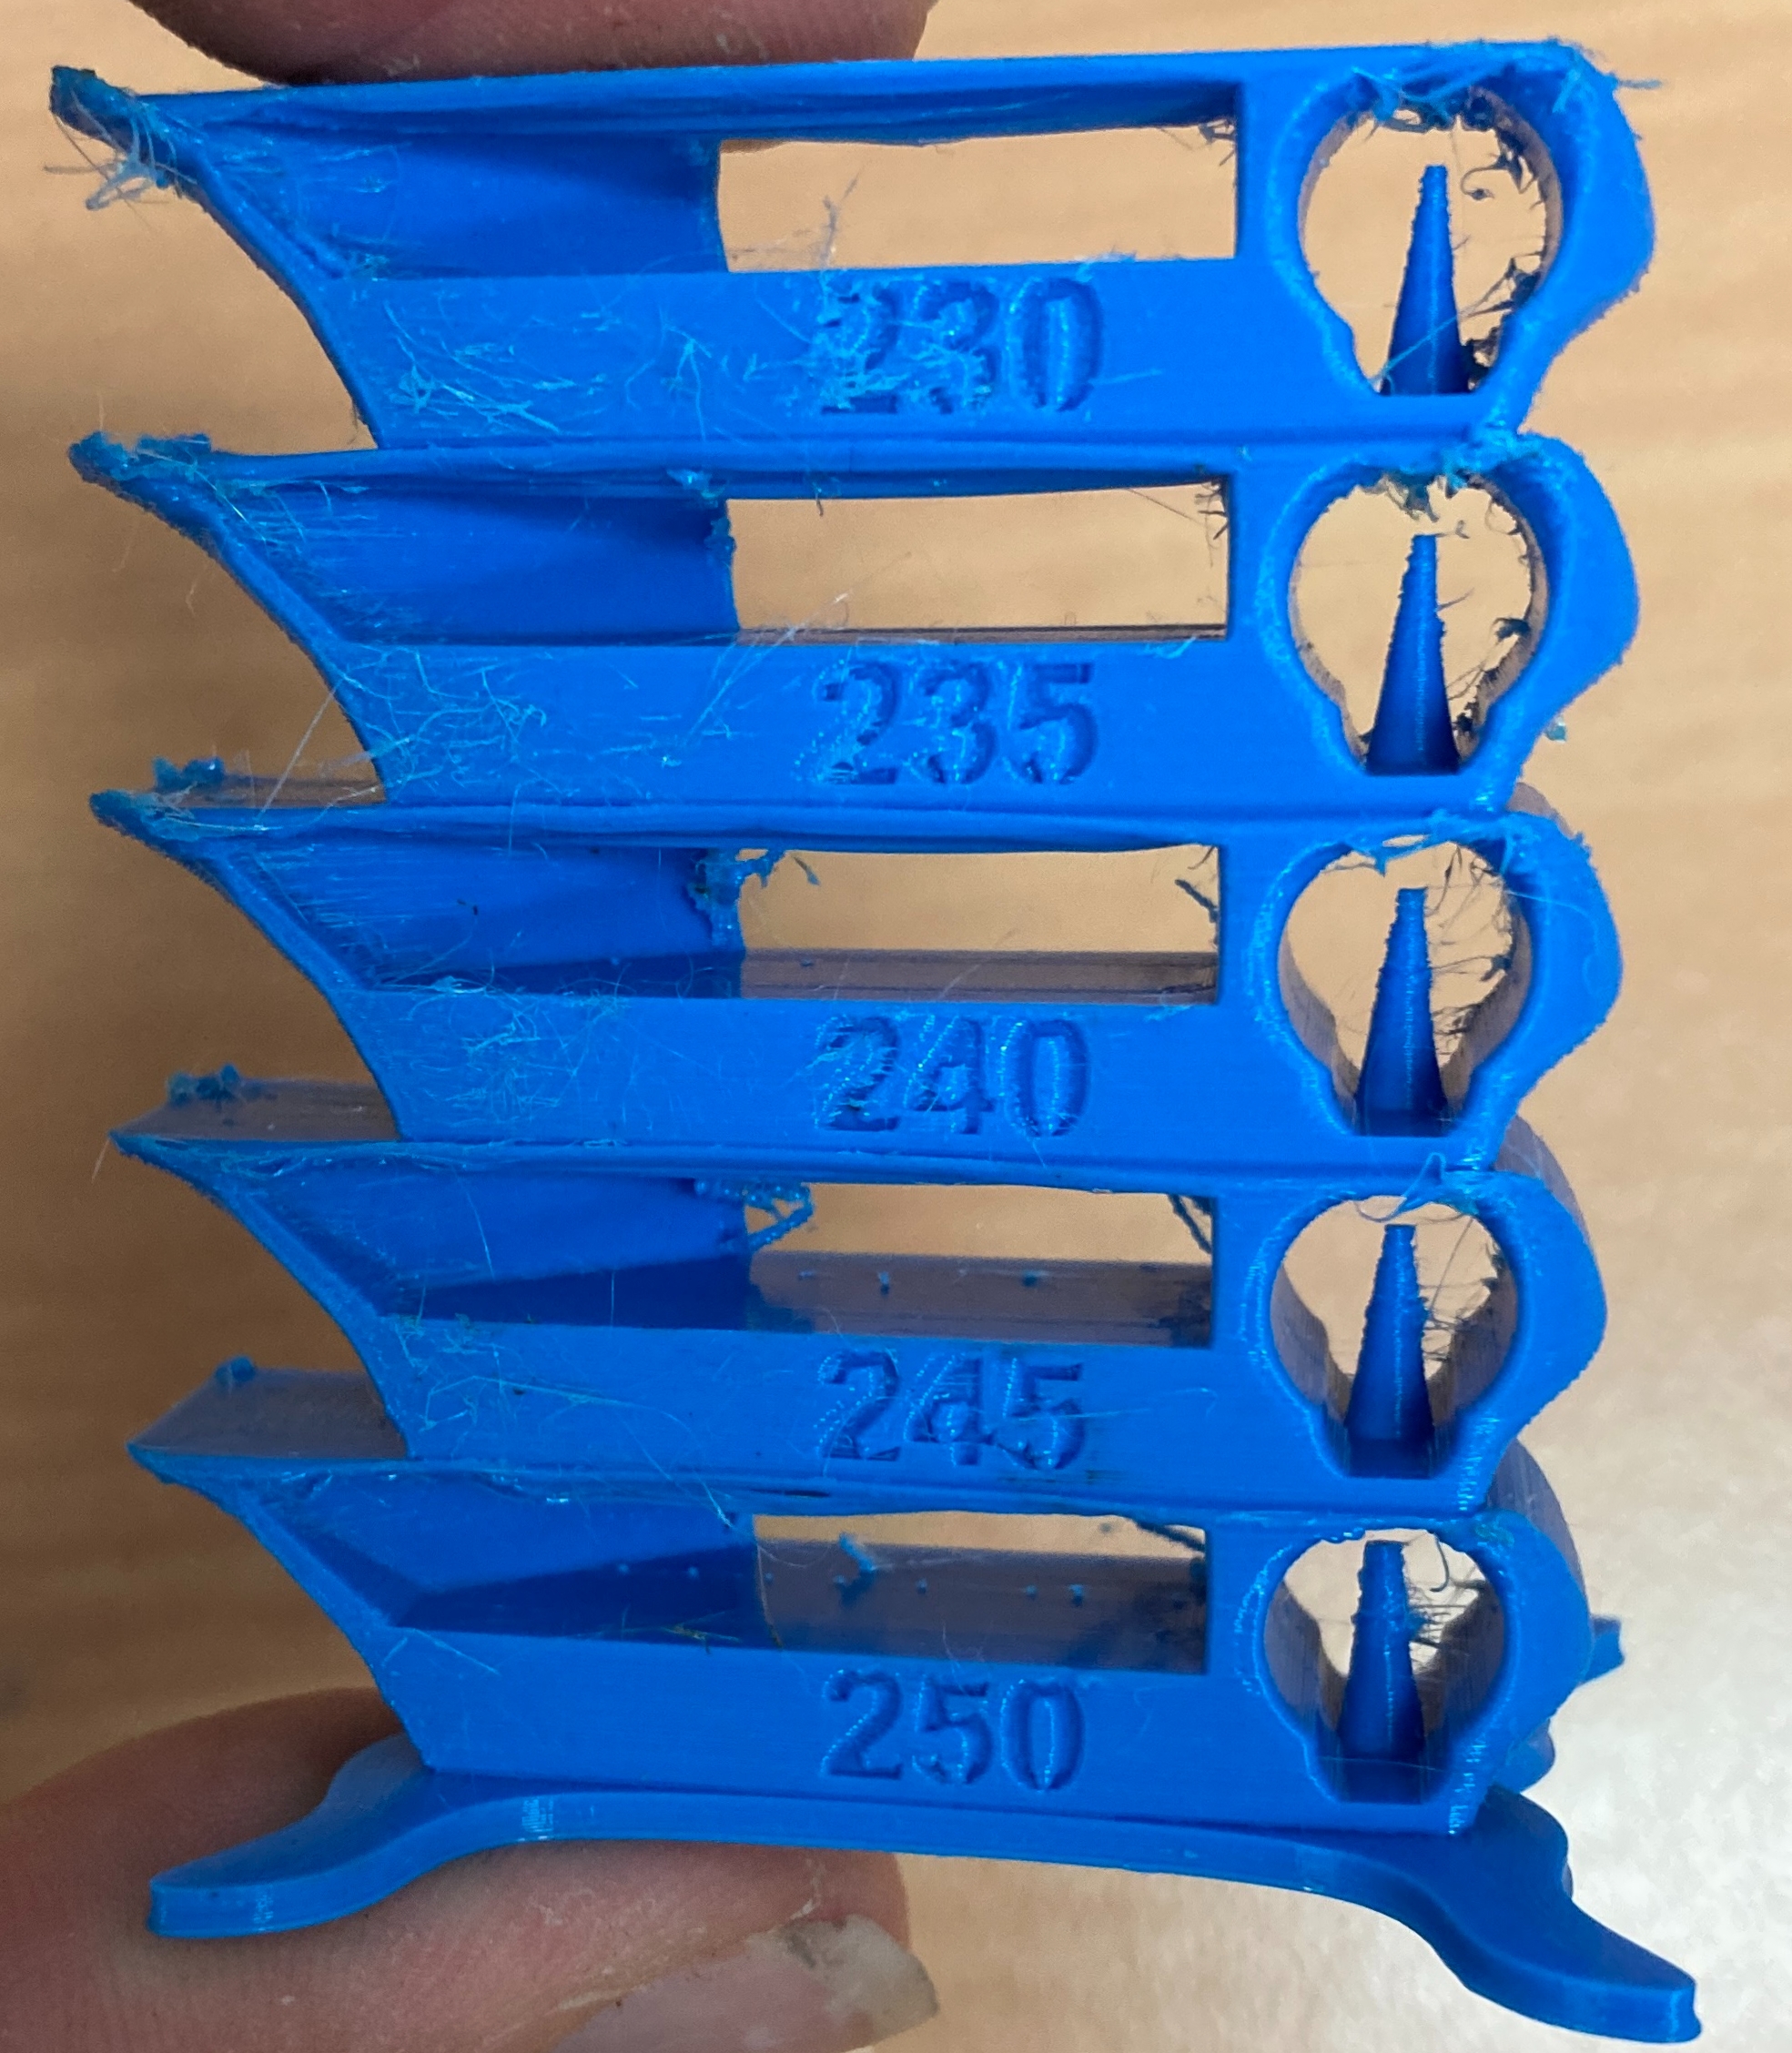
The two main challenges with this material are its desire not to stick to a build plate unless extruded at a hot enough nozzle temperature and its large inclination to string at every possible opportunity. The best ways to get stringing to stop is to lower temperatures, but one of the best ways to have loose build platform adhesion with CPE is by not having a high enough nozzle temperature. Stringing sucks as it leads to longer post-processing and Furthermore, these little strings blemishes can bunch up and if not managed correctly end up making little end up burning and leaving marks in the subject. Two competing ideas so I ended up doing both. For the first couple of layers (depending on CAD Model but normally the first 10 layers) I would use a much higher nozzle temperature. Then once those layers are firmly attached I bring down the nozzle temperature drastically (by over 30 degrees). This results in a Co-Polymer 3D prints that adheres to glass build platforms very well and have a much better finish.
To do this in practice you can either manually change the nozzle temperature while the printing is occurring or depending on your slicer you will have the capacity to create a printer recipe that does this temperature change automatically. This means you don't need to hover over your print like a hawk waiting for the right moment to strike. Check out this guide to learn a good way to do this with any slicing software by altering the G-Code. See below for two examples of the inside of a G-Wii case printed in blue CPE, the one on the left was printed without this temperature change and the one on the right was printed with the temperature change. Nothing else was done.
Further Pursuits
Printing in this manner will cause internal stresses where the temperature change occurs. I have been doing quick temperature changes however to create a stronger part (in my opinion) you will want to change the temperature slowly and incrementally over multiple layers. See below for an image of the side of the G-Wii case, only if you look really really close will you see a slight colour change which is when this temperature change occurred.
This technique would definitely work for other more challenging printing material like that pesky Poly-Propylene and even Poly-Carbonate. Cannot wait to dive into those two filament worlds which will be happening soon.
General Slicer Settings to Alter When CPE Printing
I have been using CPE and CPE+ as a material for a while now, experimenting with it in a transparent form, many different colours and on different machines. Early on I have recommended the use of it for situations where long continuous lines are laid down. This is because there will not be many retractions and limit travel movements as CPE loves to string. To get up to speed lots of detail on what is retraction and stringing can be found in the articles Improving 3D Printed Models and Printing Perfect First Layers. Since dialling in the settings I can now recommend using this in all CAD model situations, just keep an eye on it when you're ironing out the details.
These details are slicer settings and the ones most worth focusing on are, and what I utilise for CPE and CPE+ , in order of importance can be seen below.

- Bed Temperature. I use 80°C for CPE. 107°C for CPE+ . Get great adhesion using these, observing the extrusion closely as well as trial and error got me to these values.
- Print Speed. 30m/s for Travel and Print for CPE. 40m/s for Travel and 50m/s for CPE+ . There is an idea that you can prevent stringing by making your travel speeds supersonic, but I am hesitant to do this. It is like putting multiple band-aids on the issue as opposed to just not falling over to start with. Slow speed always makes for better prints. Going really fast my concern becomes vibrations and ghosting. If you have not stopped it from stringing there will always be stringing, no matter how fast you're moving the nozzle it will never teleport.
- Retraction Length. For CPE I use 10mm. For CPE+ I use 9.4mm. I enable it for whenever travels are happening over printed parts. The best way to dial this in is to see if the nozzle is leaking when it starts to do a travel. If it is the retraction length needs to be increased. You can go too far though and it will lead to under-extruded parts. If this happens to you (as it did to me) focus should use a slightly lower retraction length and then turn to increasing the retraction speed.
- Retraction Speed. For CPE I use 45mm/s. For CPE+ I use 45 mm/s. Worth noting this is as fast as the Bowden extruder can retract when using the Ultimaker printers.
- Combing Mode. Set to all for both. All about keeping any leaks inside the model. Can become an issue if multiple leaks stack on top of each other as it will cause little burn marks.
- Max Comb Distance with No Retract. Currently, I use 2mm for both, will likely go lower to .5mm. It is a balance between not over retracting a whole bunch (which can lead to filament grinding but have not experienced it yet with CPE) and absolutely stopping all stringing.
Now a quick caveat, each 3D printer (even the same model of a 3D printer) is a unique creature so my exact settings may not work instantaneously for you but I have no doubt you will be able to get very similar results.
Download My Cura Profile For CPE
Below you can find my Cura Profile that I use when printing with Ultimaker Machines. Like I stated before Each 3D printer (even the same model) is a unique creature so my exact settings may not work instantaneously for you but I have no doubt you will be able to get very similar results. Also, I have some custom tree supports in that profile that will work for organic and engineering models very well. Future content on what going on with that very soon. There should be some tasty nuggets for those willing to explore this.
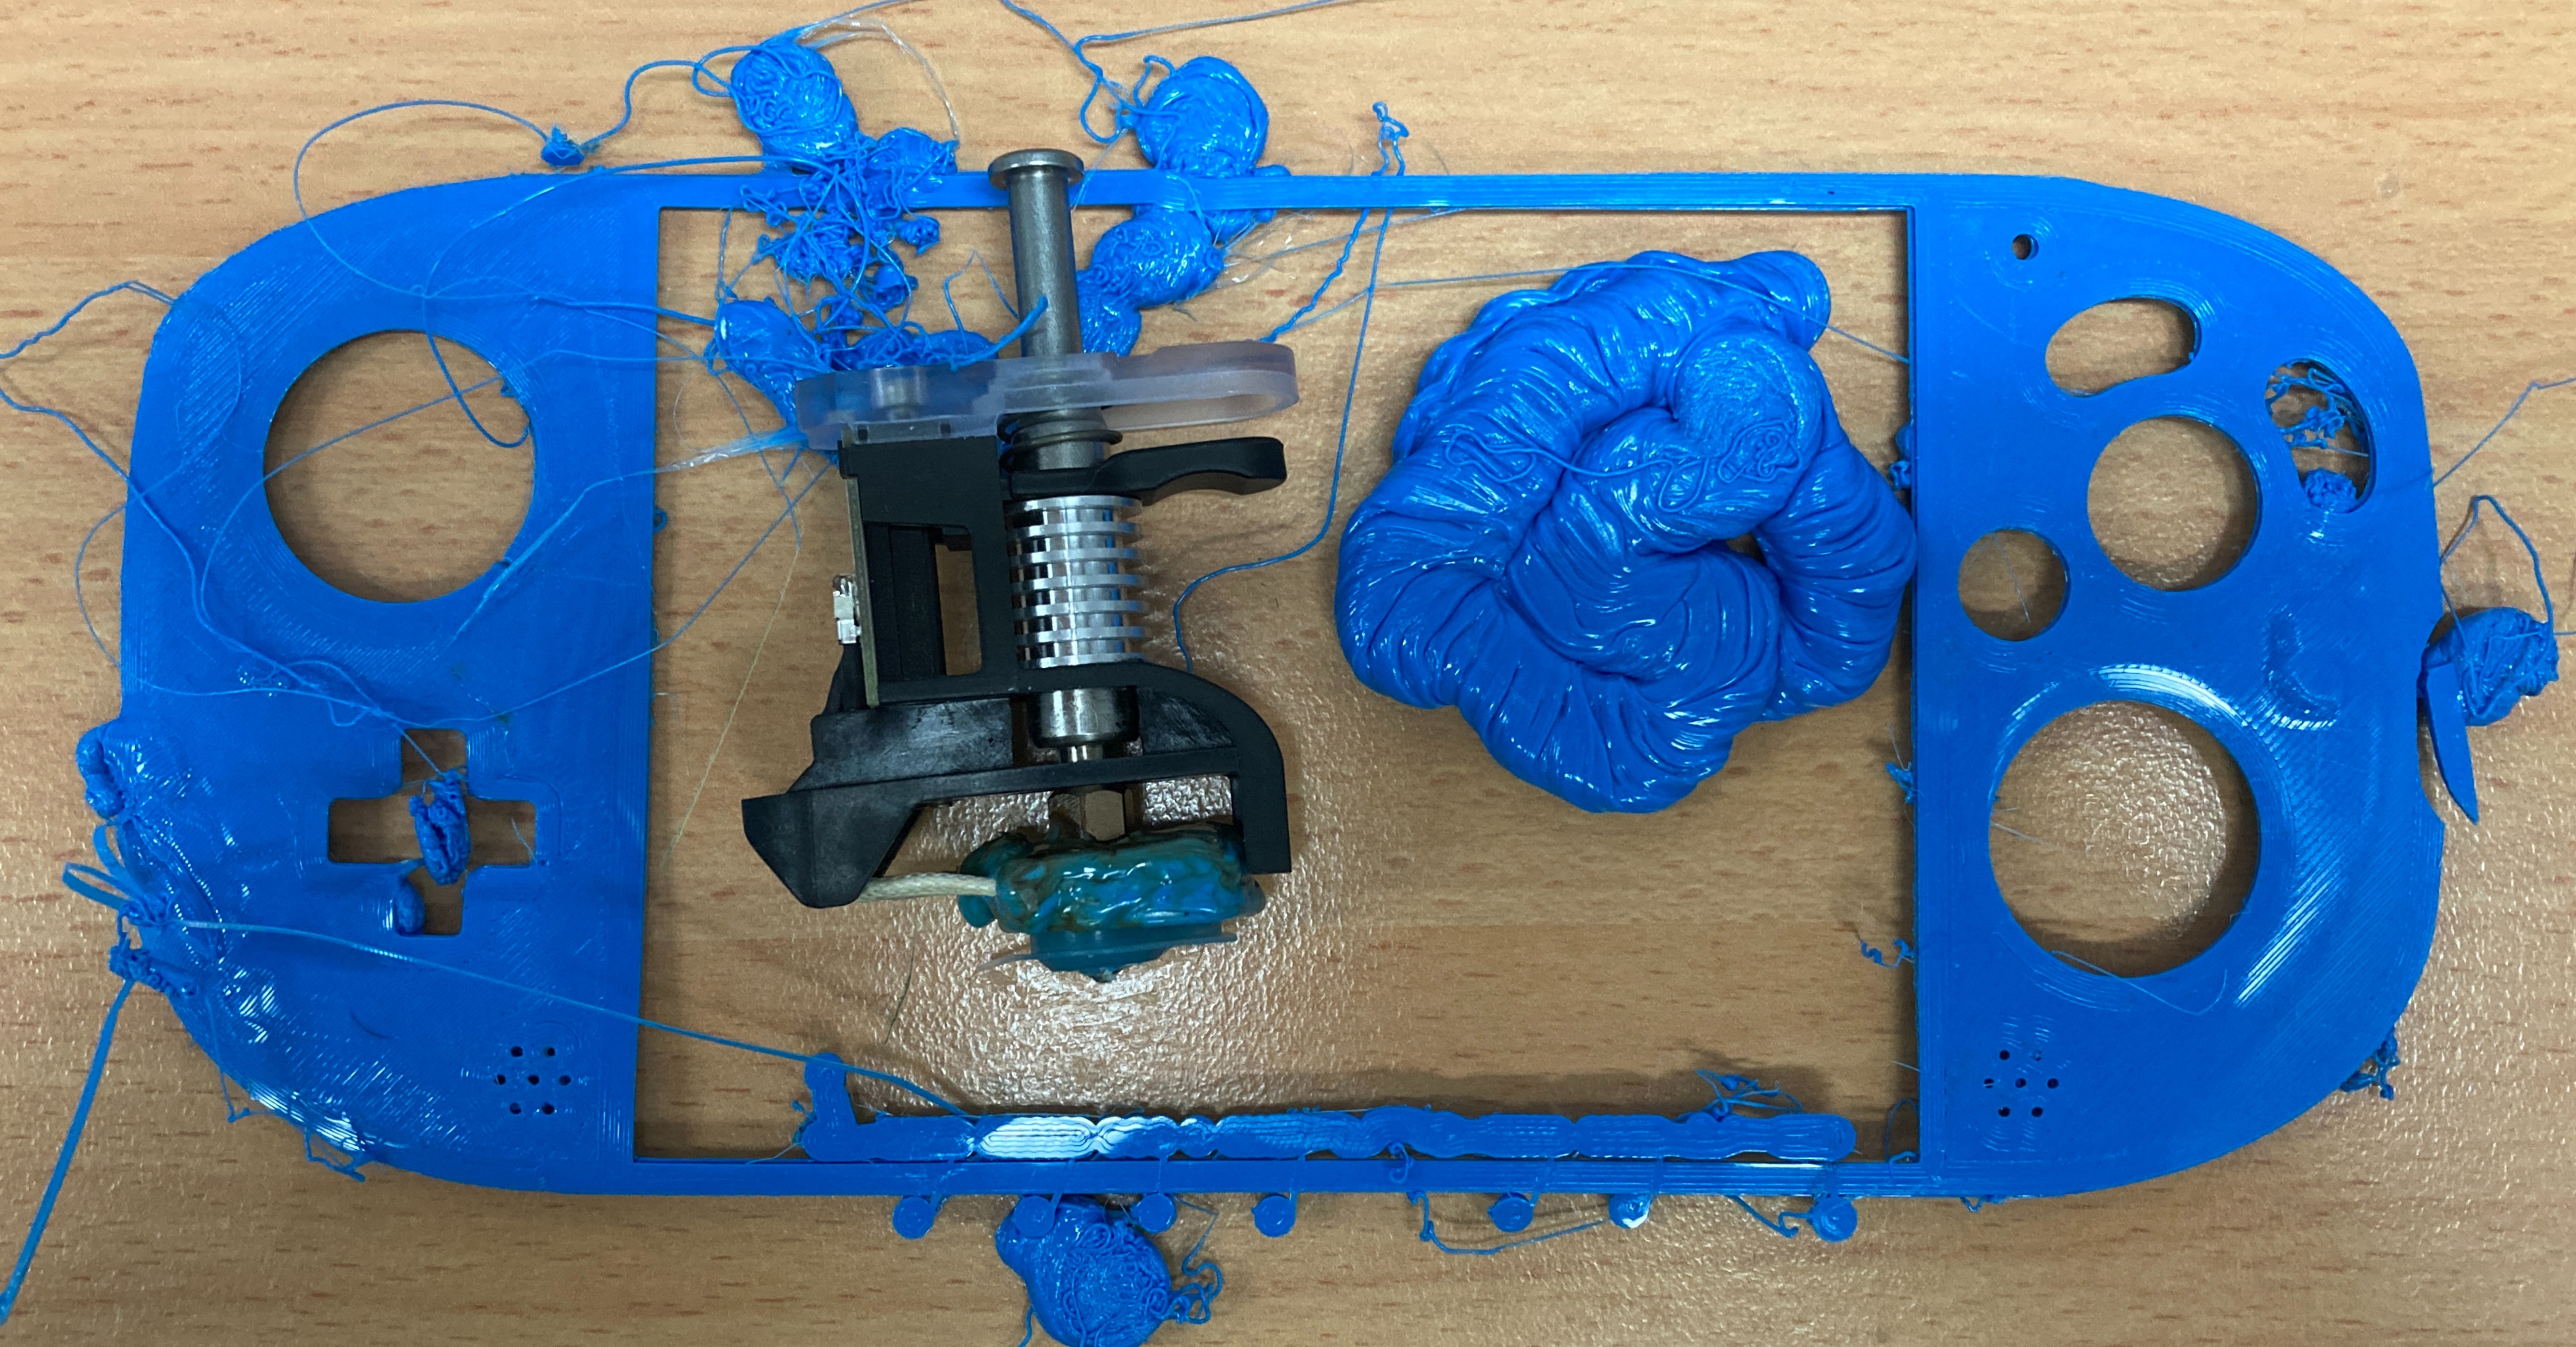
 Currently, the default recommended temperatures for CPE do not adhere to glass platforms at all on the Ultimaker Machines here. See what happened to me on the right and I don't want that to happen to you! It would be a gigantic job to make sure all the profiles for all the Ultimaker materials for all the Ultimaker 3D printers work all around the world so I can't fault them for not getting everything perfect. But if you take anything from this change the nozzle temperature from default when printing CPE!


