One of the special properties of transparent resin prints created by DLP 3D printers like the Creality LD-002R and SLA printers like the Formlabs Form 3 is how vibrantly you can colourise them with Alcohol Inks. Simply by dabbing on just a few drops of ink onto the models with a paintbrush you can create incredibly bright and vibrant models which still retain some transparency. There are three different methods that I have explored to get colour onto the transparent resin and each of them has their advantages and disadvantages. The capacity to have unlimited colour options, particularly as mixing alcohol inks is easy, is one that was too good not to explore, so I did. See below for the different methods with quick links between them. My favourite result has come from painting the model with alcohol ink before curing it and then finishing the piece with two layers of gloss clear spray paint.
- Alcohol Ink After UV Post-Processing
- Alcohol Ink Before UV Post-Processing (and then Gloss Clear Spray Painted)
- Alcohol Ink Mixed Directly into the Resin Tank and then Printed (I also included PearlEx Powder for added Sparkle)
- Metal Alcohol Ink - New Addition to Guide
Chitubox is the slicer I am currently using for resin prints however I have been experimenting with another slicer called Lychee for when I want more dimensionally correct resin prints. The slicer you use can make all the difference. All the models below were sliced using Chitubox however it is worth knowing there are other great free slicing software out there. Think of slicing software as the head chef that creates a recipe for the sous-chef (3D printer) to follow. Your are the restaurant owner in this metaphor. Tutorials for these soon! Hope this inspires you and prevents you from ever thinking you're restricted colour wise when printing with resin.
As always if you've got any questions, queries or things you'd like to see added please let us know your thoughts!
Alcohol Ink after UV Post-Processing
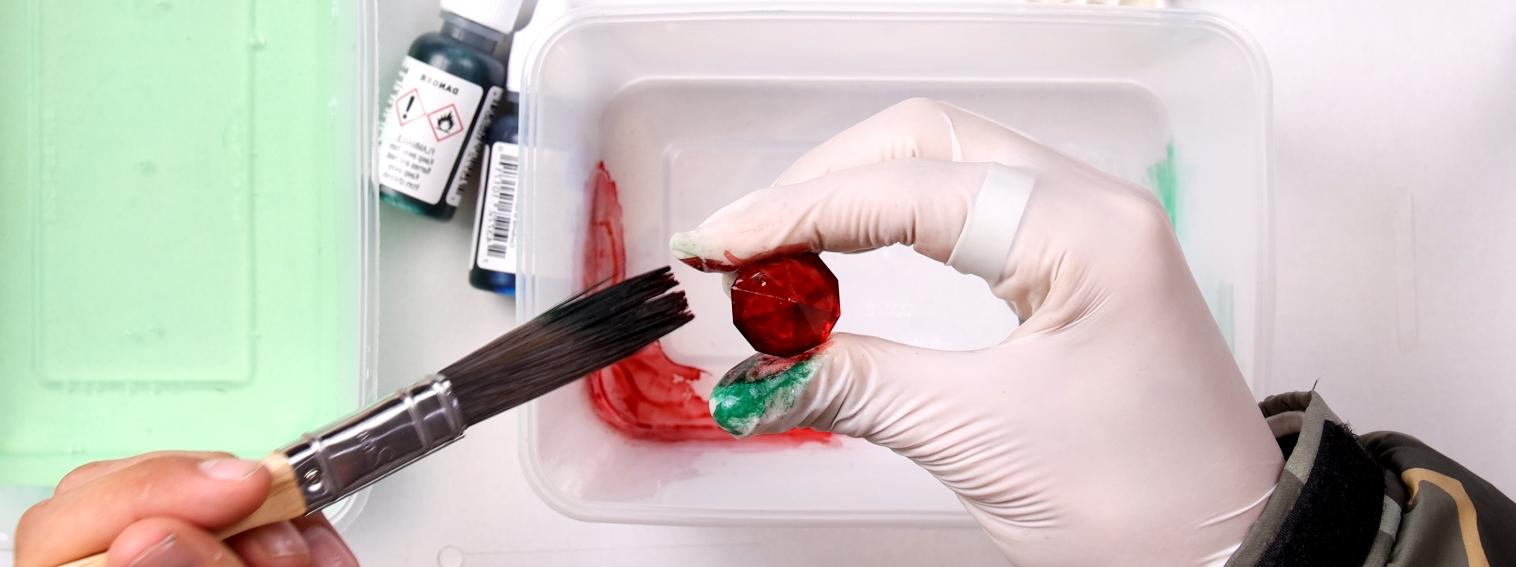
Thoughts about this method. Alcohol Ink took to the model like warm butter to toast. Can look a little bit more pigmented than other methods which darken the model lowering transparency. It does disguise all the yellowing that may have occurred from having too high of an exposure setting which is neat. Acetone or Isopropyl Alcohol lightens the colouring effect and can completely remove the ink all together if so desired. It makes the model look entirely coloured throughout however any little scratch ruins the surface finish and effect. See below for me dabbing on the models and the result further below. I mixed the alcohol paint for one of the gems to create an aqua colour and one of the gems was left unpainted.
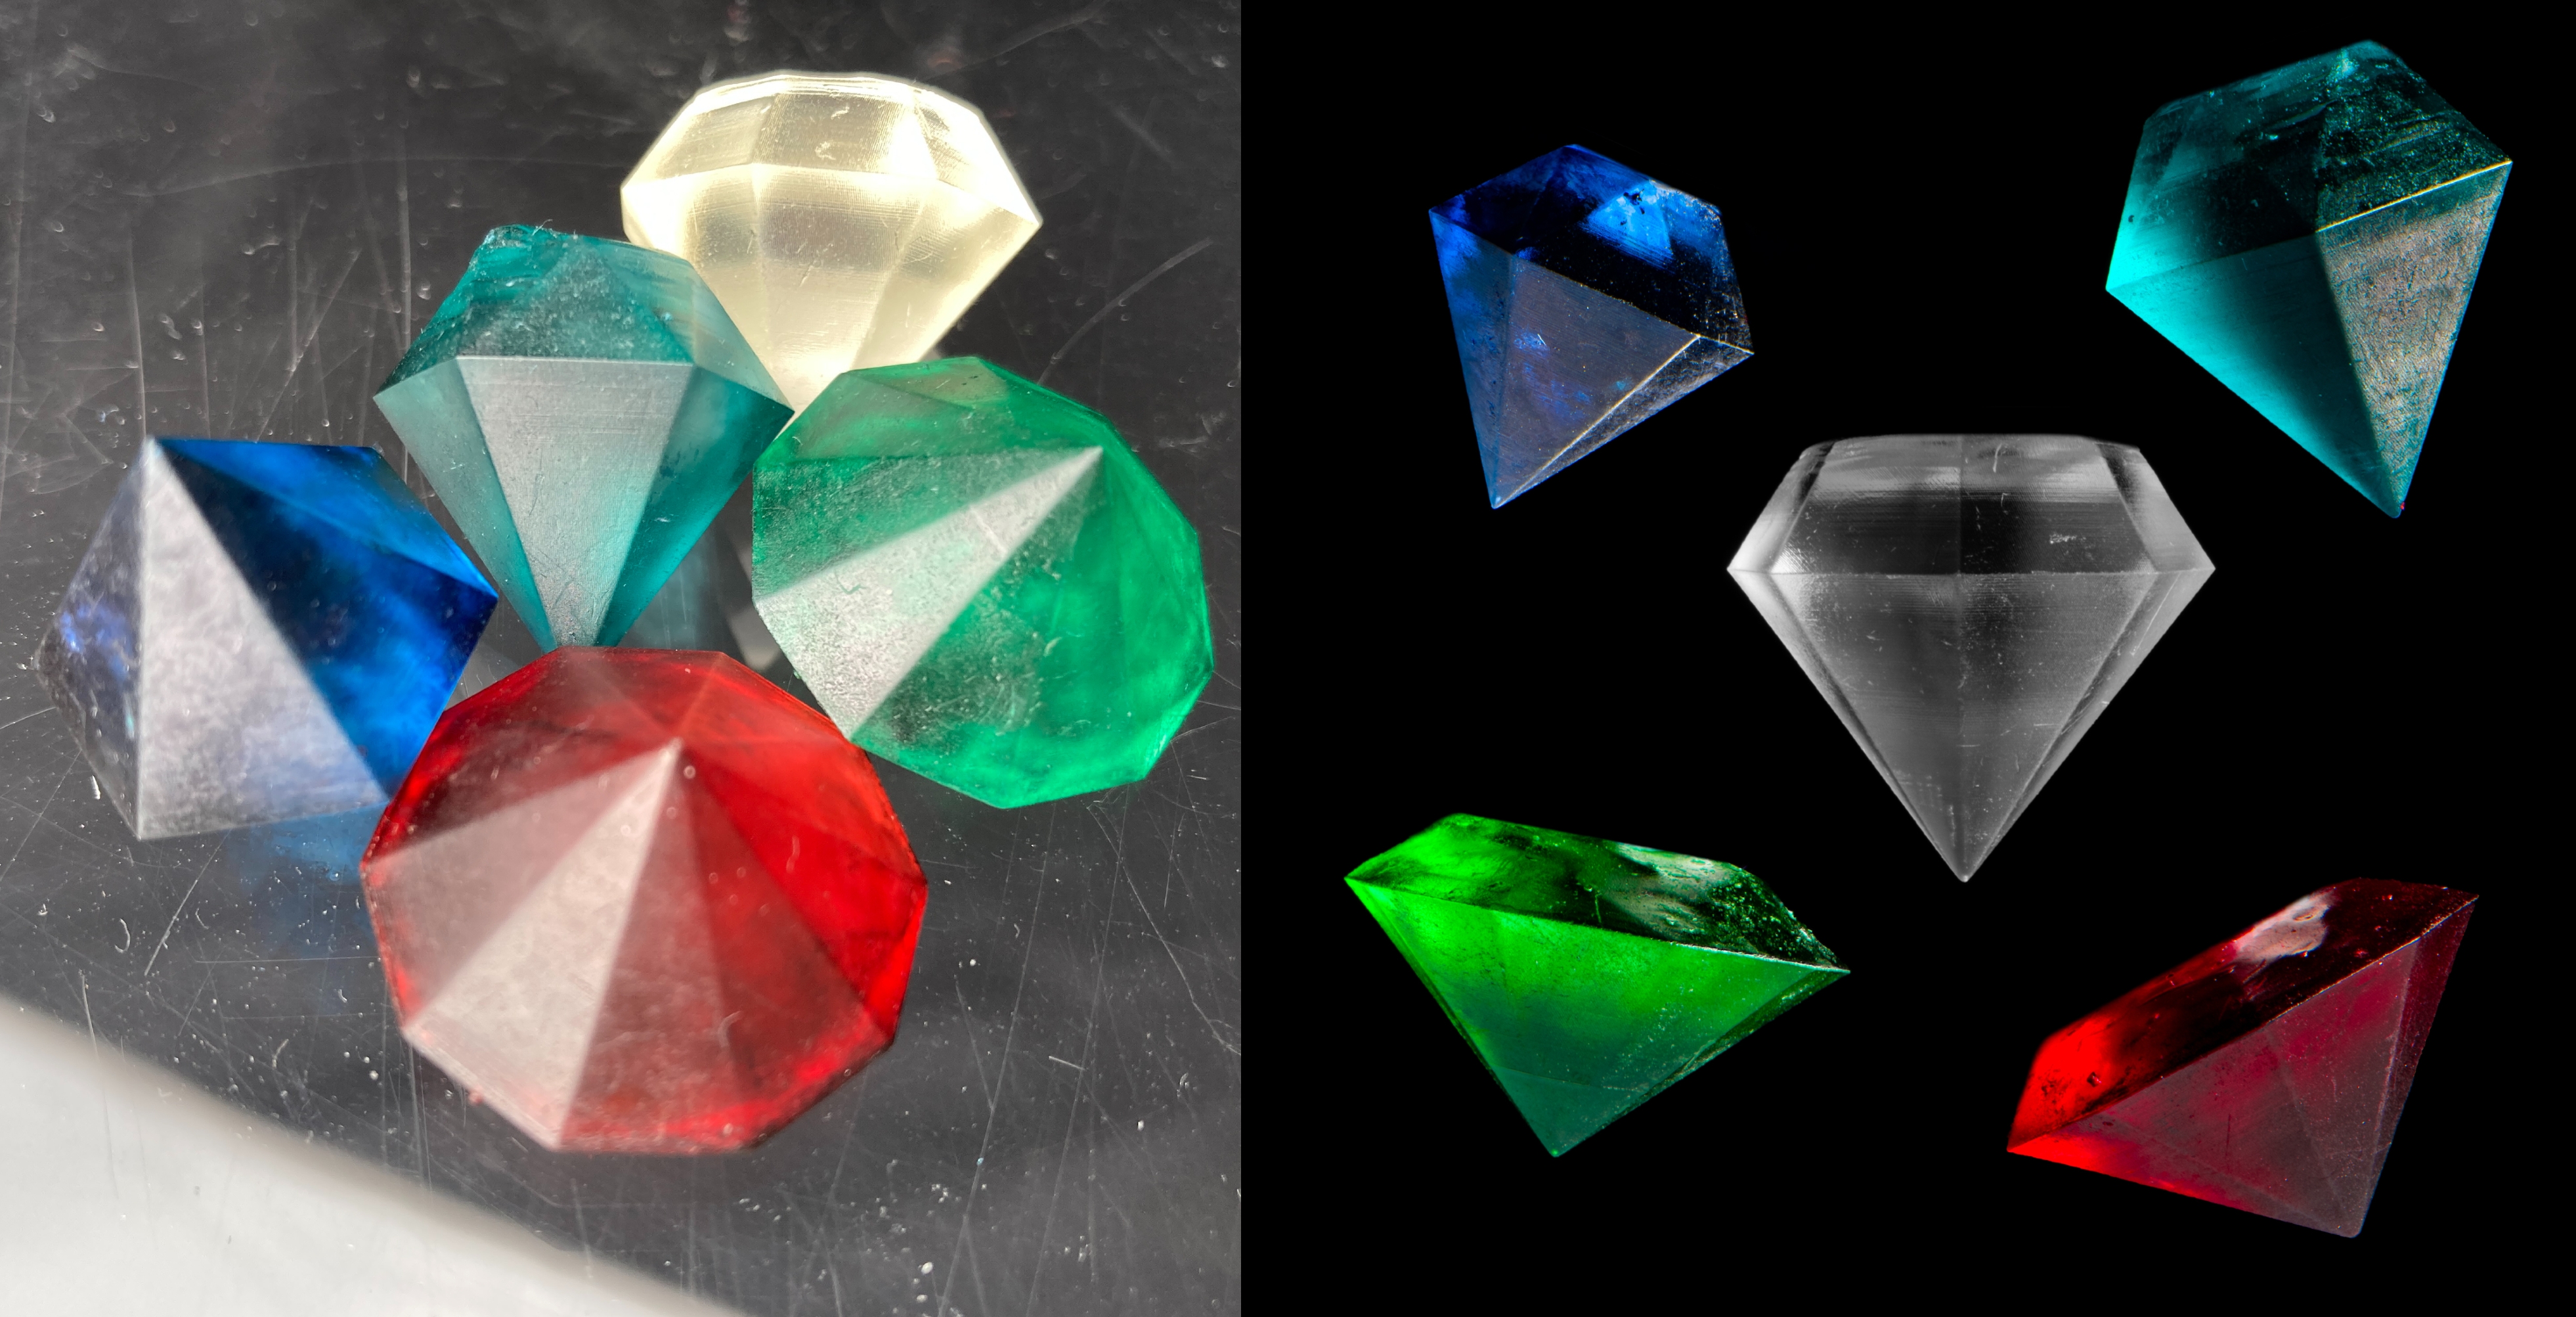
Below you can see a line up of the results. It really shows the pigmentation, far-left was left unpainted and far-right was done with a mixture of Ink colours. The paint really clings to the surface of the models.
Below is the above gems as well demonstrating mainly the difference between amateur photoshoots done by me as compared to our Head of Photographic Magic Luke. Also, a big shout out to Owen from our Support Team who kindly printed and let me paint these jewels, I am richer because of it.
Below are a fraid of spooky ghosts completed with blue Alcohol Ink lightly polished on. They make for a particularly scary presence. Big thanks to Luke, Wizard of Photography, for both trying the technique and photographing them.
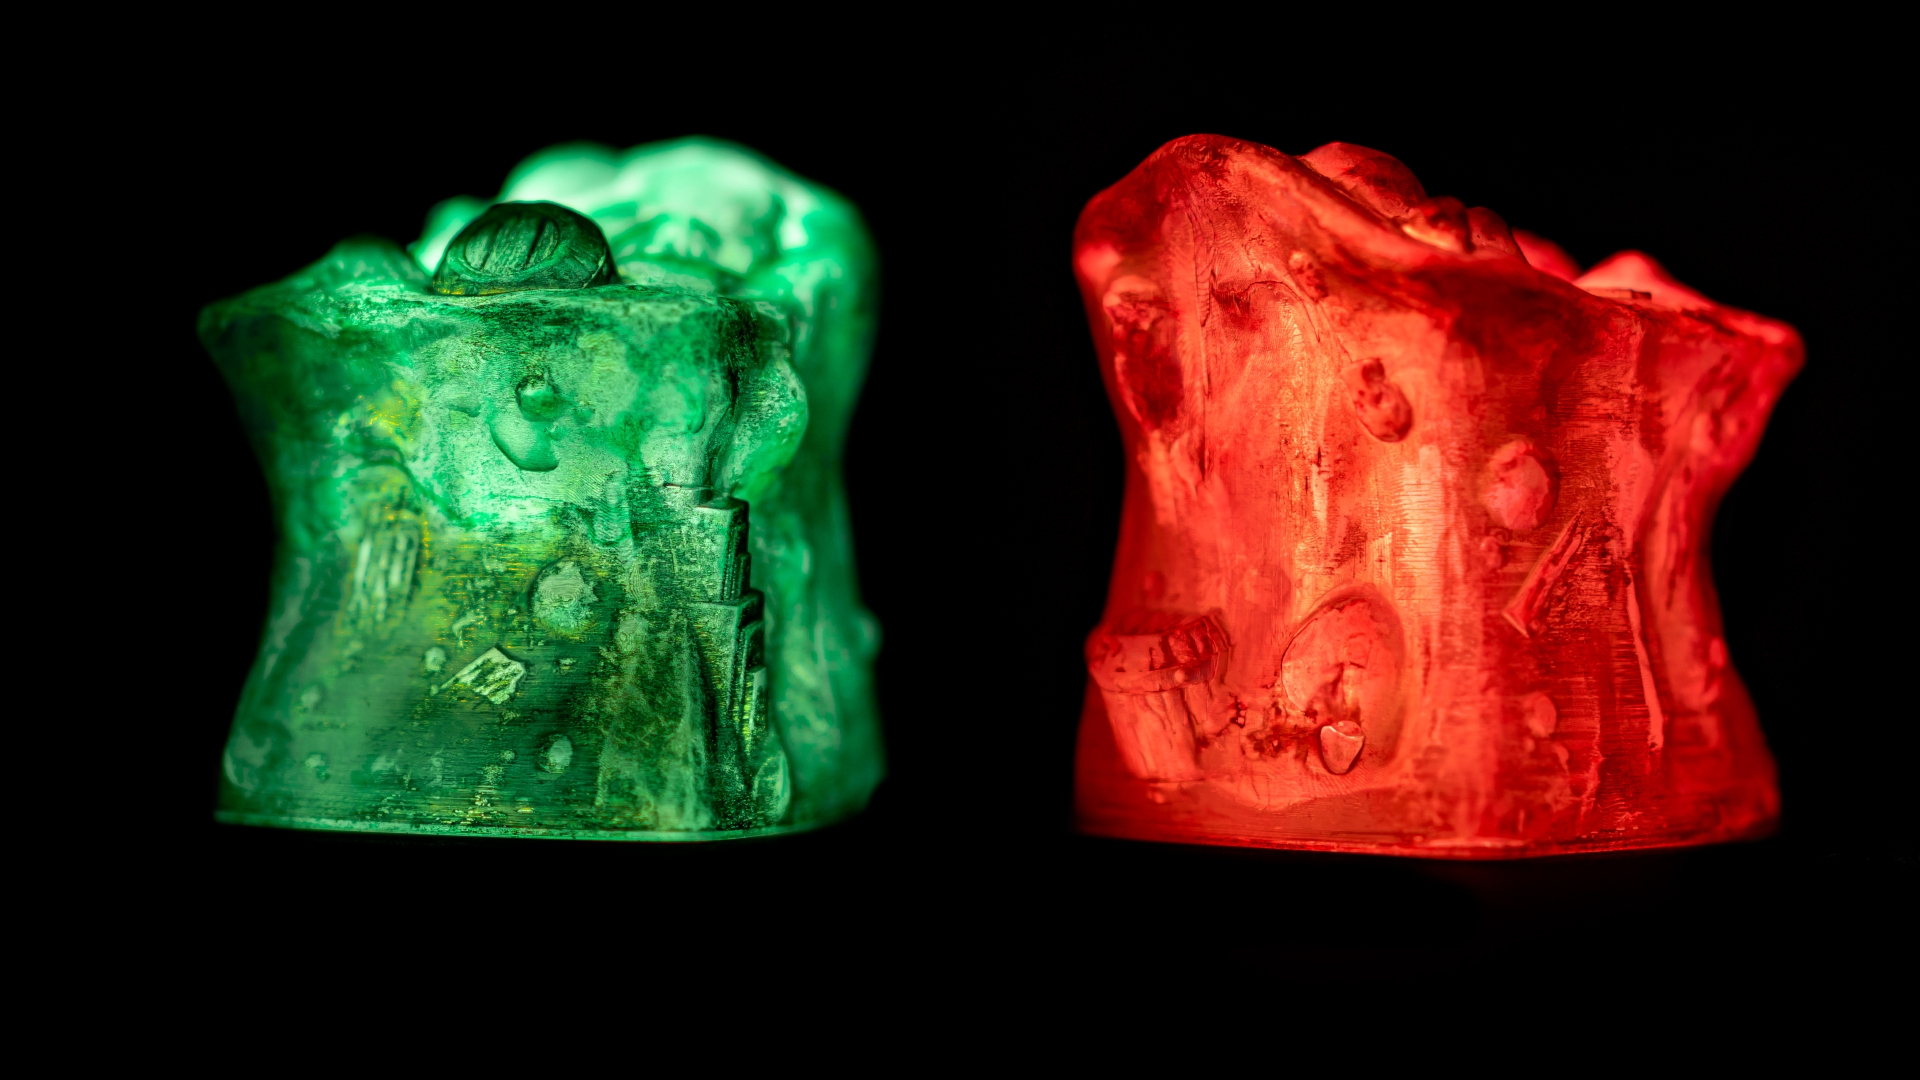
And below this are two gelatinous cubes which would be absolutely terrifying to get sucked into. The pigmentation you get with this method really works in the favour of these.
Alcohol Ink Before UV Post-Processing
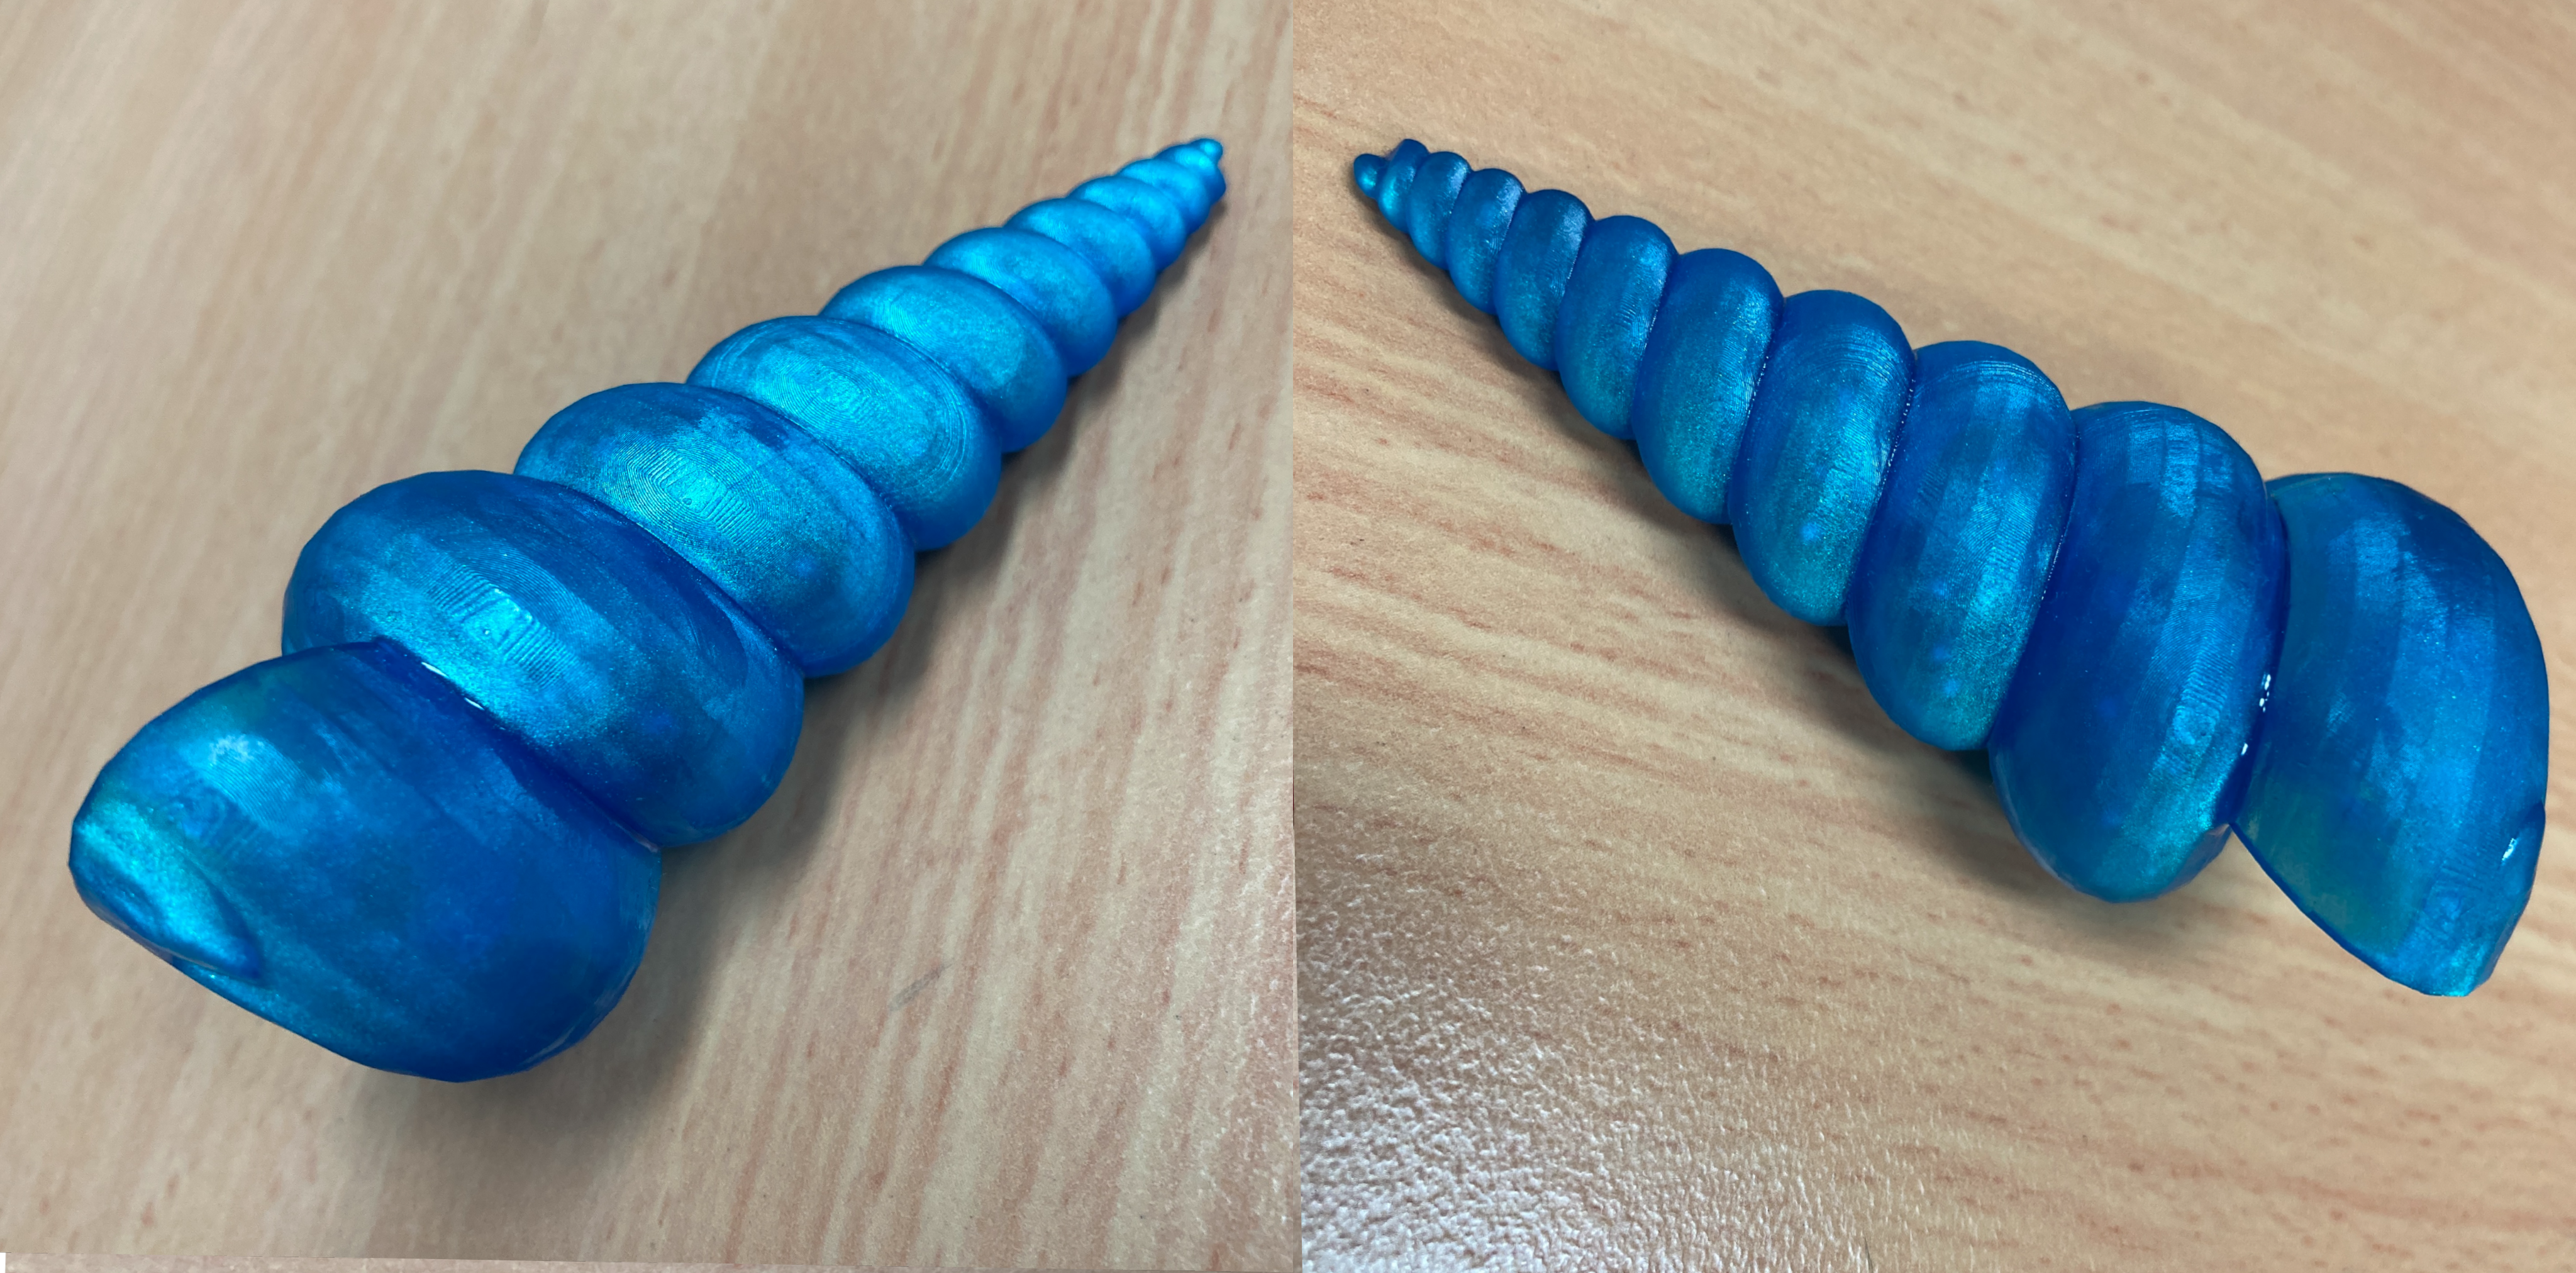
So the process being done is after printing I paint the surface, then once the Alcohol Ink dries, I then do the UV Post-Processing like normal. This results in a very similar effect as before however the alcohol ink is absorbed deeper into the model, so when you scratch the surface it does not show the transparent surface underneath. It also has less pigmentation on the surface. Isopropyl alcohol and acetone can both be used as before to even out or make the colour weaker. However, after UV Post-Processing it felt ashy and the surface was not as smooth as it originally was. See below left for an image of the triangle tower made after UV treatment and below right for the gloss spray paint used in the next step.
I was able to remove the goose-bumps from the model without losing any of the colours as the colour had seeped in. Then afterwards I give the components 2 layers of clear coat gloss spray paint (the same used in the last step of Create Fantastic Finishes on 3D Printed Components) which resulted in my favourite final finish. It improved the transparency, depth of the colour, smoothness to touch and gave a longer-lasting harder to rub-off colouring. See below the completed final pieces arranged and separated.
Alcohol Ink directly into the Resin Tank
This was the most fun to do as I felt like a wizard creating a concoction or potion. After pouring the transparent resin into the tank I would then use around 20 drops of Alcohol ink and half a teaspoon of Pearl-Ex Powder tipped directly into the resin tank. I would then mix it around until it was properly mixed in. Then I set the exposure time for each higher (10 seconds per layer for the Creality LD-002R Printer). This is because the alcohol ink and particularly the Pearl-Ex Powder will cause light to be reflected and refracted instead of curing the resin. See below for an image of the magic liquid being created.
Once the model is printed and UV cured these are my thoughts. The results using this method are completely different than the previous two types. The two previous methods end up with colour effect reminiscent of jelly. The Alcohol Ink utilised in this method gives a cloudy deeper effect. The Pearl-Ex powder gives this otherworldly sheen when the light hits it the right way and is completely embedded throughout the components. The drawback of this method is cleaning the tank and FEP. But the colour will never rub off from the model which is pretty nifty. See below for some model examples printed on the Creality LD-002R.
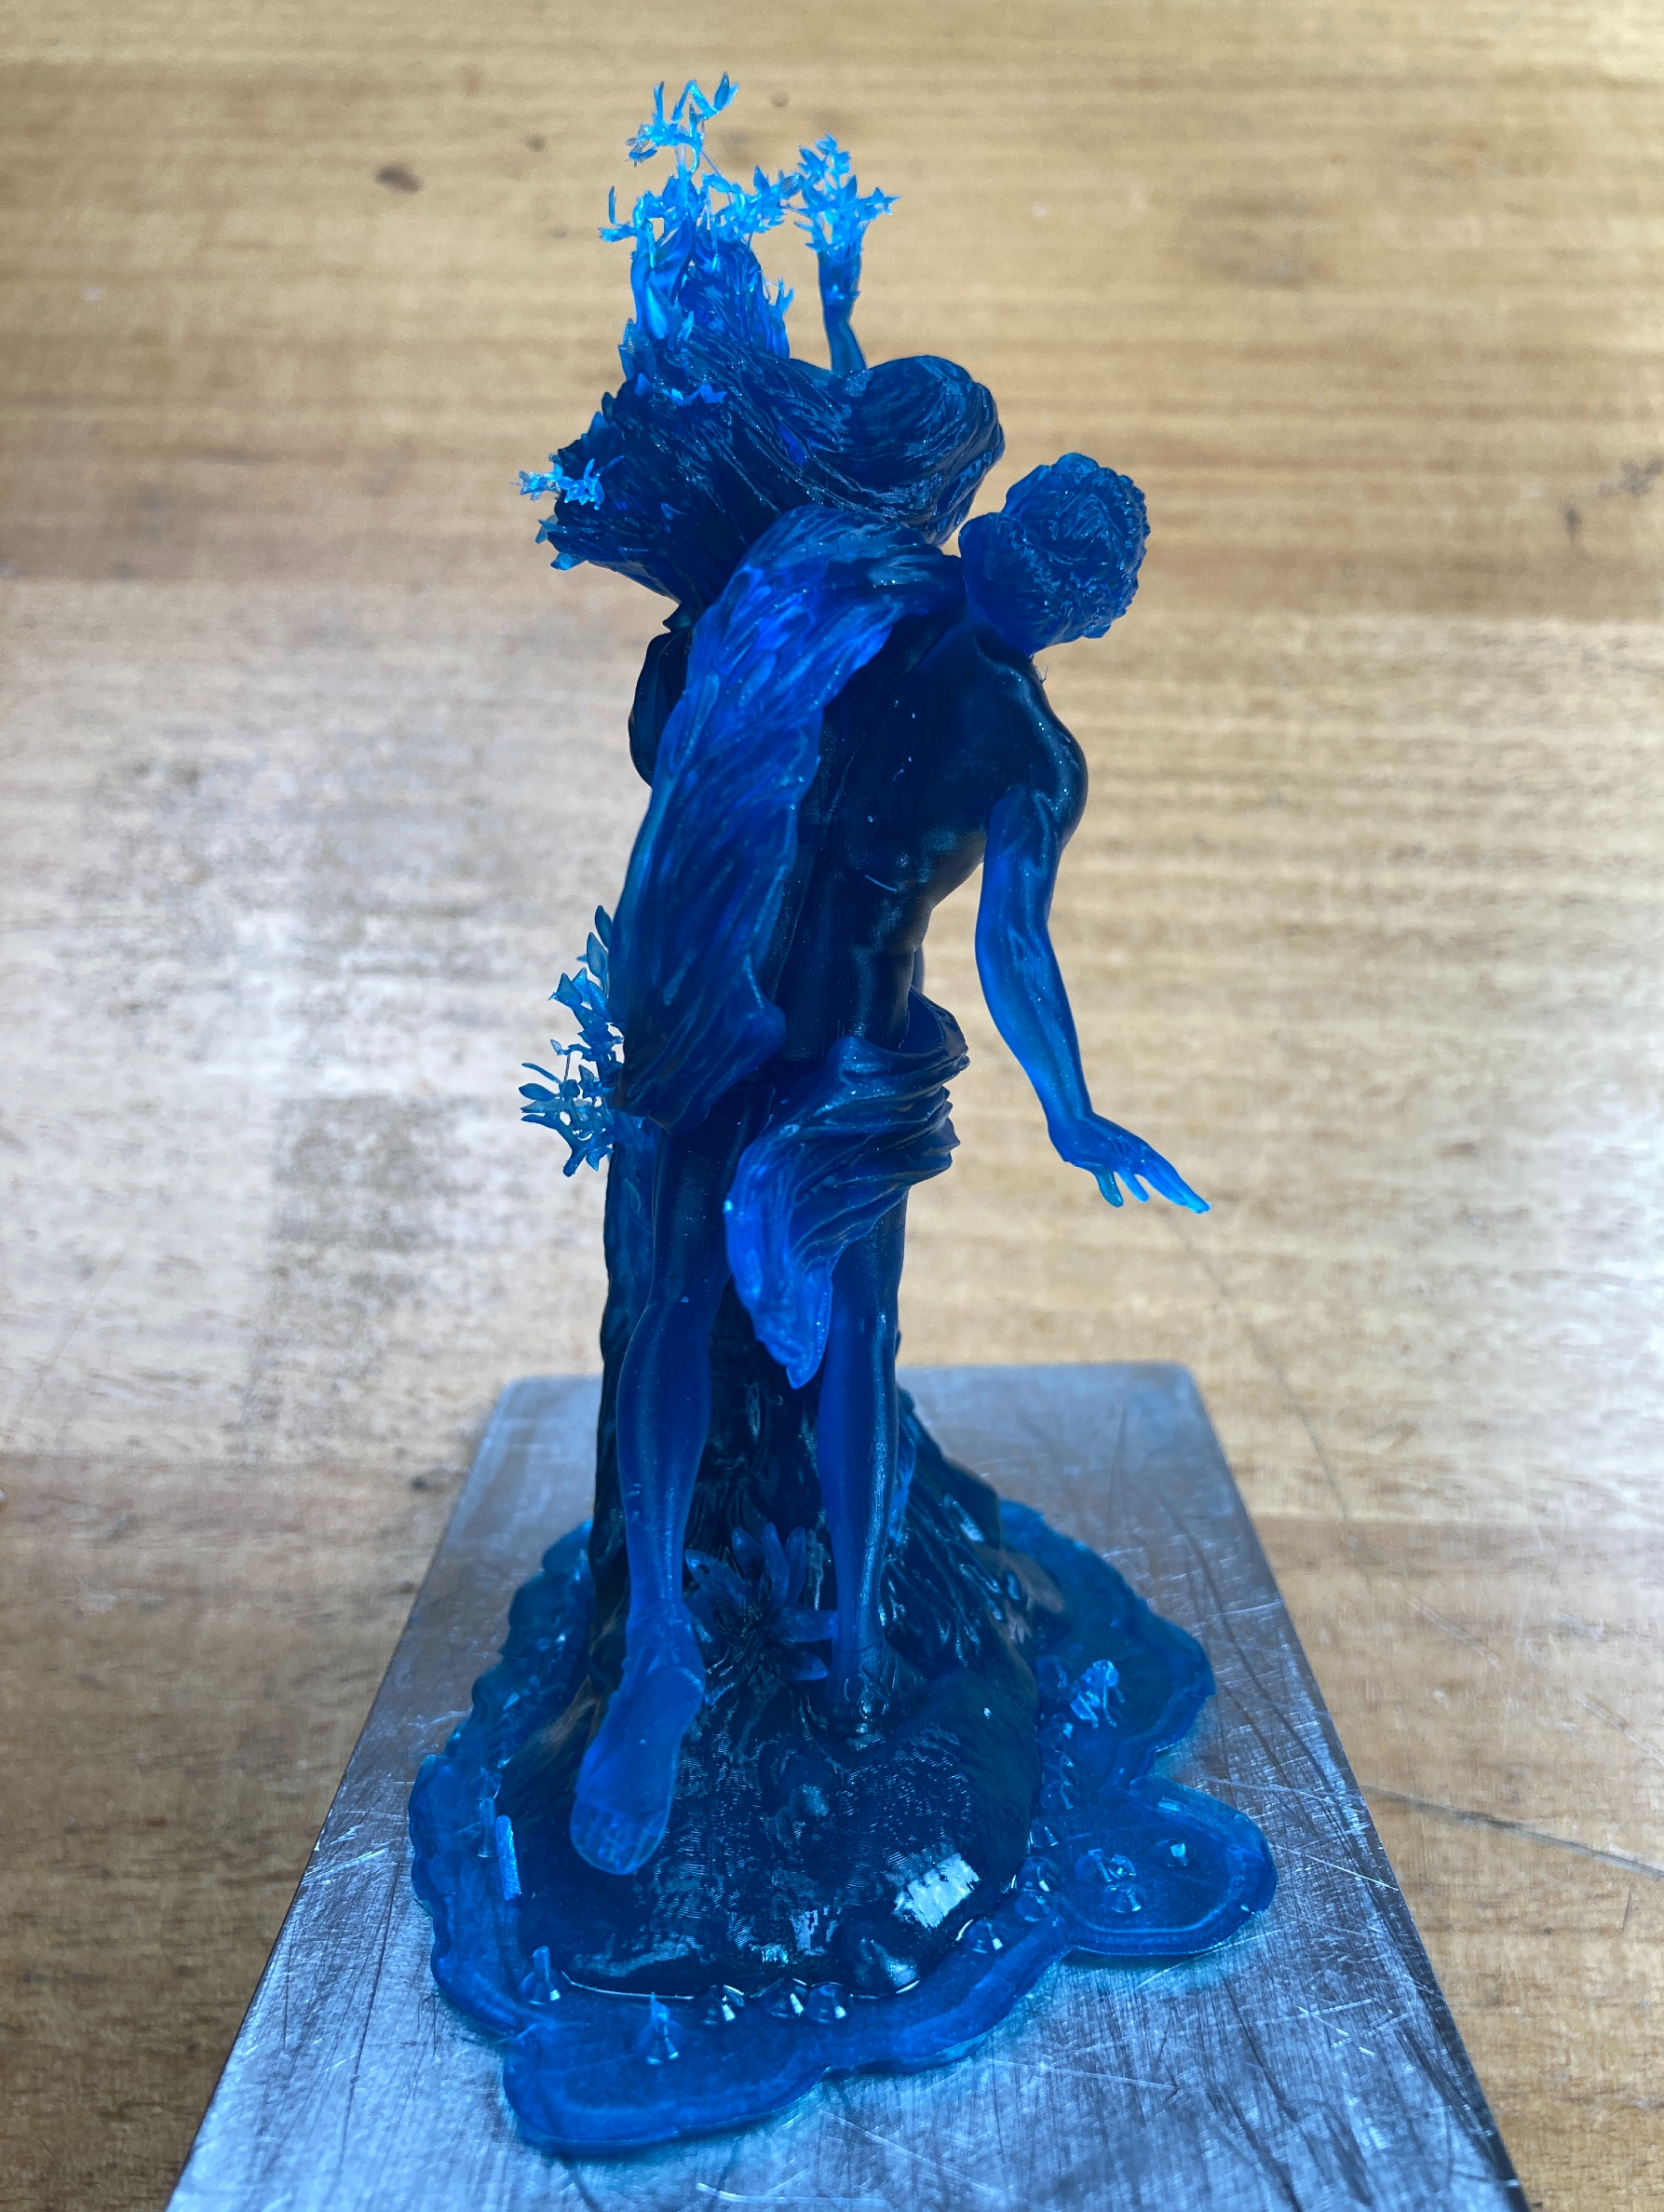
A larger print below with a little more green and more pigment below. Hopefully, the colour doesn't come off as too kitsch, I will leave that to for you to decide, but this model of Apollo and Daphne really shows the prowess of resin printers to capture small details, particularly demonstrated where Daphne is turning into a tree. These thinner parts also garner a very different colouration than the rest of the model.
Metal Alcohol Ink - New Addition to Guide
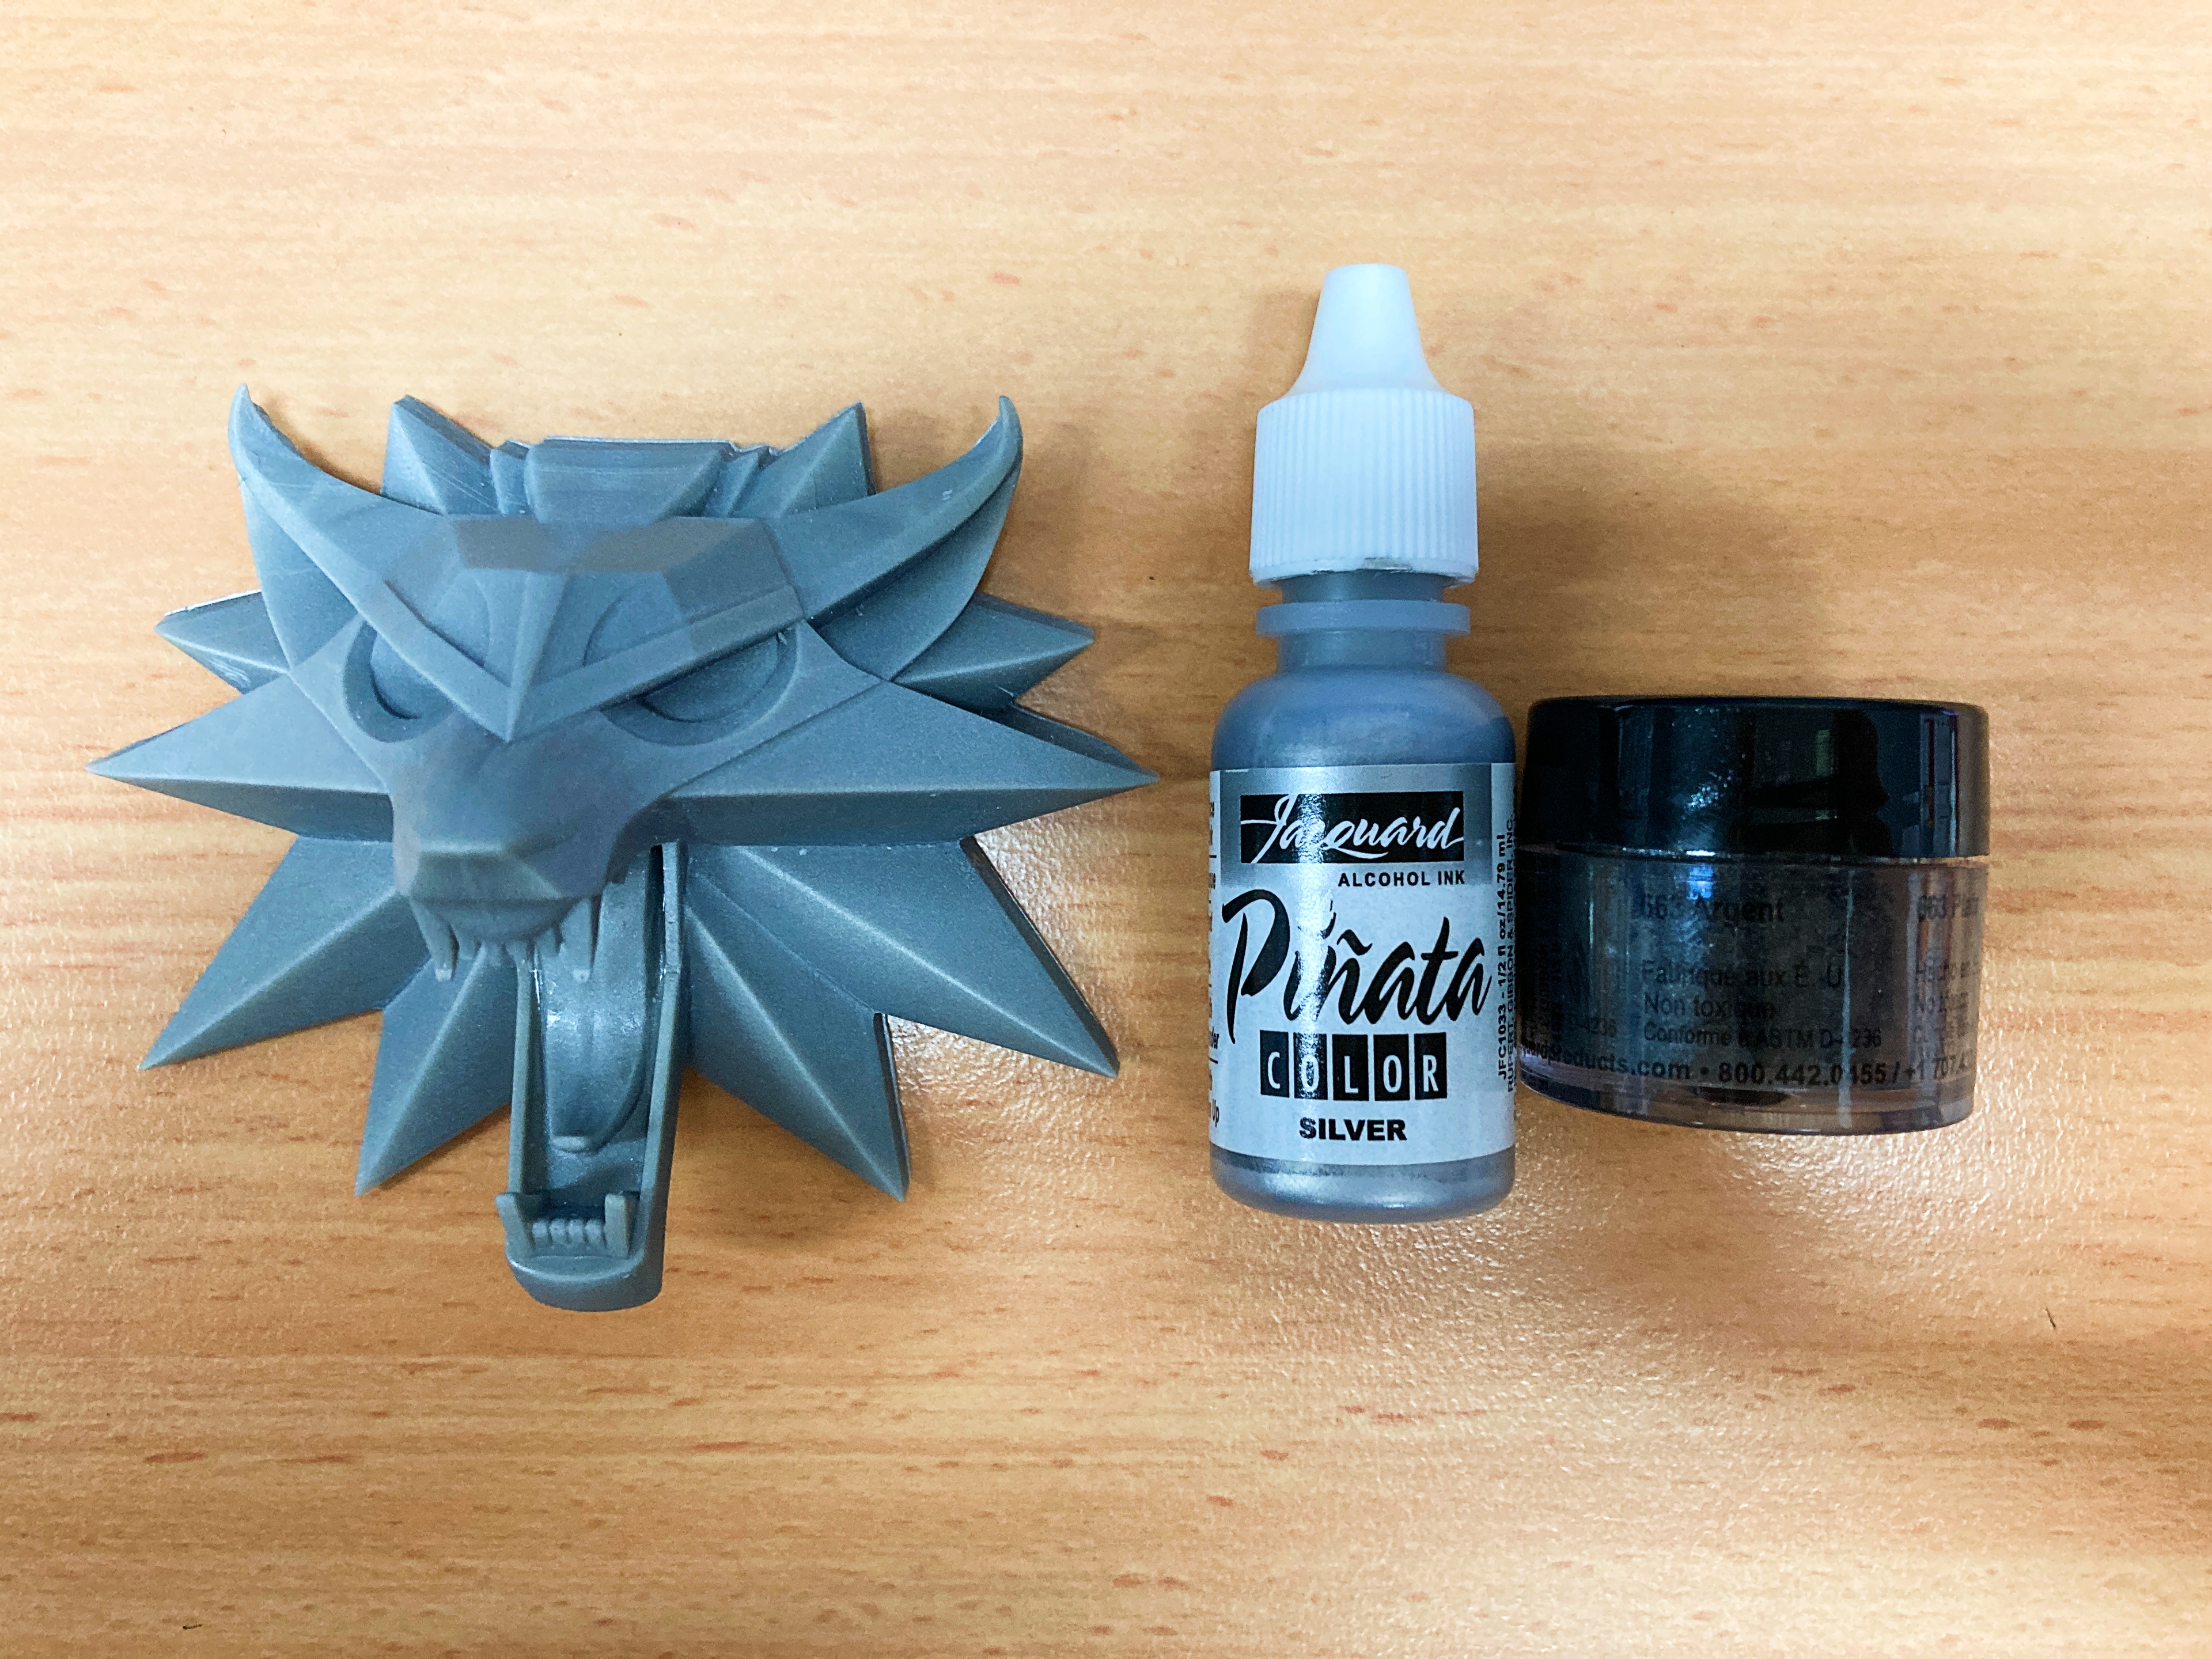
I did some recent reasonably successful experiments using Metal Alcohol Ink. The best effect came by painting it after curing. Below shows the Pearl Ex Powder and Silver Alcohol Ink used next to a model of The Witcher logo. This was printed with the Powder and Alcohol Ink mixed into White Creality Resin before printing was started. The result is a battleship grey.
We are looking for a shiny metal effect though so after painting on layers of the Silver Alcohol Ink directly onto the surface of the cured part and then letting it dry below was the final result as seen in the image. Looks almost like aluminium and is definitely capable of reflecting light off its surface.


