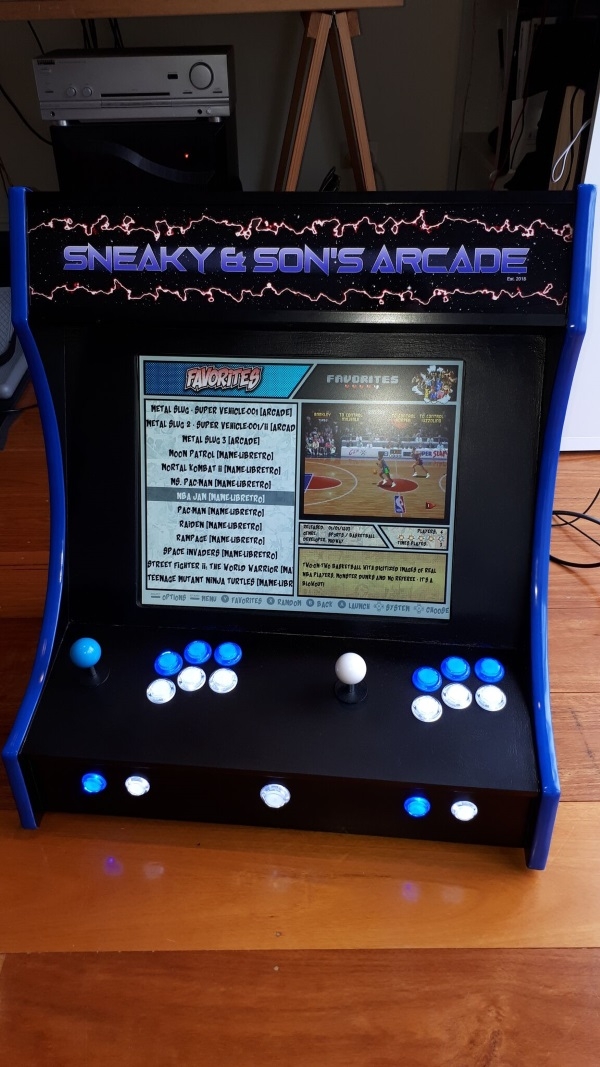
My first arcade cabinet. Built from scratch using mdf panels, a donated monitor and speakers. Powered by Raspberry Pi 3 running the free image "RetroPie". I have put on about 30 classic games, including my favourites like Galaga, Space Invaders, Double Dragon, Golden Axe, 1941, Street Fighter, Mortal Kombat, Joust, Asteroids, NBA Jam, and more.
This cabinet was built from plans found at:
https://www.instructables.com/id/2-Player-Bartop-Arcade-Machine-Powered-by-Pi/

All dimensions are as shown, except I made it 50mm wider to give players some more space.
I'm glad I did this. I haven't used a Raspberry Pi before, but putting RetroPie onto an SD card and getting it going was childs play. Finding ROMs, installing them, and configuring the UI how I wanted it took much longer. But it was still pretty straight forward. There are lots of tutorials online on everything you could want to know.
I installed a new UI theme, background music script and video previews of each game.
I took apart some Creative 2.1 speakers and used the components for audio. I took the bezel off a 19" monitor. I wired up the power board to a power point with switch. The marquee forced me to learn some basic paint.net skills, but came out ok I think. I got it printed by the friendly guys at NoodleShirt.com in Sydney. It's backlit with a simple white led strip.

Woodworking was new to me, and took awhile to get right. Buying and borrowing the proper tools is essential. The hardest part was painting it. I put on 2 coats of primer, sanding each. It ended up really nice and smooth. But the enamel top coat was harder to get right. The roller on flat surfaces came out very well. But the corners needed brushing, and the boundary between brush and roller was very obvious. I couldn't get it right. Tried foam brushing also, and that was even worse. It isn't as nice as I would like, but it's done and will have to do. It has dried very hard though, and seems like excellent protection, which was my main concern. Routing the slot for the T-moulding was very easy in the end. But if I did it again, I'd make all corners rounded so the moulding doesn't meet any 90 degree bends.
View the full project gallery here.
I plan to make a cabinet for the bottom half, which this bartop will sit on to make it full height. The lower half will probably contain a mini bar fridge. :) But I'm all done with sanding and painting for the immediate future!
Til next time.... Sneaky.

