Although there are commercially available lighting kits for Lego models, we found those that are available for this Hogwarts Castle can seem a little garish and don’t do the best job at concealing the wires.
We felt that with the right tools, some planning, and a lot of patience we could have a go at integrating our own lights.
This Hogwarts Castle is definitely one of the more impressive Lego models available, we felt that simply positioning lights around an already completely model wouldn’t do it justice.
So after an initial build, we looked over the model and planned the locations for our lights by adding a sticky note in the building instructions. Then after a full disassembly we rebuilt it from the ground up. Routing the wires and adding the LEDs as we went.
Bill of Materials
-
Through-hole type for perfboard mounting
-
Some 0603 SMD type for soldering in-line with the LEDs
-
Mostly 150 ohms and 330 ohms for current limiting
Tools Needed:
-
Needle tipped soldering iron, and solder
Scavenged parts and other bits:
-
12 volt power supply. From an old printer, long since retired. We had to keep note on power drawn when all the LEDs were lit so as to not exceed the rating on the transformer and let the smoke out.
-
5mm flickering LEDs. Taken from those cheap battery powered tealights.
-
Some spare Lego pieces to help with the positioning of the LEDs; translucent coloured plates, studs and alike.
-
Multicore cable for power, connecting the two halves of the castle together.
-
Button batteries from the tealights. These were useful to check correct polarity while soldering together strings of LEDs
Schematics
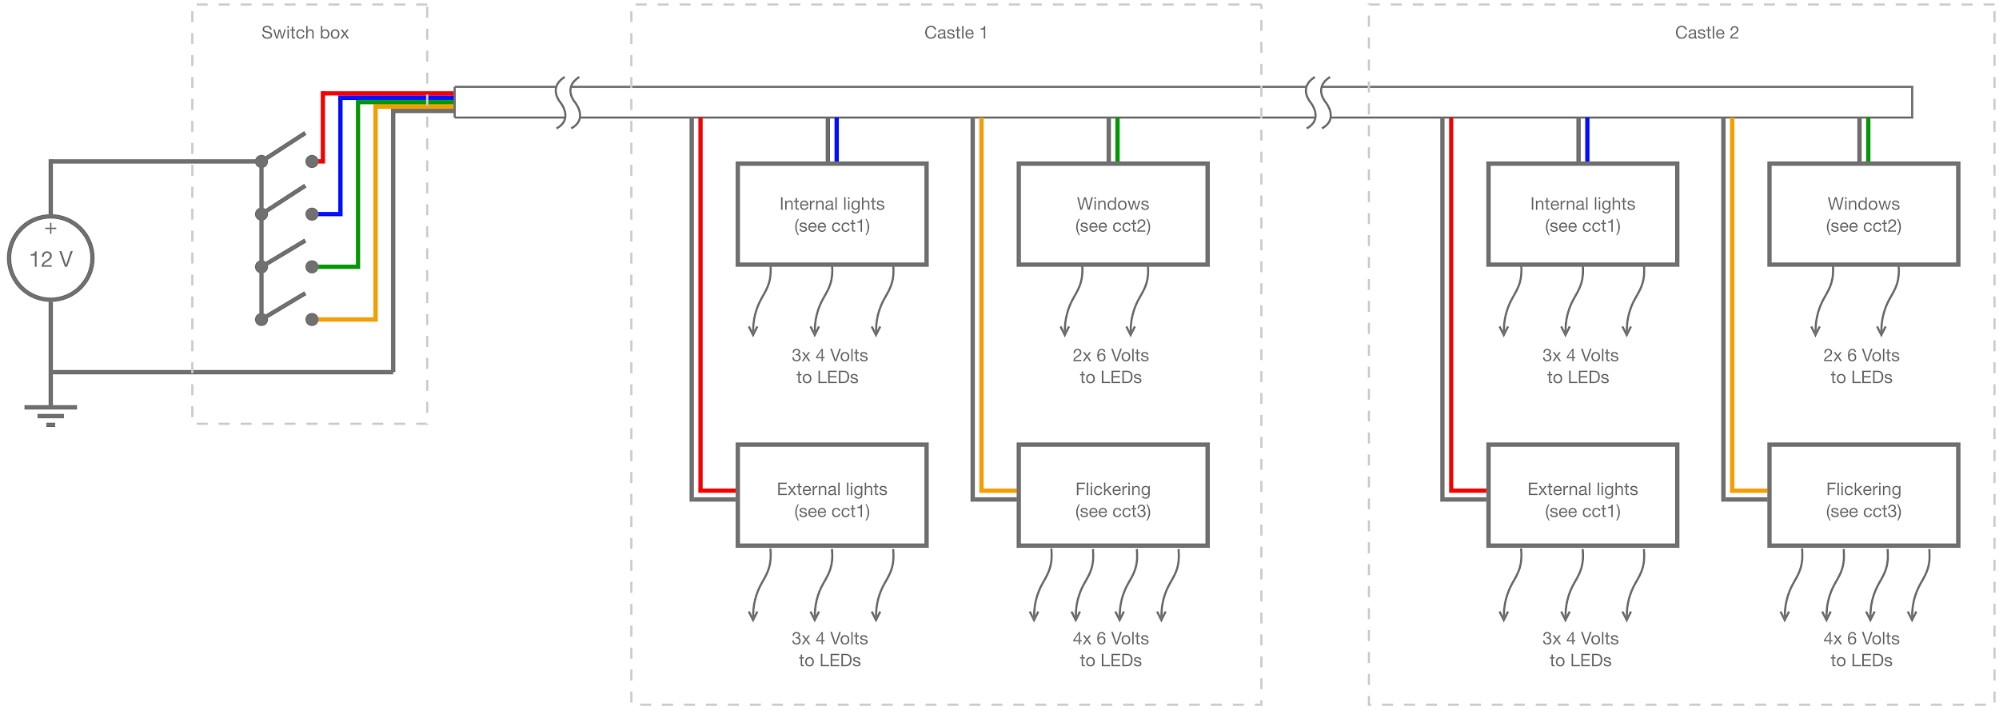
Wiring Diagram:
Circuit diagrams:
Notes:
The values of the resistors used for voltage dividing are shown in these diagrams as 1k ohm. The exact value of these isn’t super important. Provided it’s the same value across all voltage divisions and is considerably higher than that used for the current limiting.
In the actual build I ended up using 4.7k ohm, or 10k ohm, or whatever I had on hand.
The Build
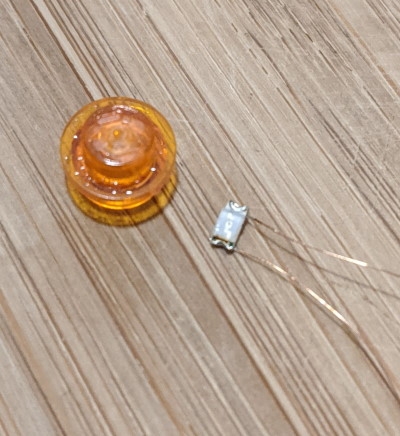
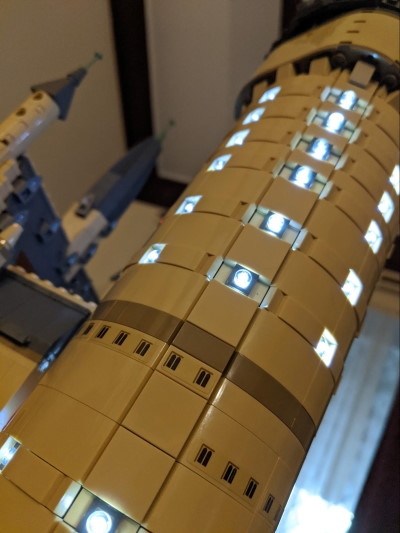
These SMD LEDs are tiny, shown here with a 1x1 trans stud. They fit easily underneath the bricks. Tweezers were almost essential while soldering, otherwise, the LEDs would stick to the iron and melt into a blob.
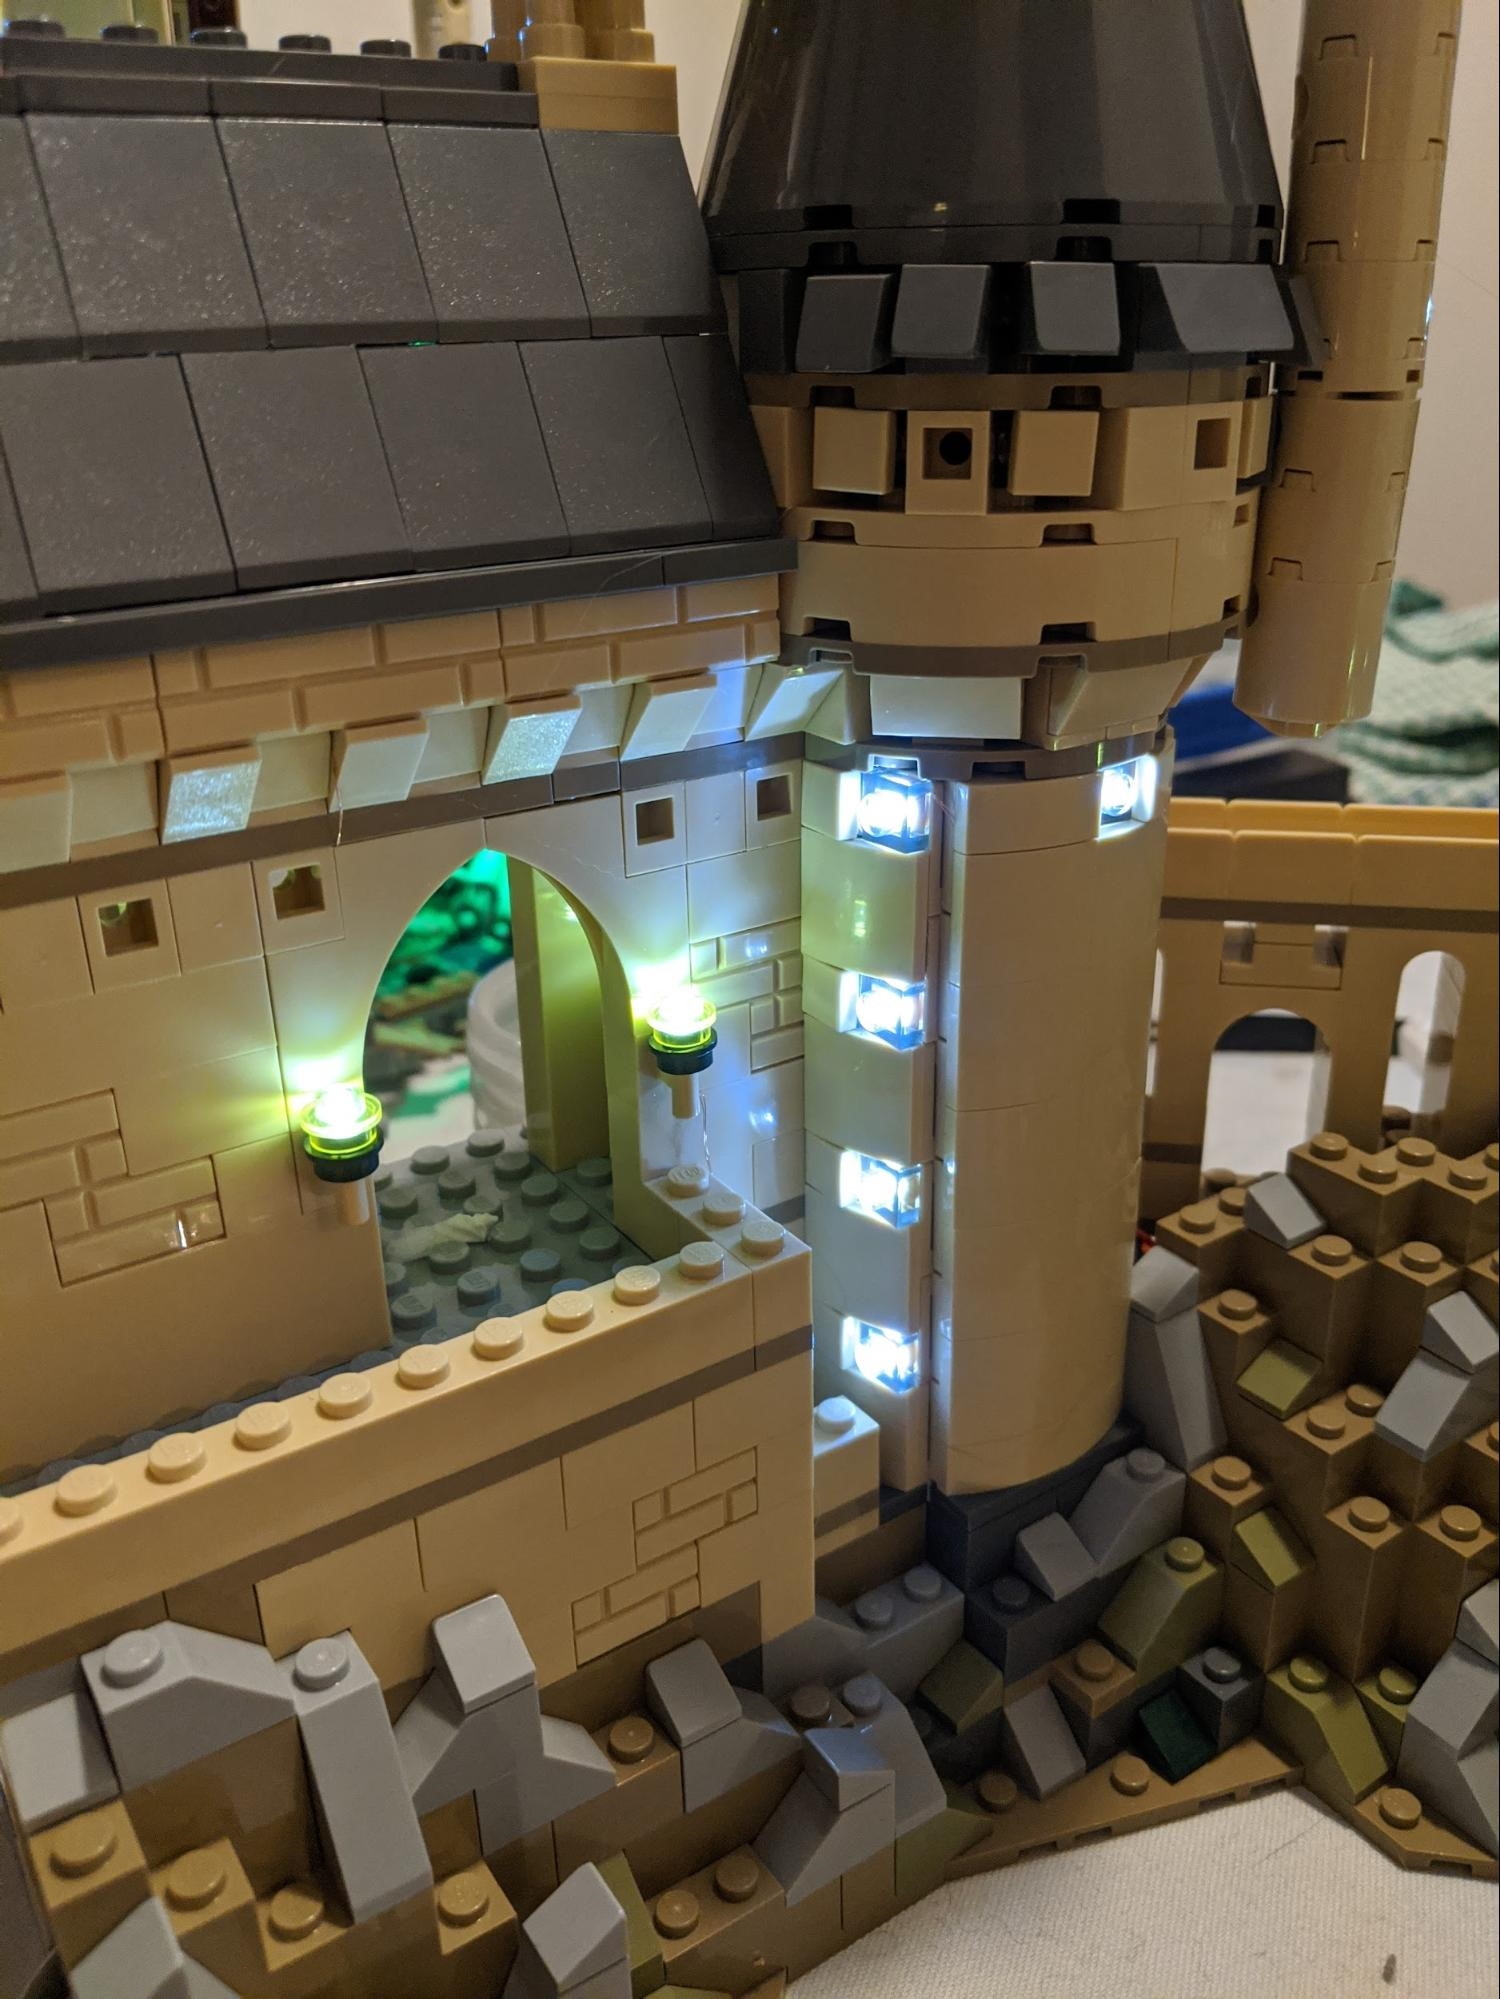
The .1mm enameled copper wire is perfect for poking into corners and squeezing between gaps, making it easy to conceal and preventing the need to drill holes.
The wire is not as fragile it appears. Dealing well with bending, pinching, and twisting - but not great with tension, where an accidental tug could either break solder joints or the wire itself.
We used a very hot iron with a small ball of solder to burn off the enamel coating, exposing the copper, prior to soldering it onto pads on the LEDs.
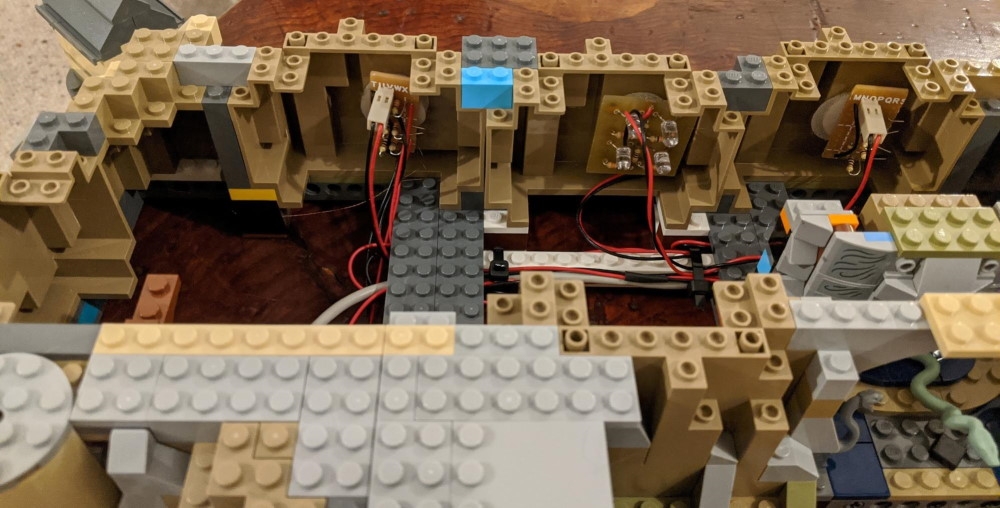
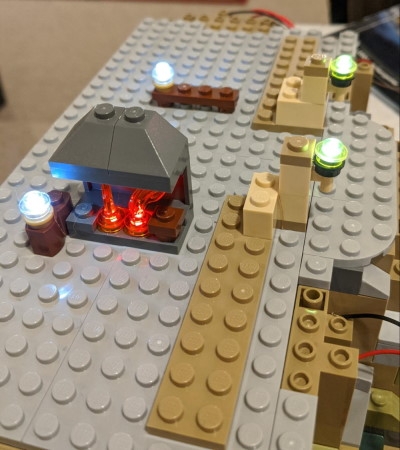
Conveniently this model has plenty of room in the subfloor. We used this space to route the bus wires and stash the perfboards containing voltage dividing and current limiting circuits.
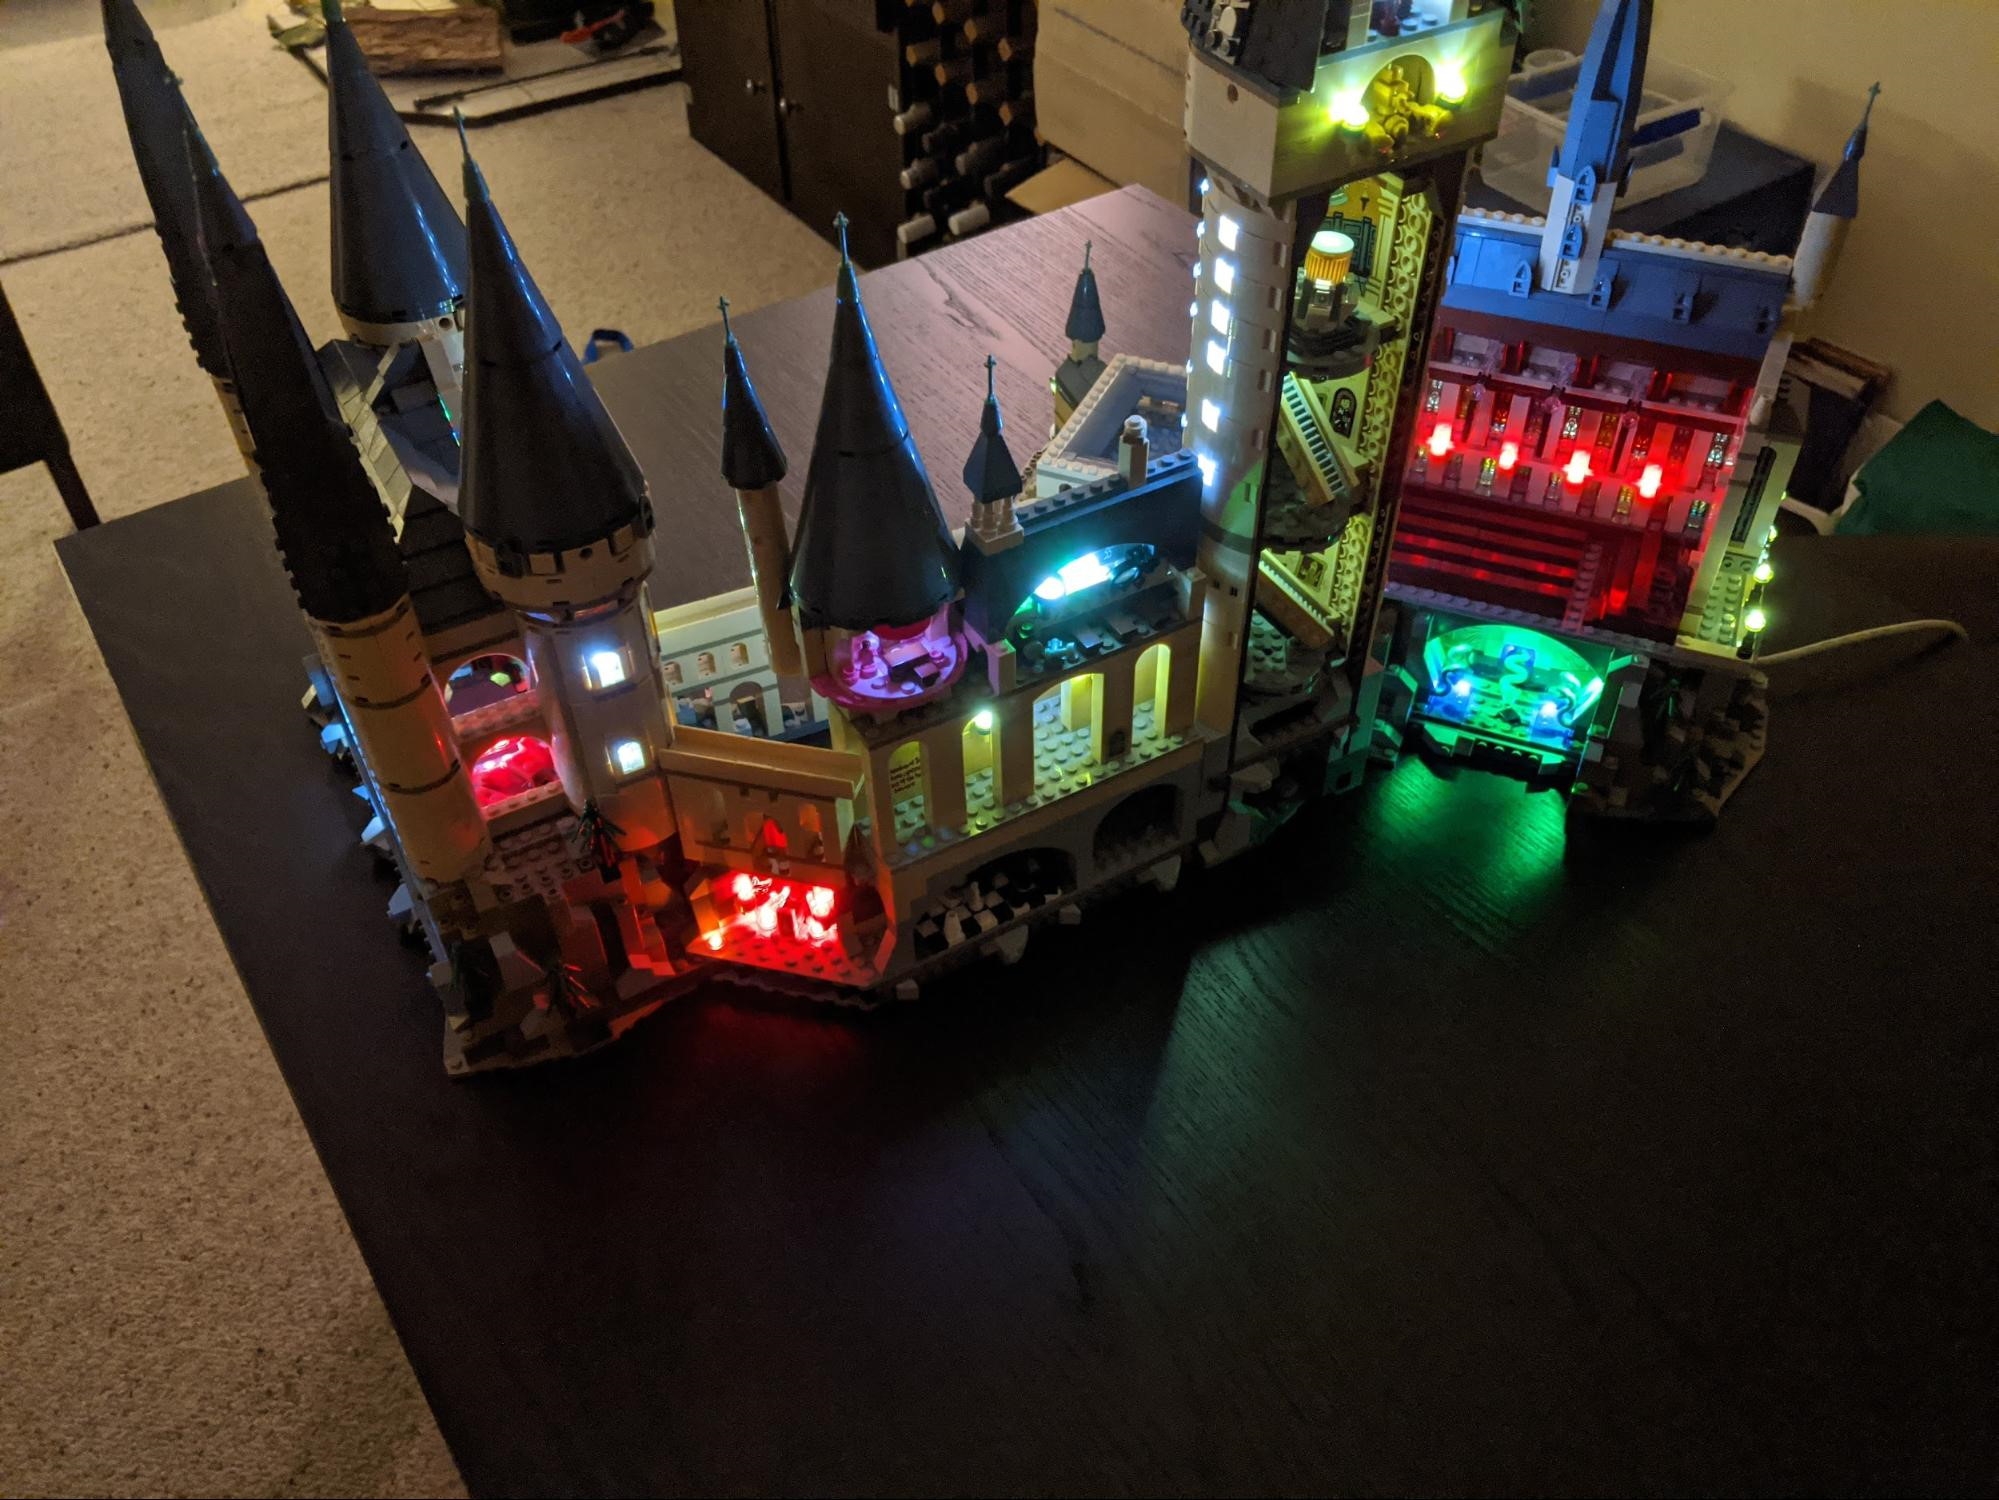
Each half of the castle has 4 individual circuits:
- Internal lights
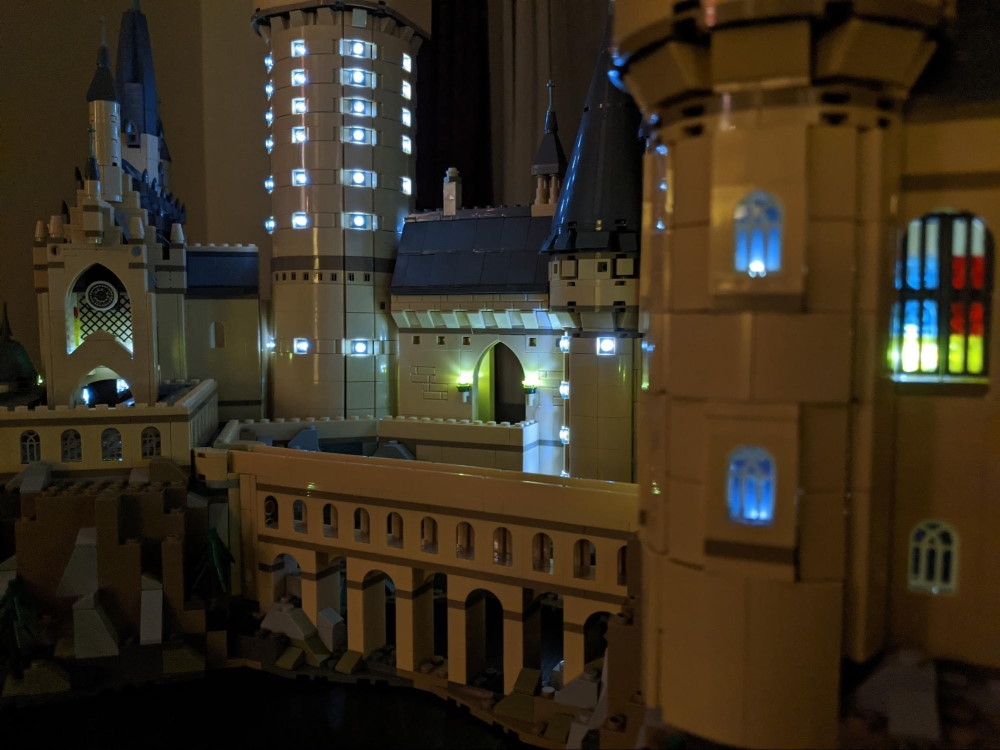
- External lights
- Stained glass windows
- Flickering lights: Red LEDs for the fireplace flames, candles, the Mirror of Erised, and blue LEDs for the water in the Chamber of Secrets
Each of these circuits can be toggled independently. And the two halves of the castle can be connected together via a JST connector hidden amongst the Devil’s Snare.
Voltage dividers take the supplied 12 volts down to either 3x 4 volts or to 2x 6 volts. Along with the current limiting, this means that most LEDs are pulling way less than their optimal ~20mA. They are somewhat underdriven. So the power supply is kept well within its limits.
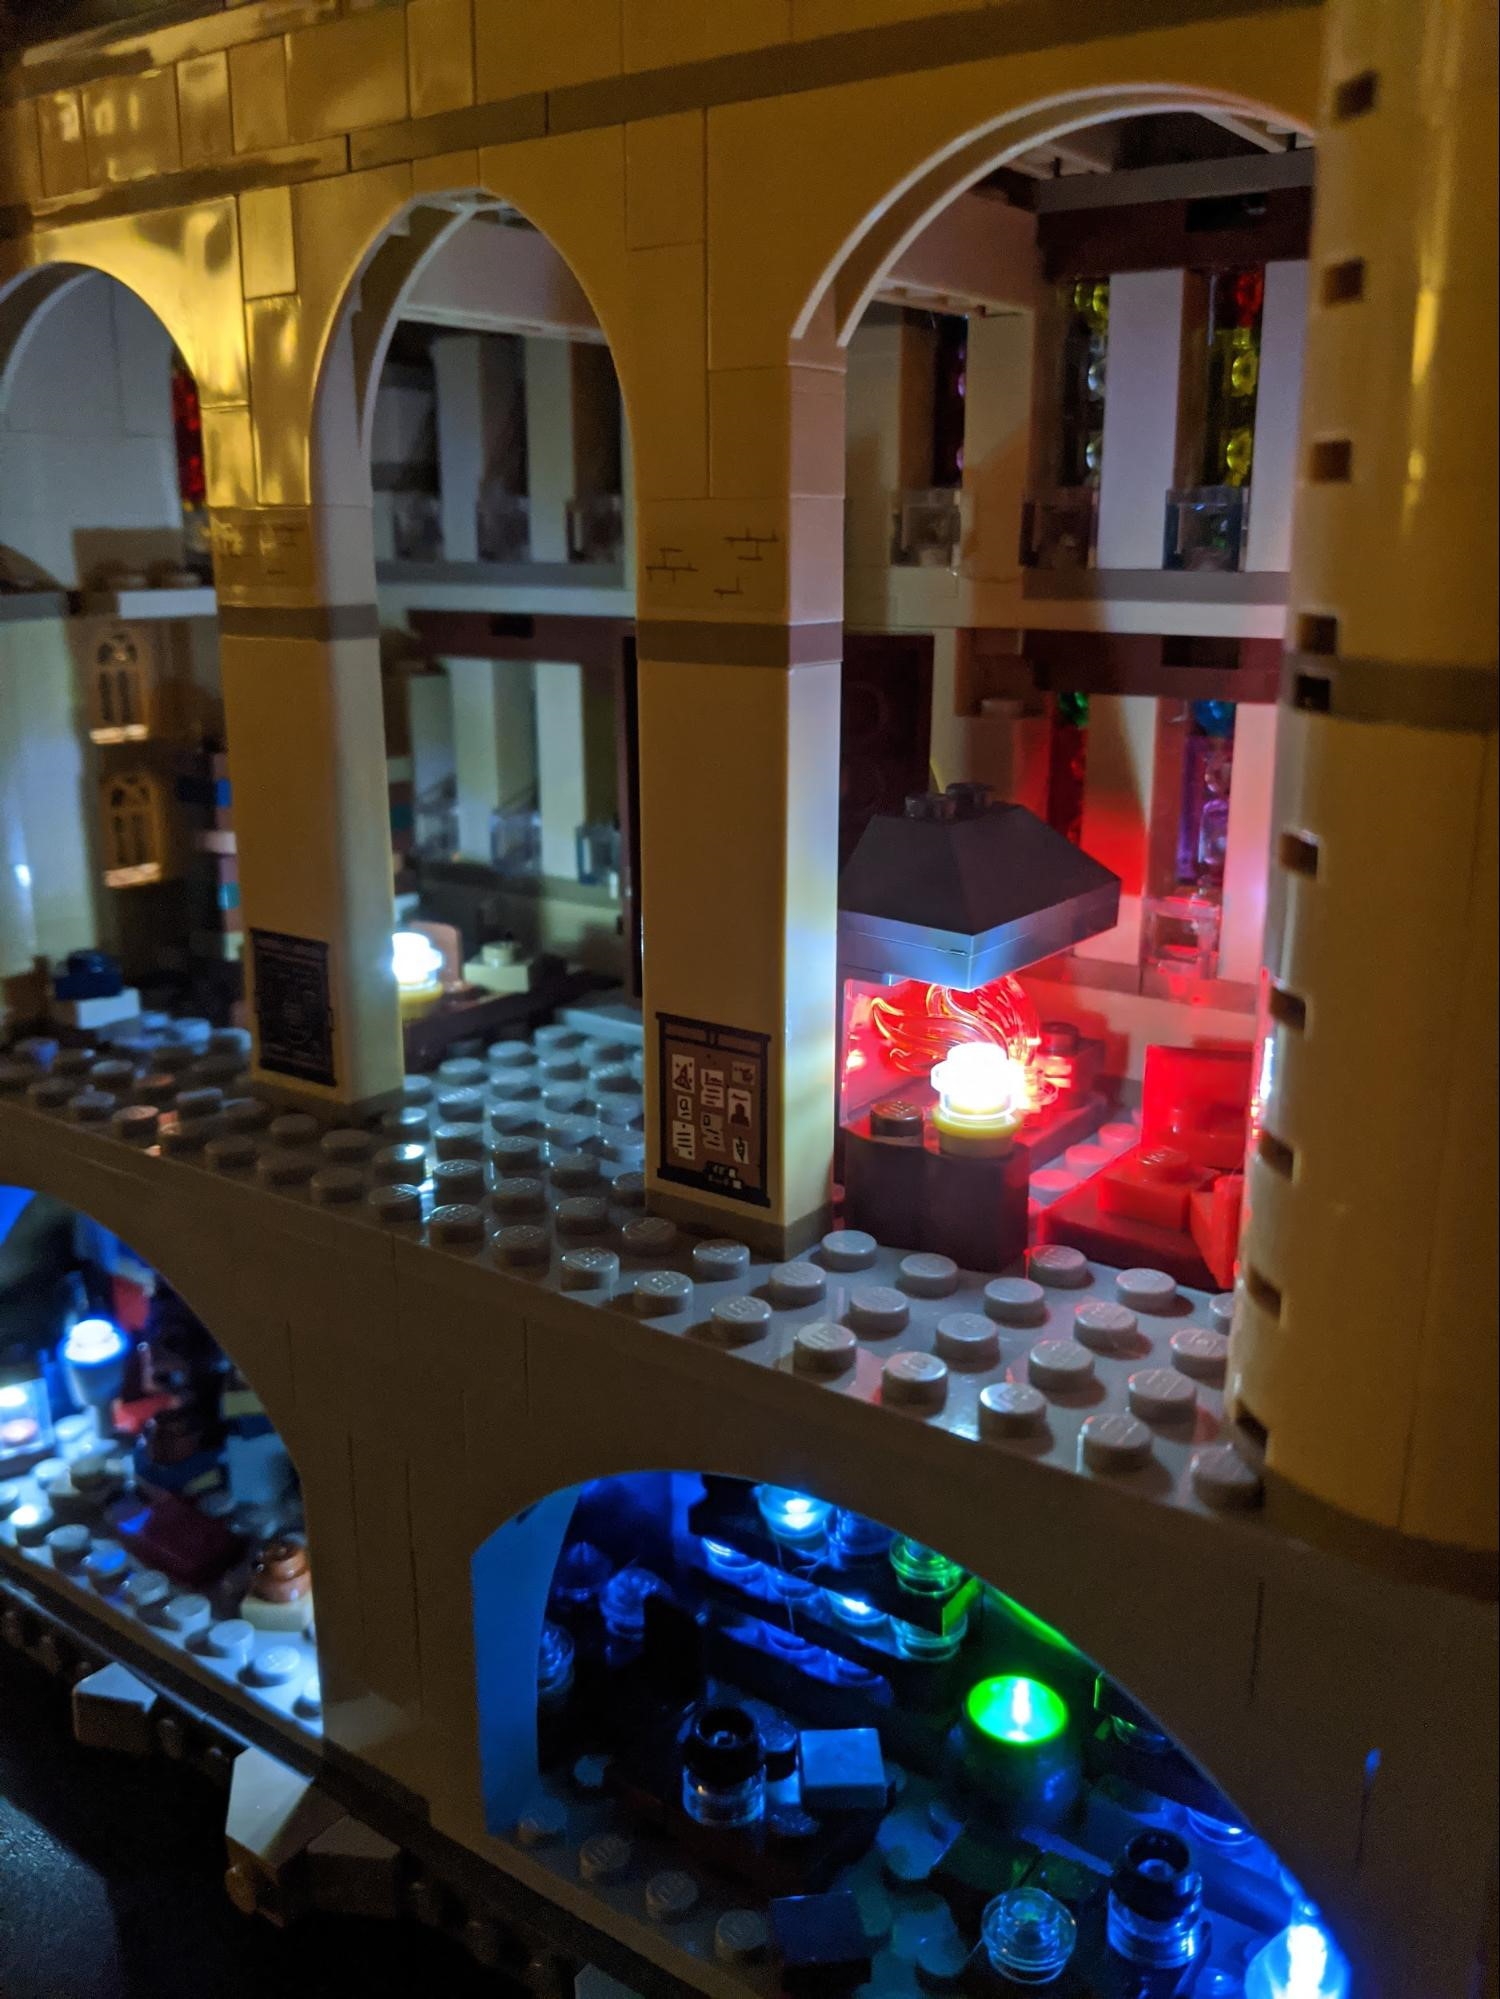
The candle flickering effect is achieved by running our SMD LEDs in series with the tealight LEDs hidden in the subfloor, inheriting their random flickering pattern. Looks even better in person than it does in photos.
Generally, it’s not a good idea to run strings of LEDs in parallel without each having their own current limiter. This can result in cascade failures where minor variations in the performance of the LEDs may lead to one hogging all the current flow away from its siblings, shining brightly until it burns out. Then the next best LED hogs all the power then burns out too. This pattern eventually ends with a string of dead LEDs.
So far we have avoided this problem by:
- Sticking to one LED colour per string
- Each LED in the string from the same batch
- Underdriving
- Sheer luck, I guess
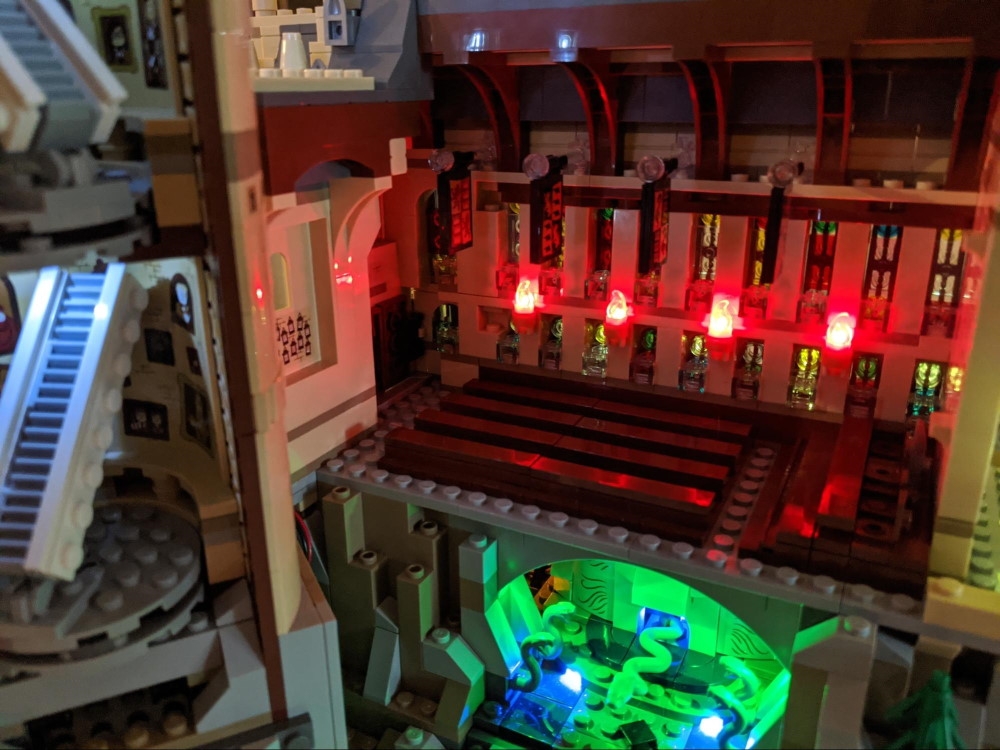
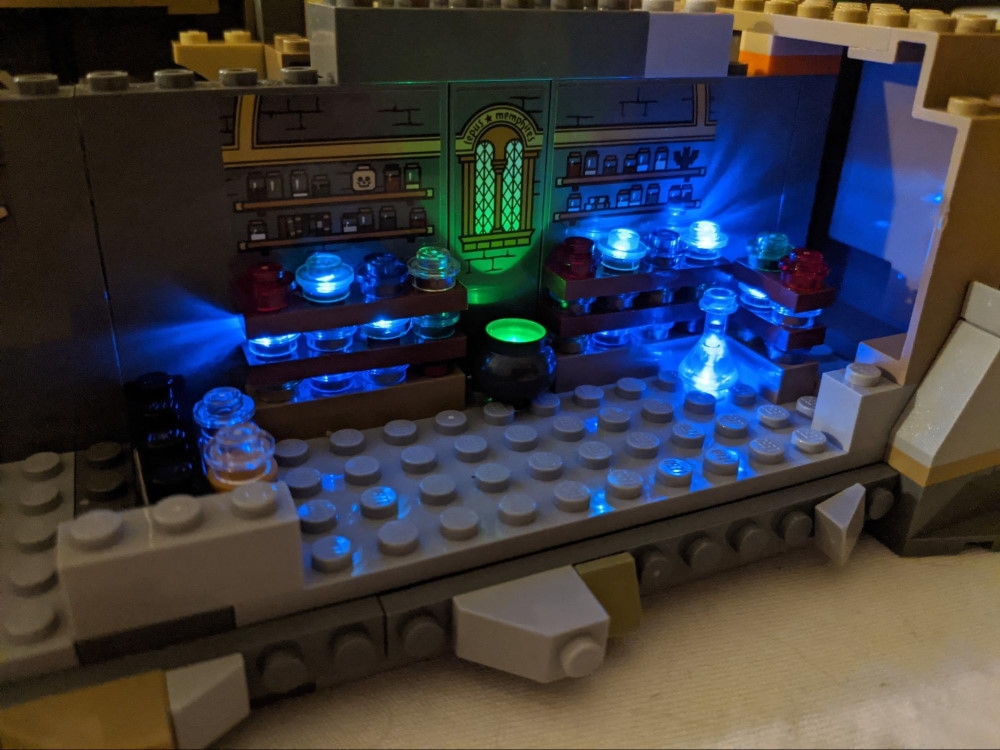
Most of the colouring is achieved by positioning white LEDs under coloured translucent bricks, with some exceptions such as this green used for the cauldron.
In this instance, we added a tiny 0603 SMD 150 ohm resistor in series to assist with current limiting, and drilled a small hole in the bottom of a spare cauldron to route the wire.
A secondary goal while working on this project was to make as few alterations to the model as possible. We especially didn’t want to go drilling holes in bricks if we could avoid it.
So while building, we took care to route wires between gaps in the bricks as close as possible to where they were needed.
We did as much of the soldering as possible well away from the model. So as not to risk damaging the Lego with a hot iron.
Conclusion
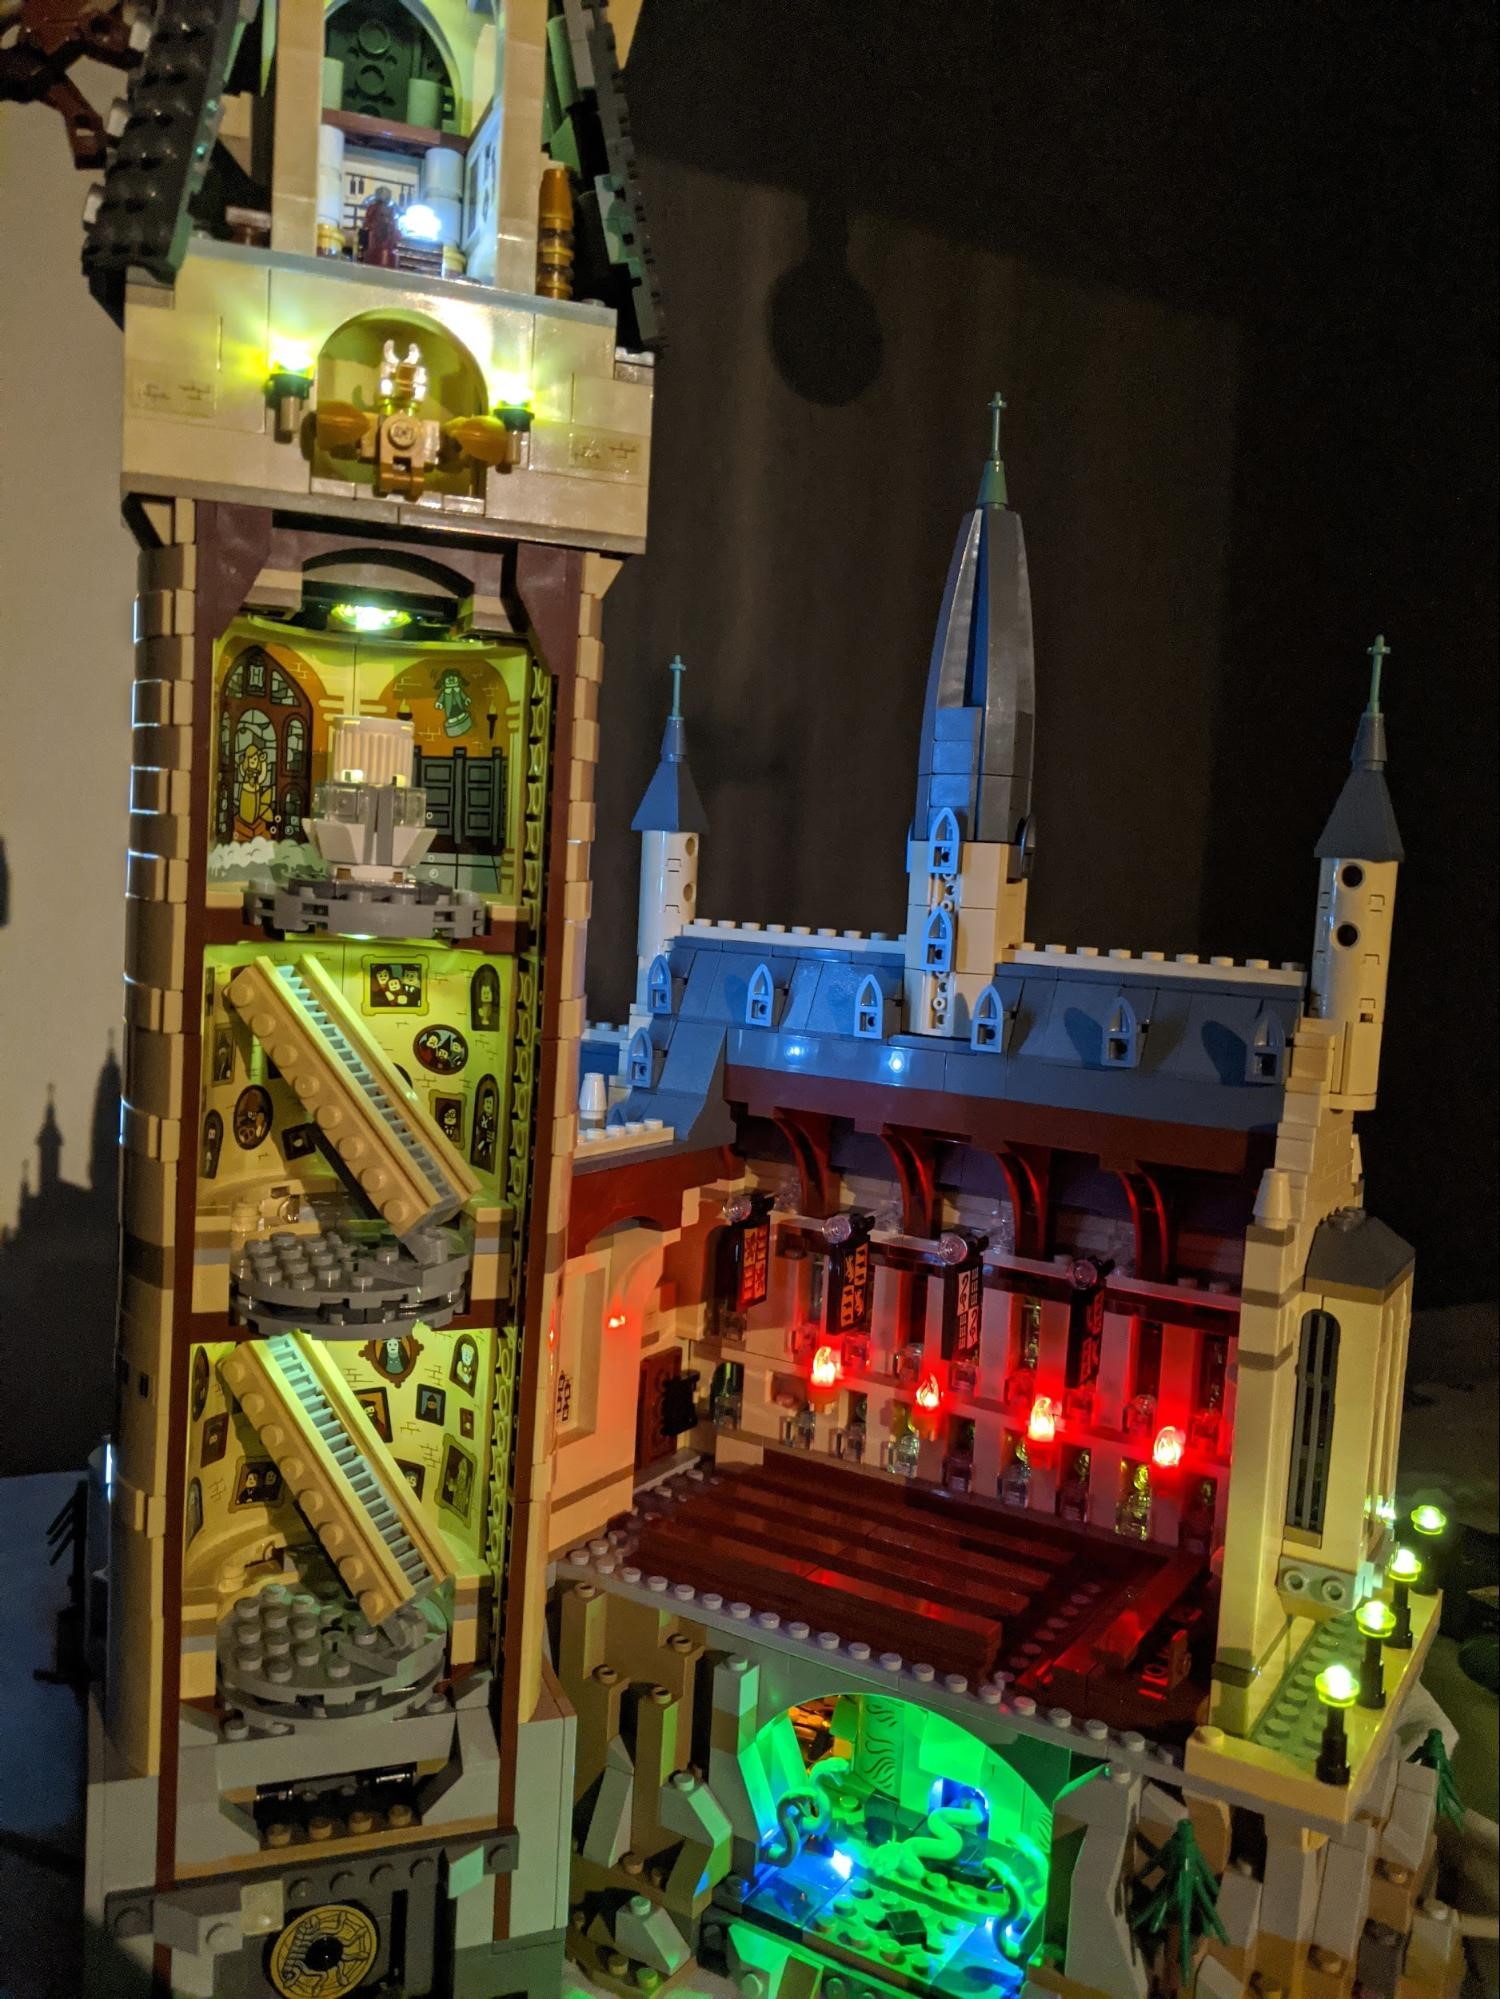
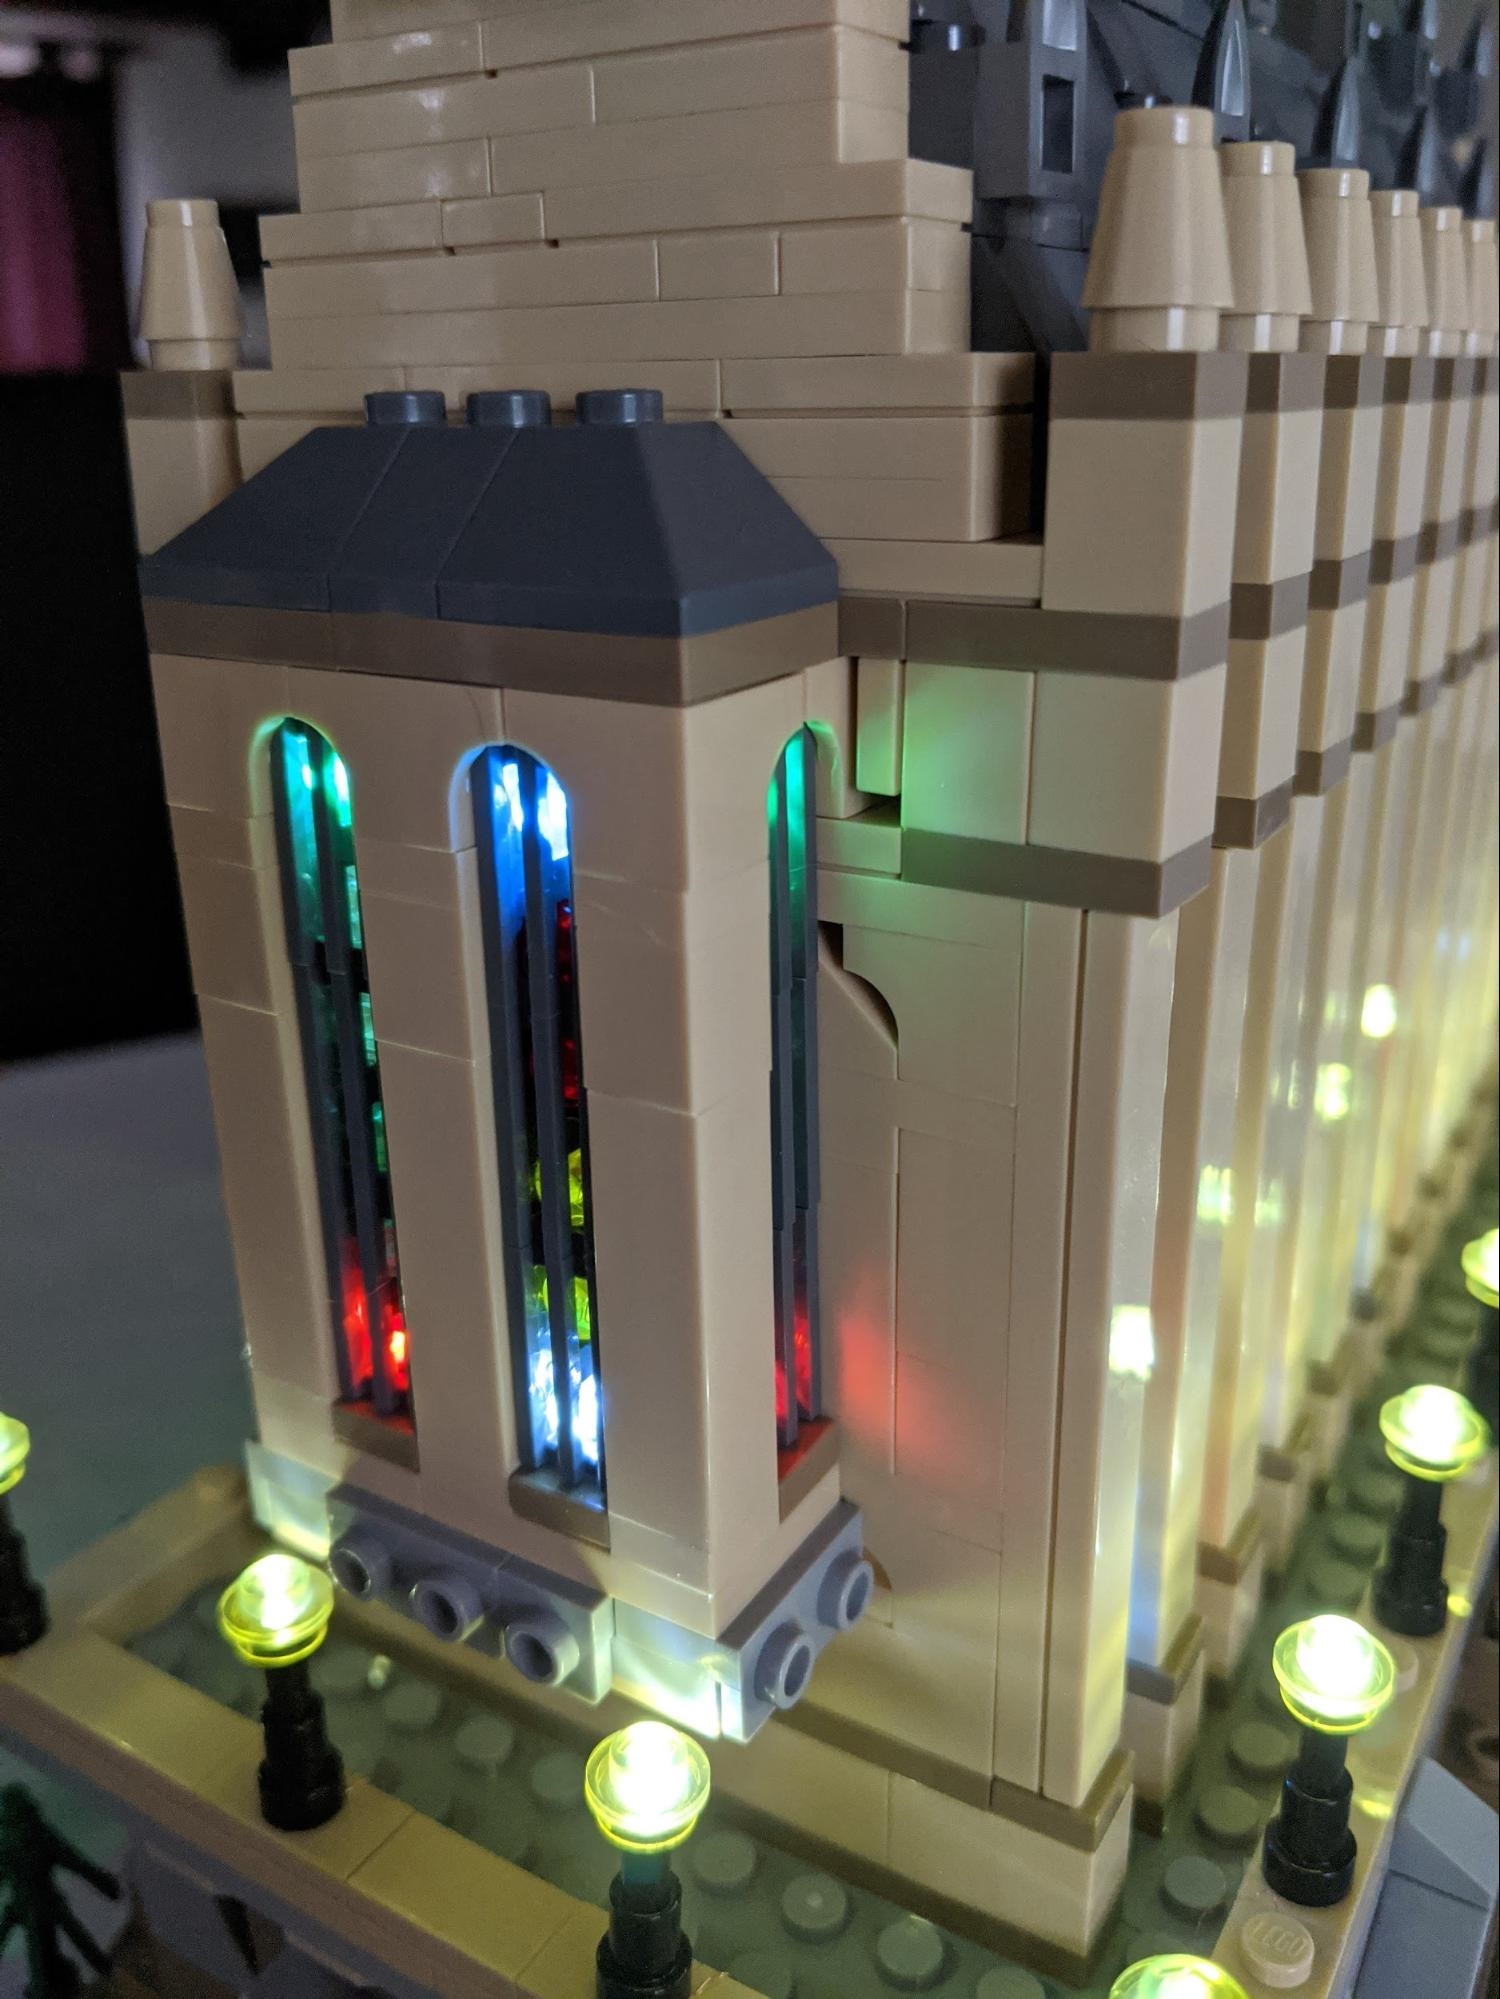
Happy to let the photos speak for themselves. We are very pleased with the result
 |
 |
 |
|
 |
|
 |
 |

