This guide is all about mounting PiicoDev® Modules. It covers how to mount modules to PiicoDev Platforms (or any other material up to 3mm thick), and shows the common dimensions and mounting-hole patterns for PiicoDev hardware.
PiicoDev Platform - Anatomy
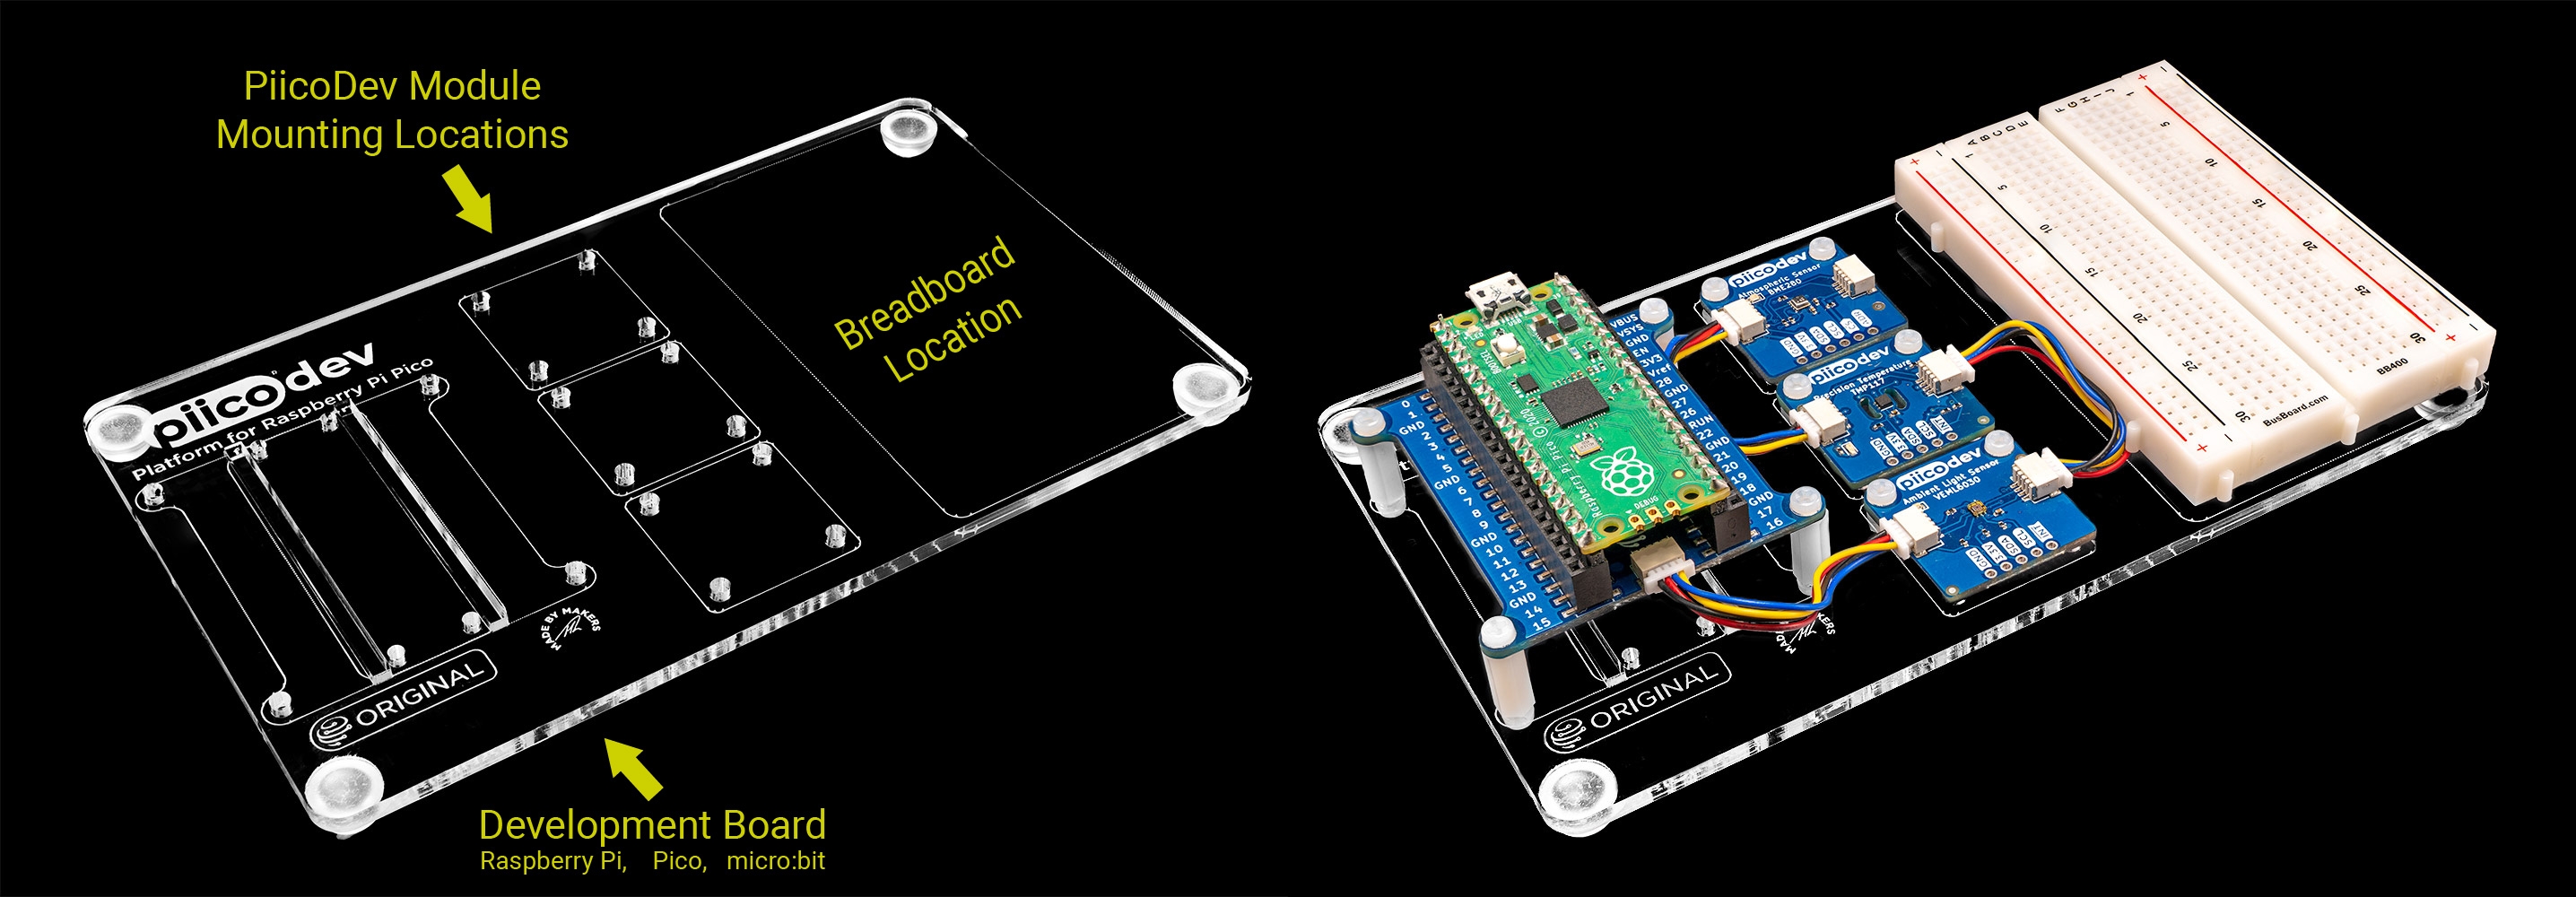
All PiicoDev platforms have three sections. A section to mount:
- A development board (like a Raspberry Pi, a Pico, or a micro:bit) with PiicoDev adapter. This section has the outline of the dev. board or adapter to show where to mount it.
- 3+ PiicoDev Modules.- the squares in the middle with outlines that match a square PiicoDev Module.
- A breadboard. These are super handy for building your own circuits.
The following image shows a PiicoDev Platform for RPi Pico. A bare platform (left) and a populated platform (right) with an: Expansion board for Pico, 3x PiicoDev Modules, and a breadboard.
Mounting with Screws and Nuts
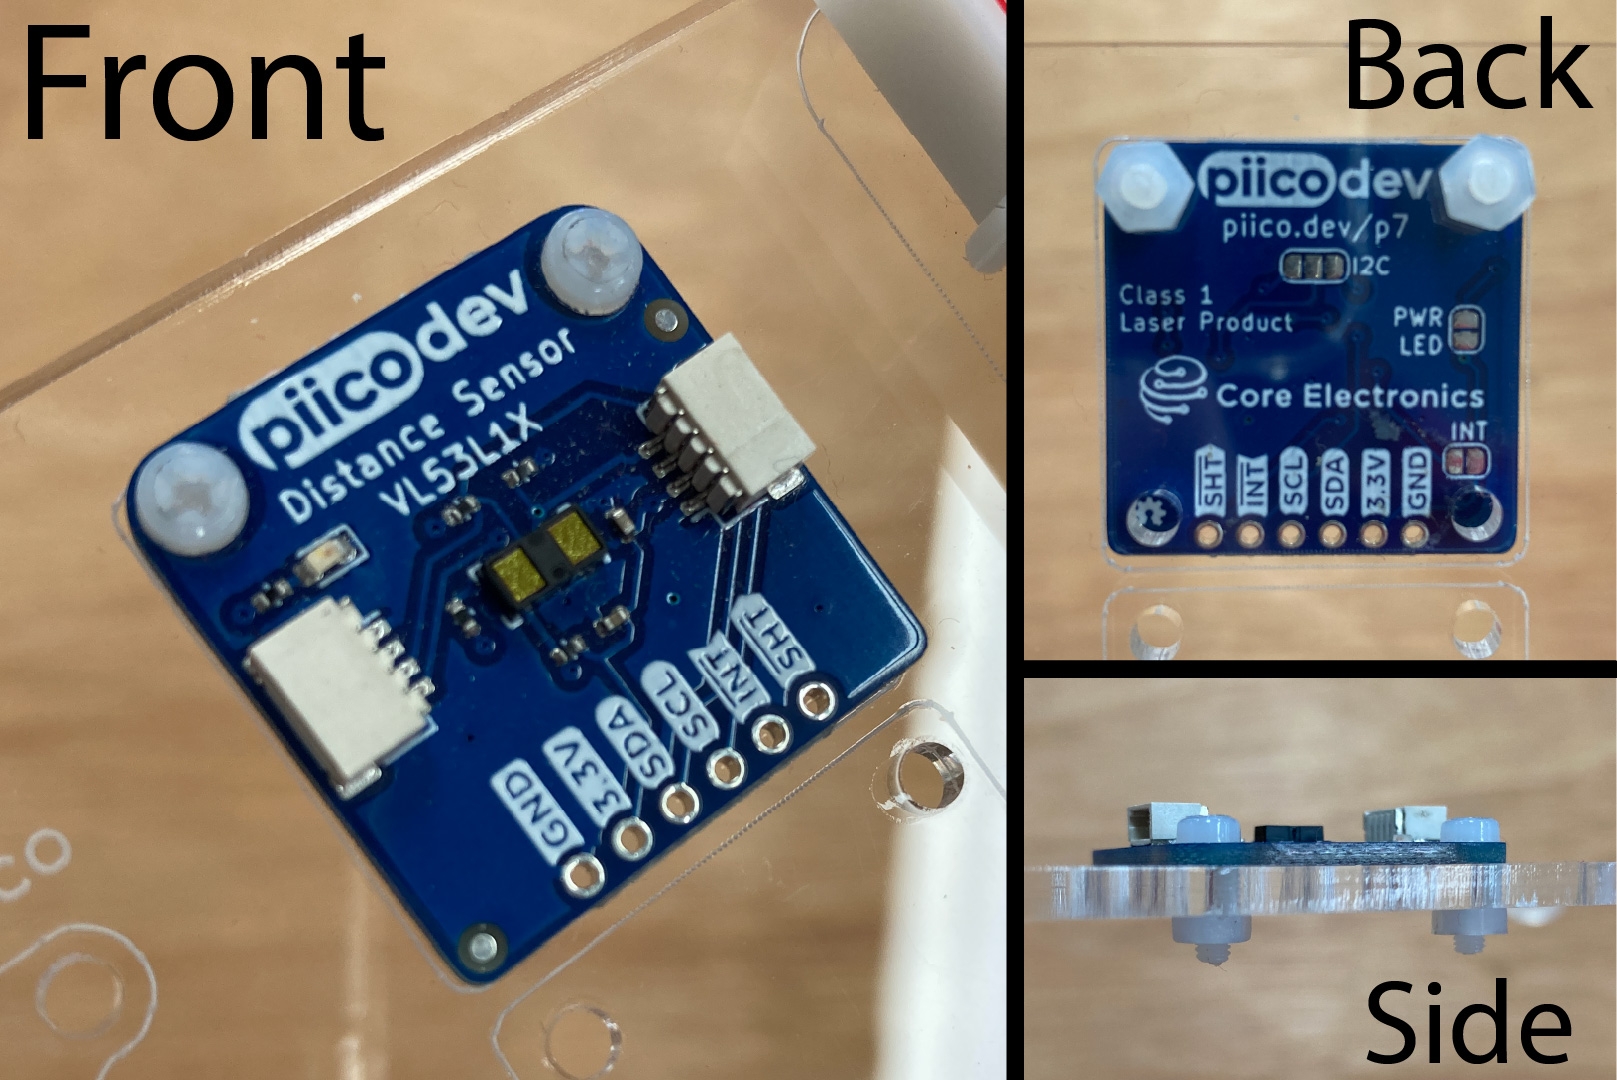
Most PiicoDev modules can be mounted directly to a PiicoDev Platform (or other support material up to 3mm thick) by using M2.5 screws and Nuts. Simply align the module over the mounting holes and secure it in place using M2.5 Screws and Nuts.
Mounting with Standoffs
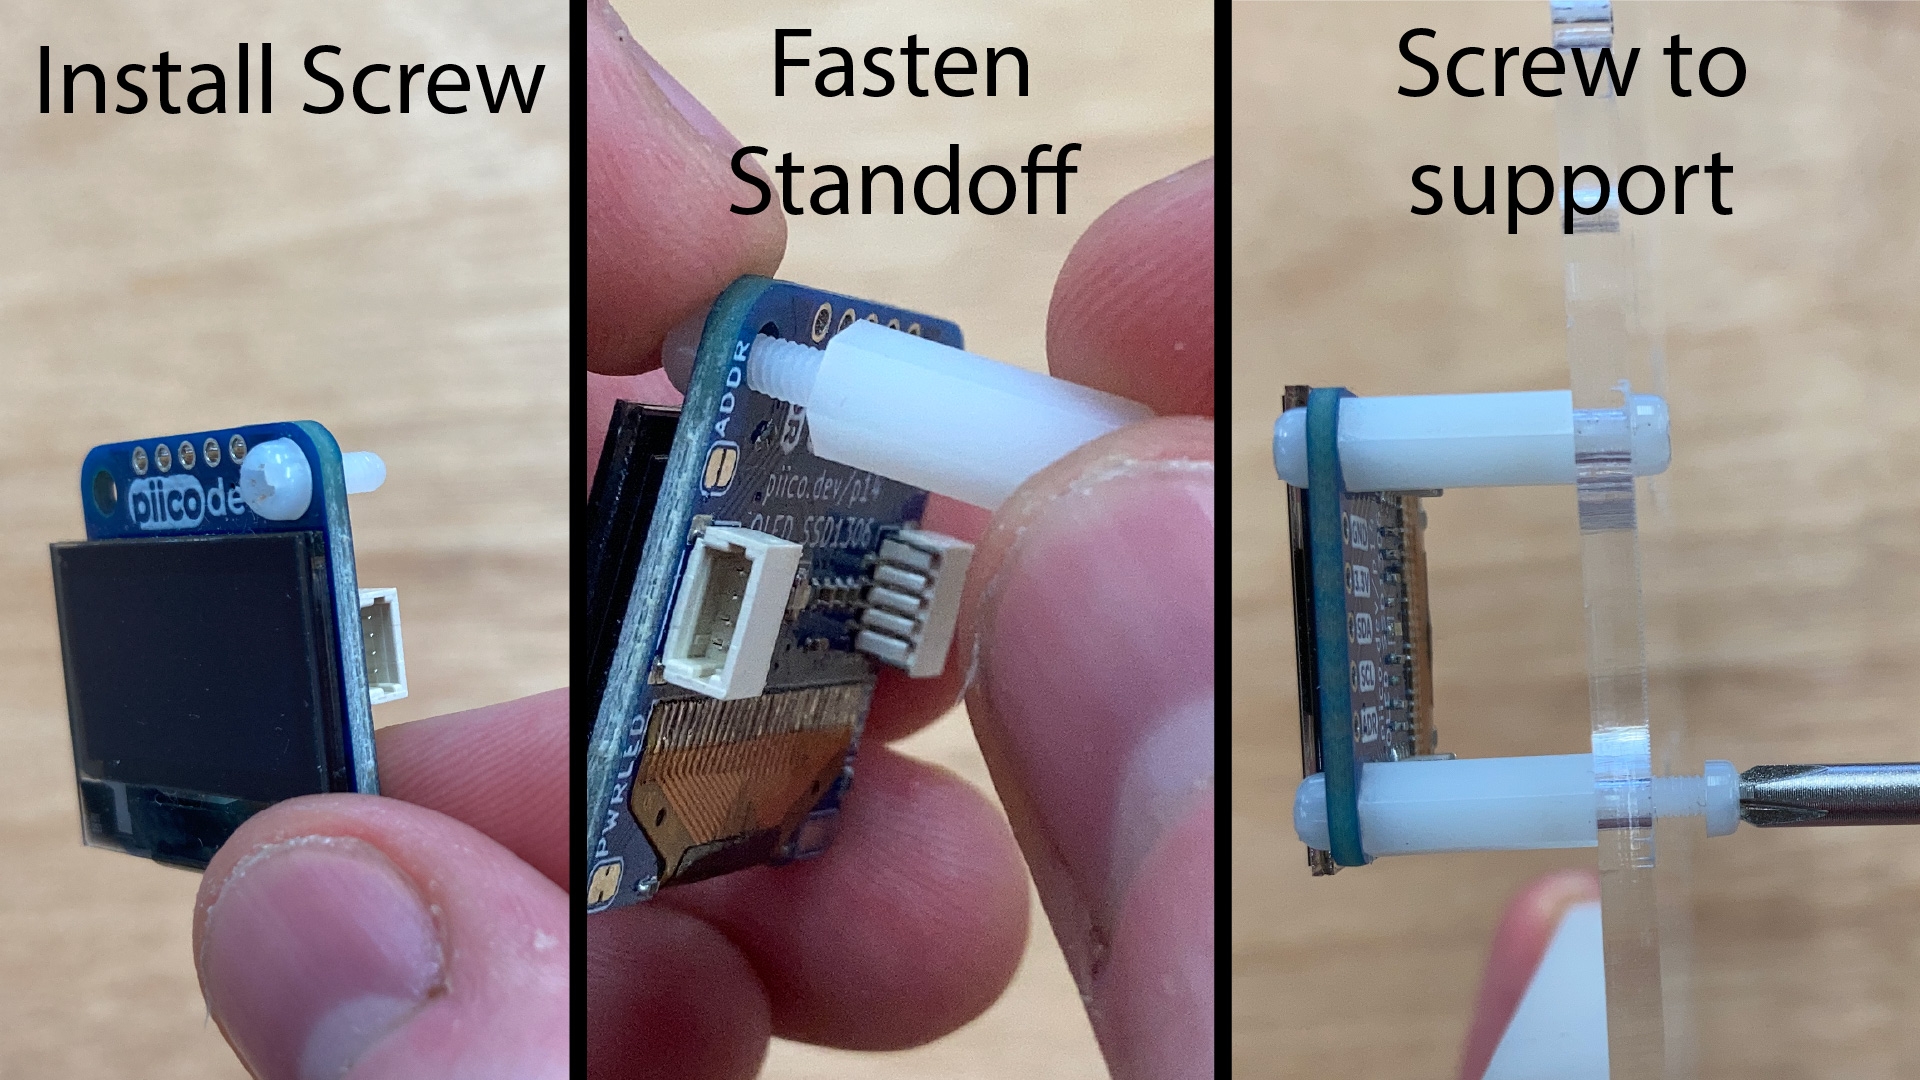
Most PiicoDev modules can be mounted directly to a PiicoDev Platform. Some modules have components on both sides or need to be mounted with components on the bottom side. For these, we can use standoffs to provide the necessary clearance. The following image shows how to mount a module using two screws and a standoff. Begin by installing a screw in one of the module's mounting-holes. Fasten a standoff to the screw and repeat as necessary for the remaining holes. Next, secure your module to your support material by installing screws in the other end of each standoff.
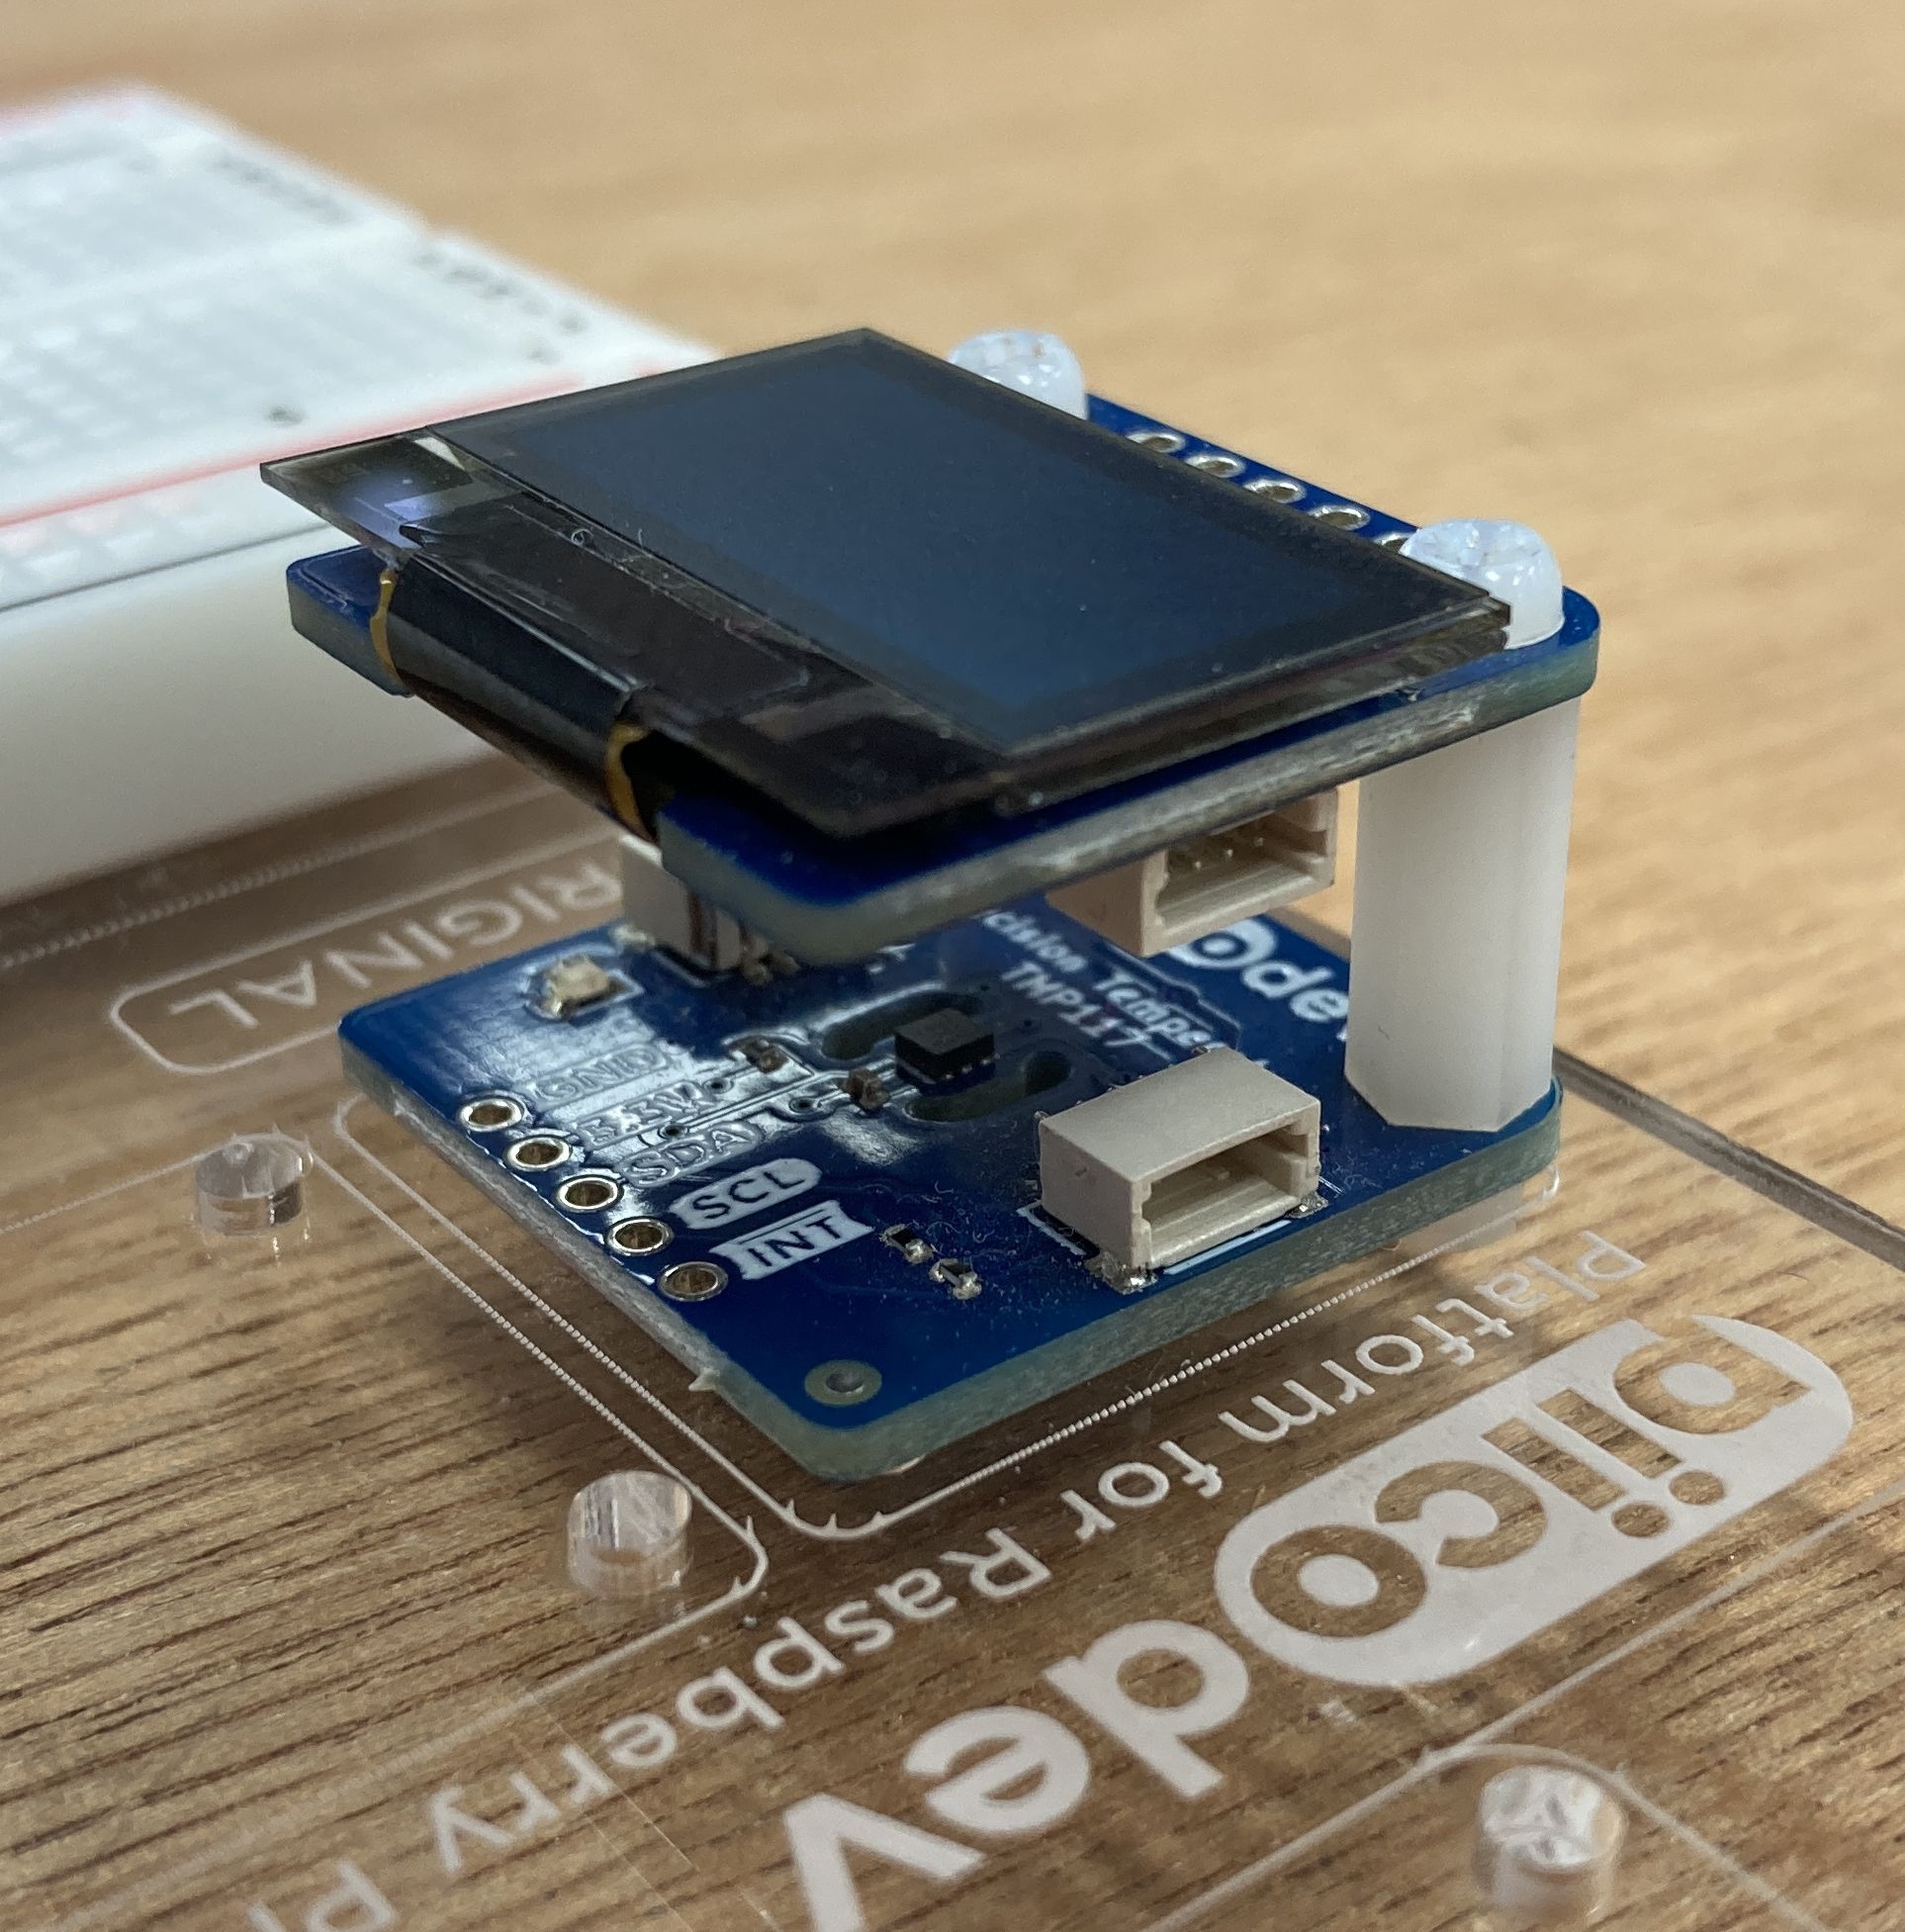
By sandwiching a flush-mounting module between the standoff and the Platform, we can even stack two modules on the same mounting position - as shown below.
Other Mounting Methods (Freestyle)
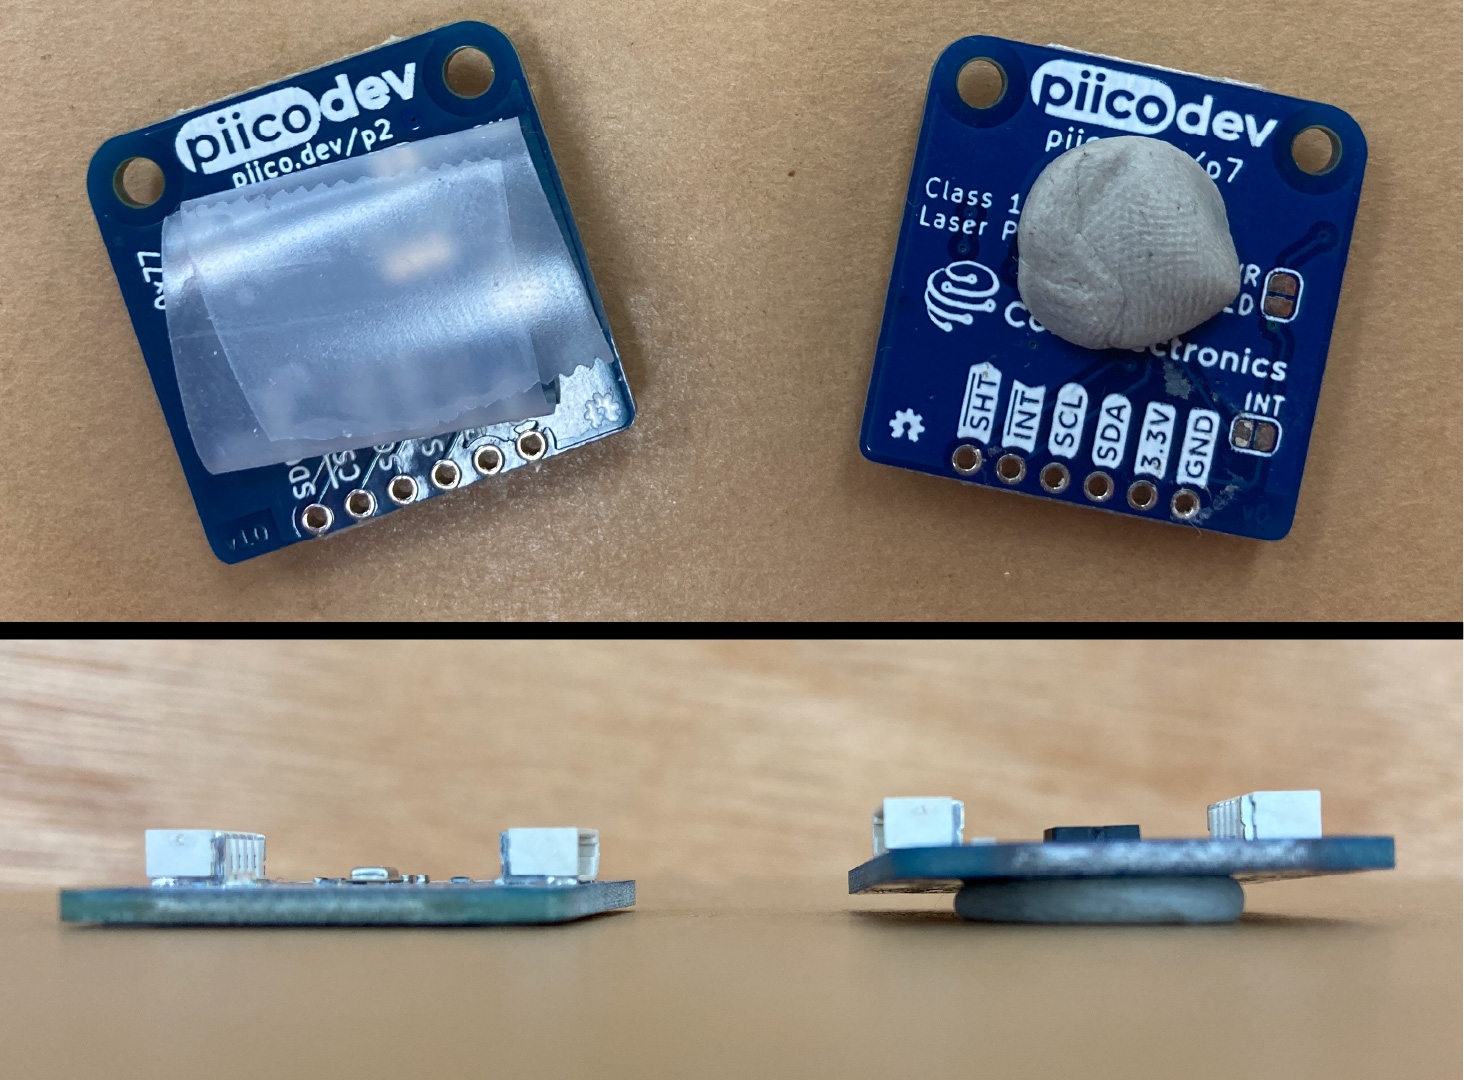
Some projects are a little more freestyle - like this Tunnel Project that uses tape and cardboard for mounting PiicoDev modules. Single-sided tape can be rolled into a loop to create a double-sided tape that will mount a module flush to a flat surface. Adhesive putty (eg. BluTac) is also really useful for more freestyle projects, but won't mount flush.
Drawings
Use these as a reference for making your own mounting solutions, or for 3D printing.
1-Unit Module
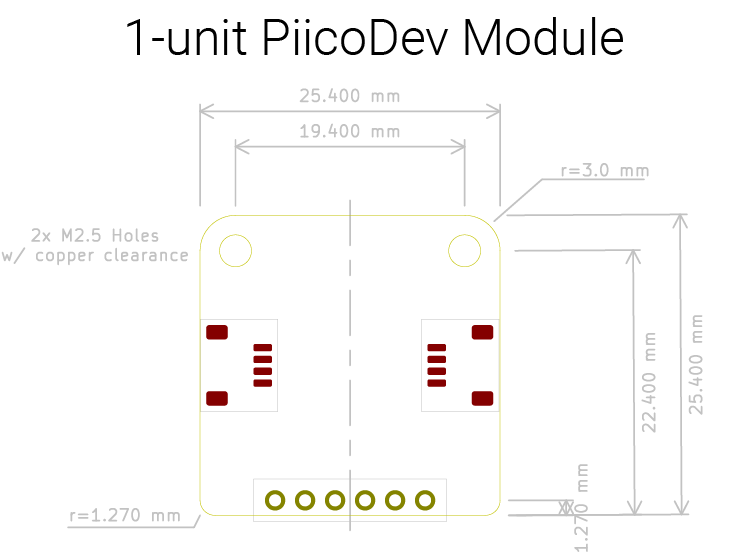
The following mechanical drawing (click to enlarge) shows the dimensions of a "standard" 1-unit PiicoDev Module. These modules occupy one position on a PiicoDev Platform.
1-unit modules all have similar outer dimensions, mounting hole, and PiicoDev connector placement. The number of pins in the breakout header differs module-to-module, but is always centred.
2-Unit Modules
Some PiicoDev modules require a little extra room. The following drawings are for 2-module PiicoDev devices. These occupy two positions on a PiicoDev Platform.

