uGateway is setup, with the exception of your WiFi password. It's perhaps best we don't know what that is!
If you know your way around Pi Zero and Raspbian (with desktop edition) then you can edit WiFI details as normal.
Here's how you can update that information from a Windows 10 computer.
You will need:
- Your uGateway uSD card (it is inserted in the Pi Zero board, on the antenna side).
- A USB uSD card reader.
- A computer running Windows 10 (adapt the procedure to suit your OS).
Setup your WiFi credentials
Insert your SD card with Raspbian into it into your computer and open the SD card from your file explorer - the drive will be labeled boot.
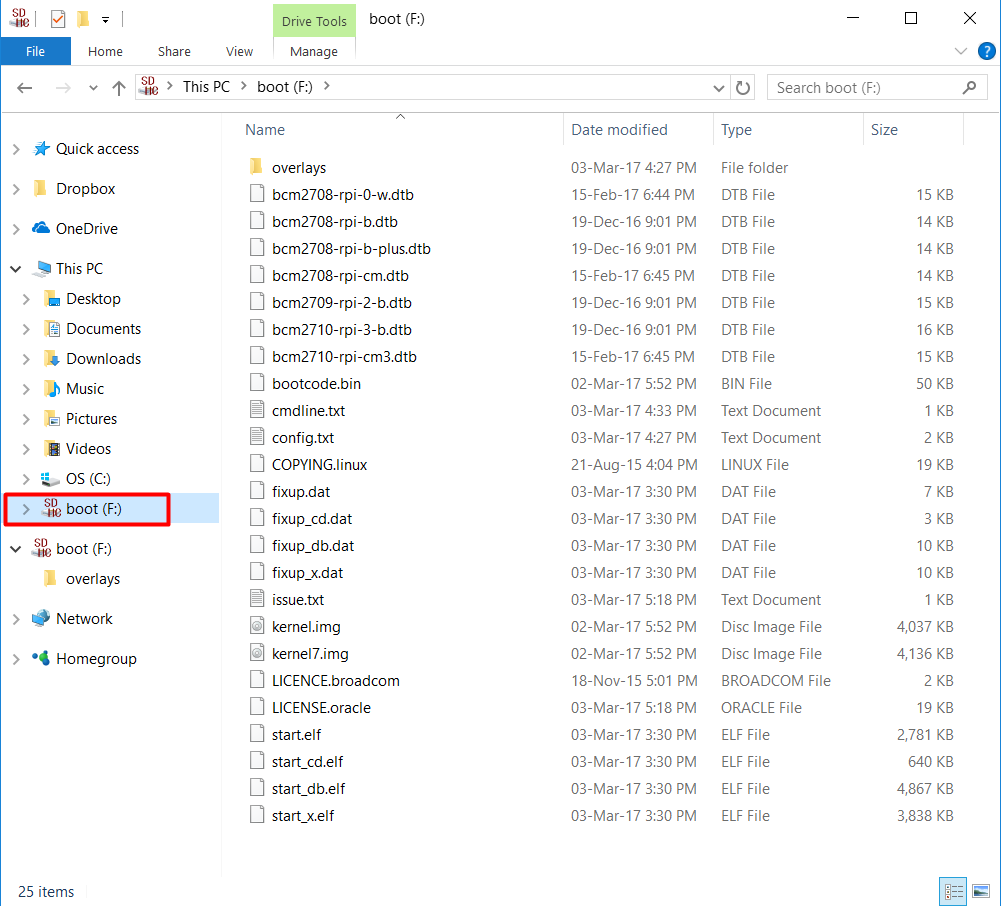
Within the boot directory, Right-Click > New > Text Document and rename the document to wpa_supplicant.conf - Make sure that you change the file extension from .txt to .conf - You will be prompted to confirm the extension change.

With the empty file created, Right-Click on it an select open. You may be prompted to select a program you'd like to open the file with - just choose Notepad.
This is where we enter our WiFi details. Enter the following text into the file, replacing the placeholder text with your own details, including country.
country=AU
ctrl_interface=DIR=/var/run/wpa_supplicant GROUP=netdev
update_config=1
network={
	ssid="MyWiFiNetwork"
	psk="aVeryStrongPassword"
	key_mgmt=WPA-PSK
}
SSID is the name of your WiFi network, and psk is your WiFi password.

Save the file and that's it! Insert the uSD card back into your uGateway and power it on. In around 2 minutes uGateway will have booted and connected to the internet. It's already configured for The Things Network, so you'll now have a full 8-Channel LoRaWAN Gateway running on AS923. Check the other uGateway guides for more configuration tips.
