 Today we’re going to look at installing the Windows 10 IoT (Internet of Things) core onto a Raspberry Pi 3.
Traditionally Windows has been the resident overlord of desktop devices, however in recent years we’ve seen it transform into a mobile friendly, multi-platform OS (Operating System). Then, in November 2015 Microsoft released the Windows 10 IoT core into the world, targeted for DIY maker platforms such as the Raspberry Pi.
Something to keep in mind, is that the Windows 10 IoT Core, isn’t the Windows 10 you see on a regular computer, or even a smartphone. It’s a stripped back version of Windows lacking most of the features found in a standard Windows desktop. What it’s really aimed at is implementing developer features such as Universal Windows Platform, Arduino Wiring API, and Visual Studio.
What we’ll cover here is the basics of downloading and setting up the Windows 10 IoT Core, and where you can go from there.
The Gear
To follow this tutorial you’ll require:
- Raspberry Pi 2 or 3 with a NOOBS card setup as in our Raspberry Pi NOOBS Setup Tutorial
- An internet connection via the Ethernet port
- Around an hour or two depending on your network speed
- Note that Raspberry Pi Zero and older models will not work due to their single core architecture
Before we get started on loading anything onto our Raspberry Pi, you need to make sure you have a Microsoft account, and have registered for the Windows Insider Program. To create a Microsoft account and/or register for the insider program, click here.
Once you’ve got your Microsoft account, and registered for the Windows Insider program, scroll down to install the Windows 10 IoT Core onto your Raspberry Pi.
Install Windows 10 IoT
 To get started, power up your Raspberry Pi and load up the NOOBS management interface (which can be accessed by pressing SHIFT at startup if you already have an OS installed).
Any time you install a new Operating System, it effectively wipes everything but NOOBS off your SD card, so if you want to have multiple Operating Systems installed on your card (Raspbian and Windows IoT Core for example), you need to select both of them to install.
Ensure that you have the Windows 10 IoT core selected, and the hit install.
**Make sure that you don’t unplug your Ethernet connection, or turn off your Raspberry Pi during this process. Doing so may result in a corrupted SD card.**
After waiting for a while and catching up on some awesome YouTube videos, a dialog box will pop up prompting you to sign in with your Microsoft account.
It will detect that you have registered for the Windows IoT Insider program, and complete the installation process.
Once the installation has completed, you should see a dark grey screen with the Windows 10 logo appear on your screen. Follow the setup prompts, and after a minute or two, you should see the main screen for the Windows 10 IoT Core.
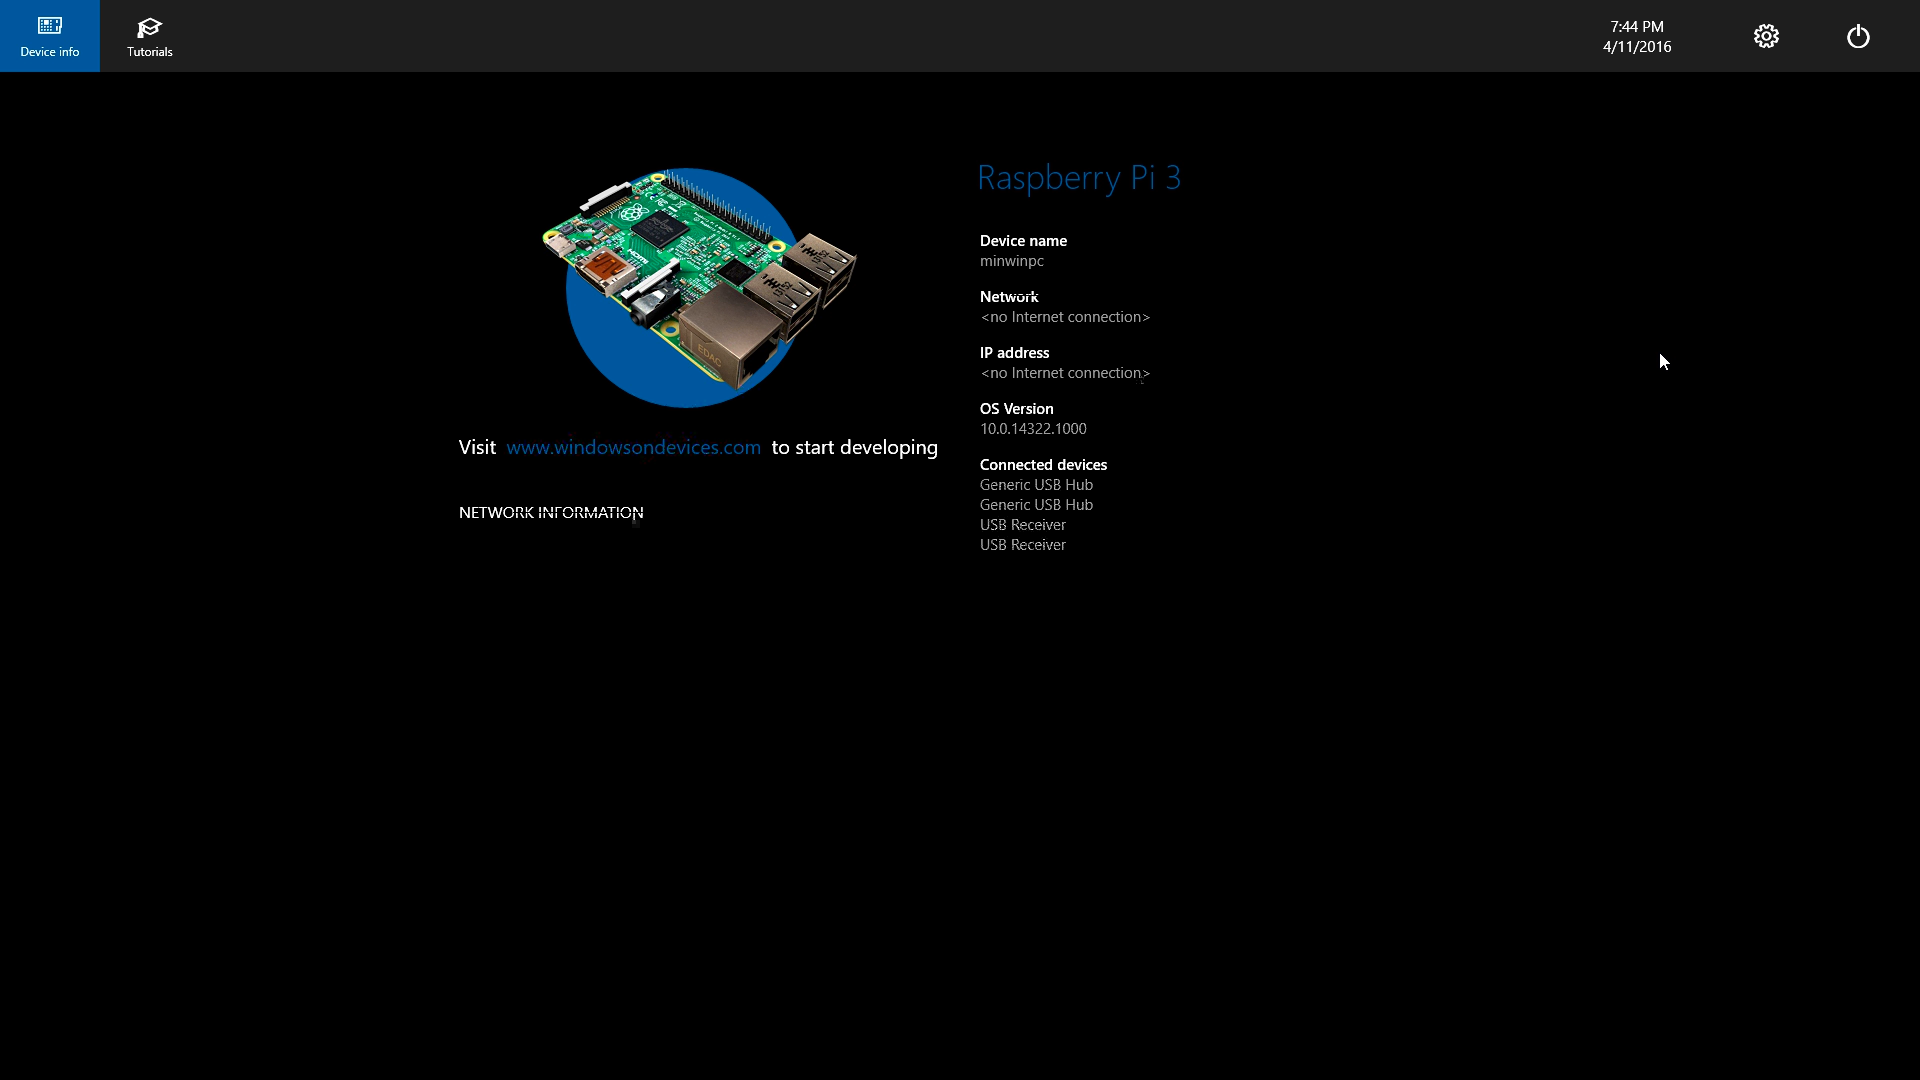
Sweet beans, you’ve done it!
Next Steps
You might now be sitting and scratching your head, wondering what to do now with this interface that scarcely resembles the traditional Windows desktop environment. Have a play around with the GUI, then check out some other cool projects.

