What is a Paper Circuit?
STEM technology has evolved into all kinds of fantastic forms with many brands bringing craft and electronics together in new and innovative ways. There’s plenty of products which make use of ‘paper circuits’; platforms which allow you to create devices and circuits using household craft materials such as paper, rather than a traditional PCB. Some of our favourite brands for educational electronics are Chibitronics, Circuit Scribe, and Makey Makey, and copper tape is used extensively in projects for all of these platforms. So what is this magical copper tape?
What is Copper Tape?
Well, it’s exactly what it sounds like; very thin copper sheet which can be bent and molded to suit the task at hand, with adhesive to allow it to stick to things. Copper tape is great because it can be used with alligator clips to connect things up without requiring any soldering, but it can also be soldered to just as easily. We’ve got a few different options for copper tape on our site, however, we’ve put together a list of our picks which are Maker Favourites, so we’ll be using those to highlight some fantastic uses for copper tape in your projects.


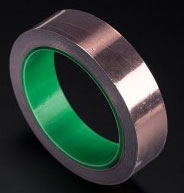
Apart from different thicknesses, we’ve got two main types of copper tape, tape with conductive adhesive, and tape with non-conductive adhesive. For most projects, I highly recommend conductive adhesive as it allows you to more easily join two pieces of tape together, and ensure a good connection.
Methods and Tips
So now, let’s take a look at some techniques and tips for using copper tape in your projects.
Using conductive and non-conductive together
Whilst conductive adhesive tape is usually much easier to work with, it’s also a little more expensive, so a neat trick is to use both conductive and non-conductive adhesive tape. If you run a length of non-conductive adhesive tape, you can use conductive adhesive on the next joint as you only need one side to conduct. This method is great for alternating different tape and saving the conductive adhesive for when it’s really needed.
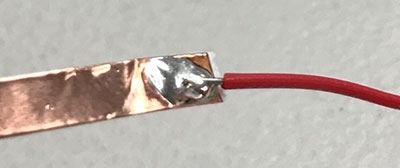
 Soldering
 Soldering
Copper tape is literally just a sheet of thin copper foil, which makes it excellent for soldering to. The copper isn’t too thick that it wicks all of the heat away from the joint, and the result is a smooth, shiny solder joint that allows you to connect other components to your paper circuit.
Securing Components
One of the tricks when using copper tape is securing components to it that aren’t ‘tape friendly’. For platforms such as Chibitronics, their components are designed to easily stick to copper tape and paper so they’re incredibly easy to use with tape:

However, let’s try using a traditional through-hole resistor, LED, and push button to create a simple circuit. You’ll see a few tricks that I’ve used to ensure a reliable connection.

I’ve used a strip of tape to lay my circuit out, and then another small square of tape to secure the component to the tape. Alternatively, if you’re using conductive adhesive tape, you can just tape it straight onto the paper.
Switches
Simple switches are extremely easy and fun to make using copper tape. Thanks to the flexibility of the foil, you can easily make on/off switches for your circuit in as many ways as you can imagine, however, there are two easy solutions for this:
Copper Tape Spring
By using a small piece of tape, you can create a neat little on-off switch by folding it over to bridge the connections. You can either use the adhesive side for a toggle switch or fold it over so it’s the non-adhesive side for a momentary switch. These switches will require the use of conductive adhesive.

Folded Paper Spring
A paper spring switch is incredibly easy and fun to create. You can simply run two strips for your switch into the corner of a page (or anywhere you can fold), and simply fold the paper over to make a connection. Because it’s only the top side making contact, you can make these switches with the non-conductive adhesive.

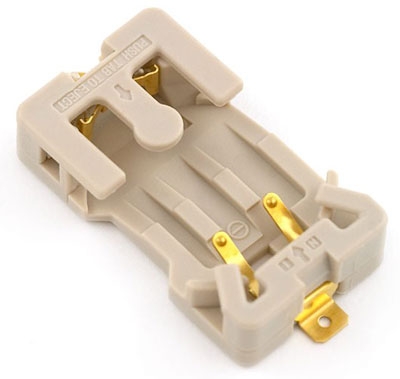
Battery Holders
The last thing to know when creating paper circuits using copper tape is how to connect a battery. There are two different methods that I like to use, one incorporates a momentary on/off switch with the battery and the other allows for a more permanent battery connection. You’re definitely going to want to use conductive adhesive for this.
Something to be careful here is not to create a short circuit, so be sure to place your tape far enough apart so that the battery can’t accidentally short out.
Battery Switch
To use the battery connection as a switch, just take the same approach as a momentary switch, but use the battery as a contact. Double over some tape on the bottom side of the battery to hold it in place, and just press on the tape to turn the circuit on!

Battery Holder
To create a nice battery holder, double over some tape to attach your battery to the first track. Now, run the second piece of tape from your other rail to the top of your battery, and voila! A clean, reliable copper tape battery holder.


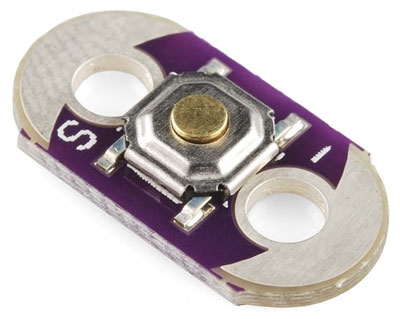
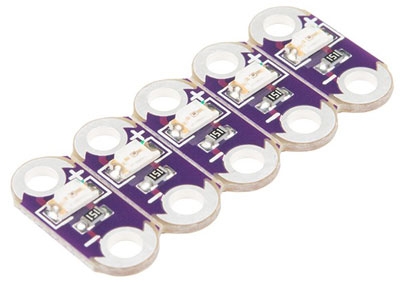
Using Wearable Components
A great trick when creating paper circuits is that most wearable modules and components have large, round, flat pads for sewing too, which makes them great for paper circuits. Some of our recommendations are:
What Now?
If there’s anything you’d like to see more of when using copper tape, or ideas you’ve had, but you’re not sure how to implement them with a paper circuit, then get the conversation started below, and we’ll be sure to keep this updated with some of our favourite tips and tricks.

