I was down at a local game shop recently and noticed their range of chess boards and decided to try my hand at a simple little project. I'm a big fan of Doctor Who, Chess and 3D Printing. So I decided to combine them all together into a fun project. Essentially, I set out to make a chess set based on Doctor Who using a 3D Printer, Laser cutter and admittedly a little DIY. I enlisted the help of Stephen from Core Electronics (see - Awesome guy, generally good at making things) and we got started on a little workplace project.
Note, a lot of the bits and pieces for this project were designed already and the original content creators are linked alongside their stuff. This is a great demonstration of what you can do with a 3D Printer, Laser cutter and a weekend free.
I am going to split this write-up into 2 sections:
- The Chess Board - A combination of Inkscape, Laser Cutting and basic painting skills were used for this part.
- The Chess Pieces - A 3D Printer and some blue and white PLA filament was used to make this part.
If you have any questions about anything I don't go over, please let me know. I'd be happy to answer any questions you might have.
The Chess Board
Step 1 - Designing our board
First, we had to decide on what we wanted the finished product to look like. I was picturing something with laser cut acrylic on top of some dark blue painted MDF. However, we could have looked into some Dark Blue/Transparent acrylic as well. In any case, we were set on Laser cutting the chess board, 3D printing the models
Then we used Inkscape alongside some ideas generated by googling Doctor Who to create a rough idea of our chess board. Some of the elements the board needed were:
- 8 x 8 grid - There are a bunch of 'requirements' for a chessboard it turns out. We just made an 8x8 grid and used an engraving effect with the Laser cutter to distinguish colours (clear and white)
- Tardis Colors
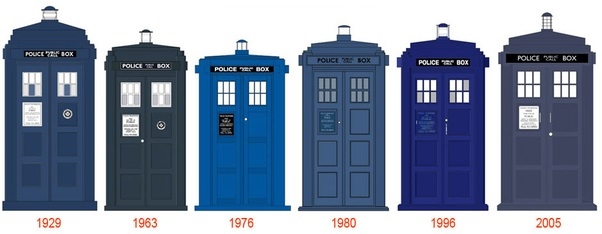
- Police Call Box (something like this)

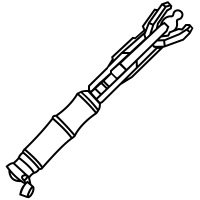
- A Sonic Screwdriver (The tool of choice of the Doctor for all those non-Whovians)

To incorporate all those bits and pieces we used some design software that is particularly good for Vector Graphics.
![]()
We used Inkscape to design our laser cutter tool path as an SVG file format.
Step 2: Cutting our design out
You can find a PDF of the Laser Cutter file we ended up with linked in the attachments below, however, here's what we ended up with.

In case you aren't familiar with what the colours mean in a laser cut design (or at least, our laser cut design). Red is a cut line, Black is an engraved line and white is untouched. Oh, and grey is engraved, but less so than black.
We actually had two bites at the cherry with the Acrylic panel, the first one was just not set powerful enough to make a clear white engrave on the board. Here's what that looks like (SPOILERS).

The second one was much clearer and gave a great contrast against the other colours.

Finally, as a backing piece (see the Blue part above), we used the outer cut line from the file to cut a piece of MDF (note that this picture is the MDF with Primer Paint on it).

It's worth mentioning too, if you don't have a super-accurate laser cutter, we can Laser cut parts for you with our Laser Cutting Service. With all the cuts designed and made, we could move onto our Painting.
Step 3: Painting and finishing the Board
I wanted the backing piece of MDF to match the colour of the Doctor's ship for authenticity, so I googled the colour and took the colour reference codes down to the local Bunnings Paint mix department.
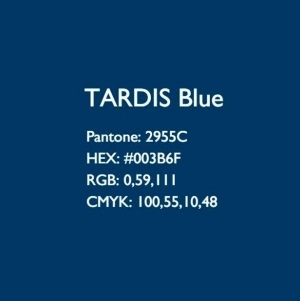
It turned out well, they could mix from the Pantone colour code. Whilst I was there I grabbed a couple of brushes and some white primer for an undercoat. With my sample pot of TARDIS paint in tow (<$10.00), I headed home and put 2-3 coats of paint on my MDF backing board.


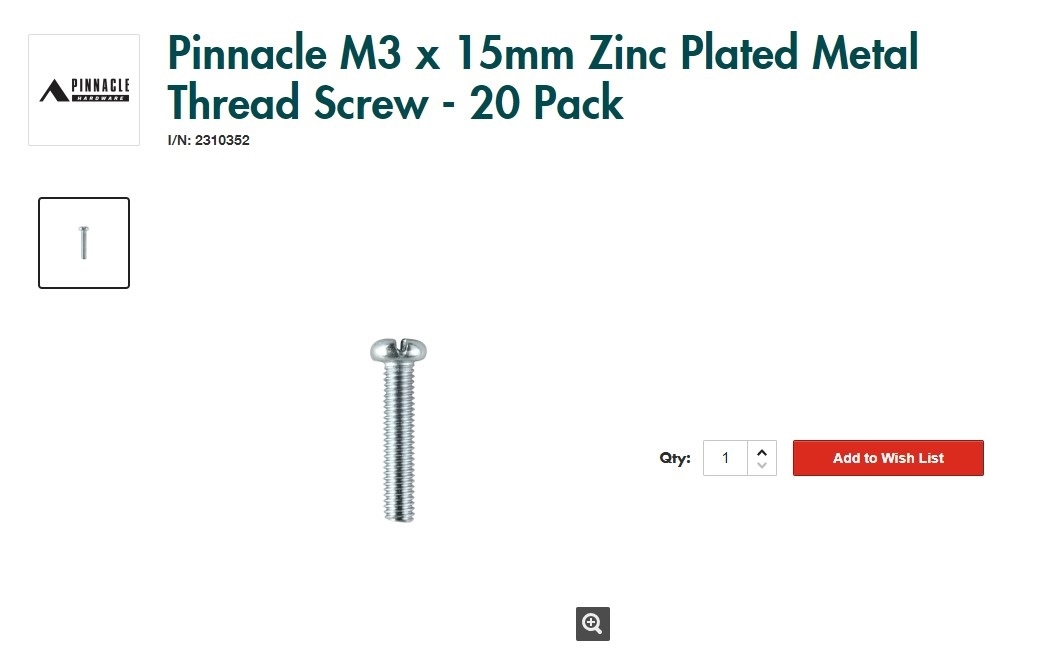
Finally, I needed to secure the two boards together. For this, I simply used some M3 nuts and bolts through each corner of the board (also Bunning's pickups - ~$4.00).
For a finishing touch, I grabbed a foam mat with adhesive backing from Bunnings (one that was big enough to cover the board - ~$15.00) and used a Stanley knife to trim it to size. I left some little cutouts for my M3 bolts too. It worked out pretty well, with a non-slip Chessboard!

I'm still tossing up on printing a border, but I kind of like the look of it.
Step 4: Printing the Pieces
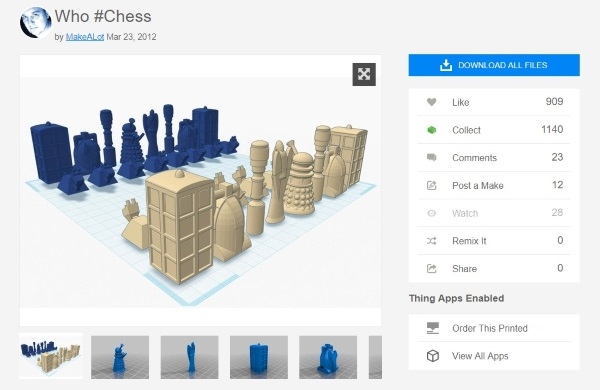
I found a neat set of Pieces that looked easy enough to print online. They were designed by Thingiverse user MakeALot using TinkerCAD.
You can download the files in project resources or here.
We can print them for you here.
I used the LulzBot Mini and Taz 6 to print my parts side by side, because, I could... plus who has the time to wait. See the video below.
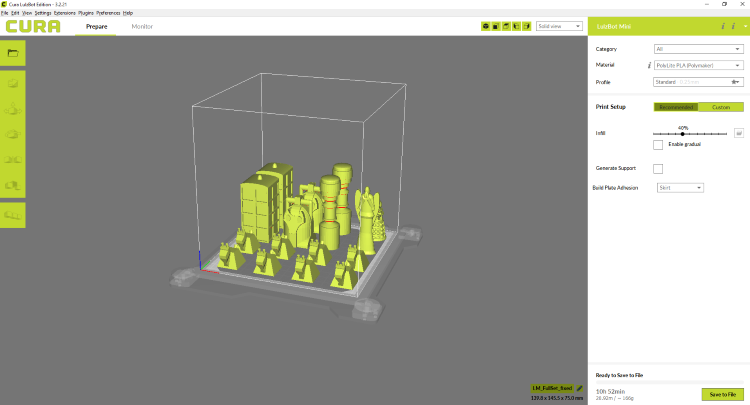
But, I ended up reprinting the Daleks and Weeping Angels separately for quality. The rest of the pieces looked fantastic though.


Step 5: Finishing touches and Vigorous testing
All that was left to do was place the pieces and take the board for a test run. We ended up playing 3 matches back to back, all the while discussing possible improvements for a reincarnation someday.


If you've got any questions about anything we did, feel free to get in touch and ask. We're here to help.
