Crunching numbers is fine, but sometimes you really need to visualise what’s going on in the tiny brain of your Photon. There are numerous different ways to visualise data or text on a microcontroller from binary LEDs, to HDMI displays, however one of the simplest solutions is to use an LCD or OLED display.
LCD vs OLED
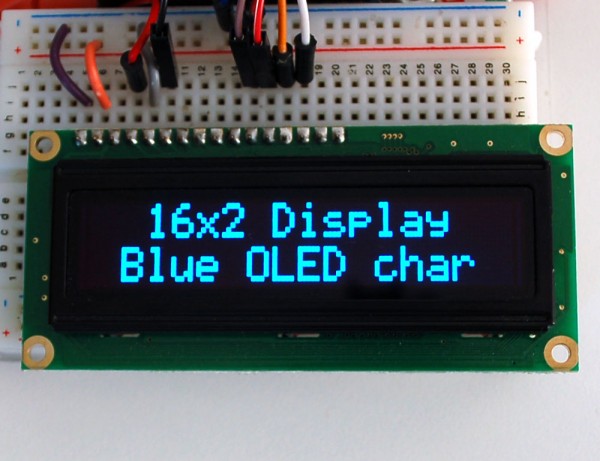
LCD and OLED are both different technologies for displaying an illuminated pixel, whereby an LCD display works by creating a contrast between the back of the display, often using a backlight to better distinguish between the characters. An OLED display however actually illuminates each pixel used to emit light, which gives a crisper contrast, and eliminates the need for a backlight, resulting in a more efficient display.
Graphical vs Character
Each display type comes in two different flavours, graphical and character based displays. A graphical display allows the user to render images on the display pixel by pixel, which opens the door for low resolution images and graphics, along with text. This extra flexibility comes with an increased complexity in control and interfacing with the display. A simpler solution however is to use a character display which allows for certain number of individual characters per line in allocated segments using the ASCII character library. Whilst more limited, a character display can be controlled using only 6 wires. Today we’ll be looking at using character displays, but be sure to check out our other tutorials for using graphic displays.
Fortunately there are libraries which make using these displays incredibly easy, and in the Particle library collection is the Liquid Crystal library which we’ll use for writing data to the display. The actual function of OLED displays vs LCD displays is a bit different and there are separate libraries for each due to the timing required by OLED displays, so if you want to use an OLED display, check out the Adafruit OLED character library instead. Both are available in the build.particle.io space.
What You’ll Need
To follow this tutorial you’ll require the following:
The Goal
There are lots of different functions available using character displays, you can check out the functionality of the Liquid Crystal library here. For this tutorial we’re going to write a program for the Photon which simply tells us the number of seconds it’s been since reset. It’s the Hello World of character displays.
The Circuit
The wiring used here is standard to LCD displays, if you’re using a LCD display you can go ahead and use the first wiring diagram, however if you’re using an OLED display, check out the second diagram, which you can see connects the brown pin to the microcontroller instead of ground with a slightly different wiring order, and removes the contrast control wiring from the diagram. For a more in depth walkthrough of character display wiring, check out this excellent Adafruit article. Because the Photon operates on 3.3V, it can be tricky working with some LCD displays because of the contrast required by them. In the diagram for the LCD setup, we’re connecting both the backlight and logic pins to 5V, which despite our Photon operating on 3.3V, just falls in the voltage range of our output logic and gives us a nice crisp contrast even at 3.3V. Use the potentiometer to adjust the contrast to suit.
LCD Circuit:
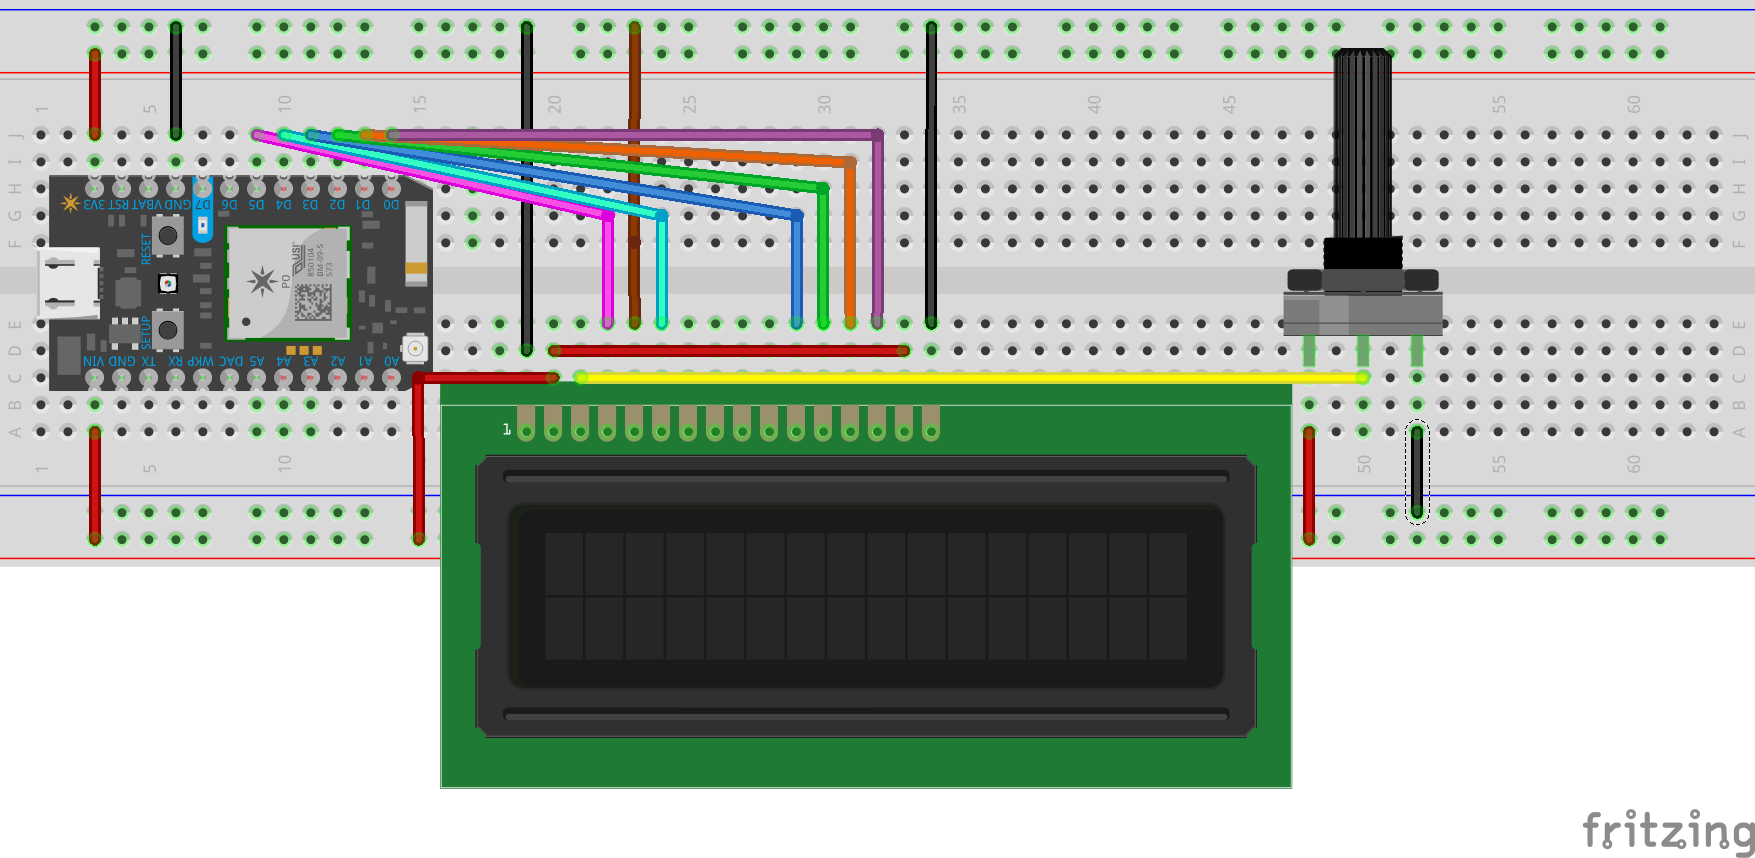
OLED Circuit:

Depending on what type of screen you’re using, use the appropriate code. Each uses a different library and has the pins labelled slightly differently, but they do the same thing. Upload your code OTA (Over the Air) to your Photon, and watch the magic!

The Code
LCD Code:
// This #include statement was automatically added by the Particle IDE.
#include "LiquidCrystal/LiquidCrystal.h"

LiquidCrystal lcd(5, 4, 3, 2, 1, 0);

void setup() {
  lcd.begin(16, 2);
  lcd.print("Time since reset");
}

void loop() {
  lcd.setCursor(0, 1);
  lcd.print(millis()/1000);
}
OLED Code:
#include "Adafruit_CharacterOLED_Particle/Adafruit_CharacterOLED_Particle.h"

Adafruit_CharacterOLED lcd(OLED_V2, 6, 5, 4, 3, 2, 1, 0);

void setup()
{
  lcd.begin(16, 2);
  lcd.print("Time since reset");
}

void loop()
{
  lcd.setCursor(0, 1);
  lcd.print(millis()/1000);
}
What Now?
Awesome sauce, now you’ve got the basics of controlling character displays using the Particle ecosystem, feel free to play around with the other functions available in the library.

