Turn Your Raspberry Pi into a Steam Link
Sometimes Retropie just isn’t enough to get the best possible gaming experience with the Raspberry Pi. I originally purchased the Raspberry Pi 3B+ so that I could install Retropie and Kodi to play some retro classics and my old Wii games. I changed my mind and went ahead to install Steam Link on the Pi instead because I didn’t have any ROMs to play and I was afraid of the legal issues surrounding them. I hope that this project is able to help people who missed out on the Steam Link hardware. I am aware that people are already able to use the Moonlight streaming program on their first-gen Raspberry Pis, I chose to use Steam Link over Moonlight because Moonlight only supports NVIDIA GPUs and one of the computers which I wished to use with this system had an AMD GPU. The only downside of using Steam Link is ‘VirtualHere’ which is a program made by a third party which offers USB port sharing over the network, it would cost $40 AUD (approx.) to use all four USB ports on the Pi which is ridiculous. Steam Link does however not require this expensive software to function correctly and use controllers, the only issue which I have noticed so far is that Super Tux Kart does not work for me with the USB SNES controller over Steam Link.
In December last year Valve announced and released a Beta Steam streaming client for the Raspberry Pi:
In this project, I install the Steam Link software onto a ‘lite’ distribution of Raspbian on a Raspberry Pi 3B+. This Tutorial shows how to install Raspbian on the Raspberry Pi.
Please note that as of the time of writing the Steam Link software only supports the 3B+ and recommends that you have a heatsink installed at least.
Prerequisites
● Raspberry Pi 3B+
● Heatsinks for Raspberry Pi 3B+
● Raspbian ‘lite’ (installed on Pi)
● Ethernet cable (optional, but recommended for optimal experience)
● Another computer (to play games on)
● Keyboard + Mouse
● Gamepad (optional, but recommended)
● Micro SD Card
Steps to complete
By reaching this stage you have Raspbian lite installed on the Pi 3B+ and the heatsinks
Step 1
Boot up the Pi and log in, the default username is ‘pi’ (no quotes) and the password is ‘raspberry’ (no quotes again). The first step is to connect the Pi to ethernet as WiFi causes a great loss in frames.
Once you have logged in we will set up ssh, this is not compulsory but is recommended if you wish to be able to access the command line on your Pi after the completion of this project.
To set up ssh enter the following command line:
sudo raspi-config
Now you should be greeted with a GUI, navigate to Interfacing Options > SSH > Yes > Ok
Then select finish
Now type the following command line:
clear
Step 2
Now as we have the Pi setup we can proceed to install the Steam Link application. To download and install Steam Link run the following commands:
wget http://media.steampowered.com/steamlink/rpi/steamlink_1.0.7_armhf.deb
sudo dpkg -i steamlink_1.0.7_armhf.deb
Now Steam Link should be installed.
Step 3
Now that Steam Link is installed it is time to test it out! Start the Steam Link Application by running the following command:
steamlink
After running this command it should wish to perform an update, allow it to do so by typing ‘y’ at all of the prompts e.g. “Proceed? [y/n]”.
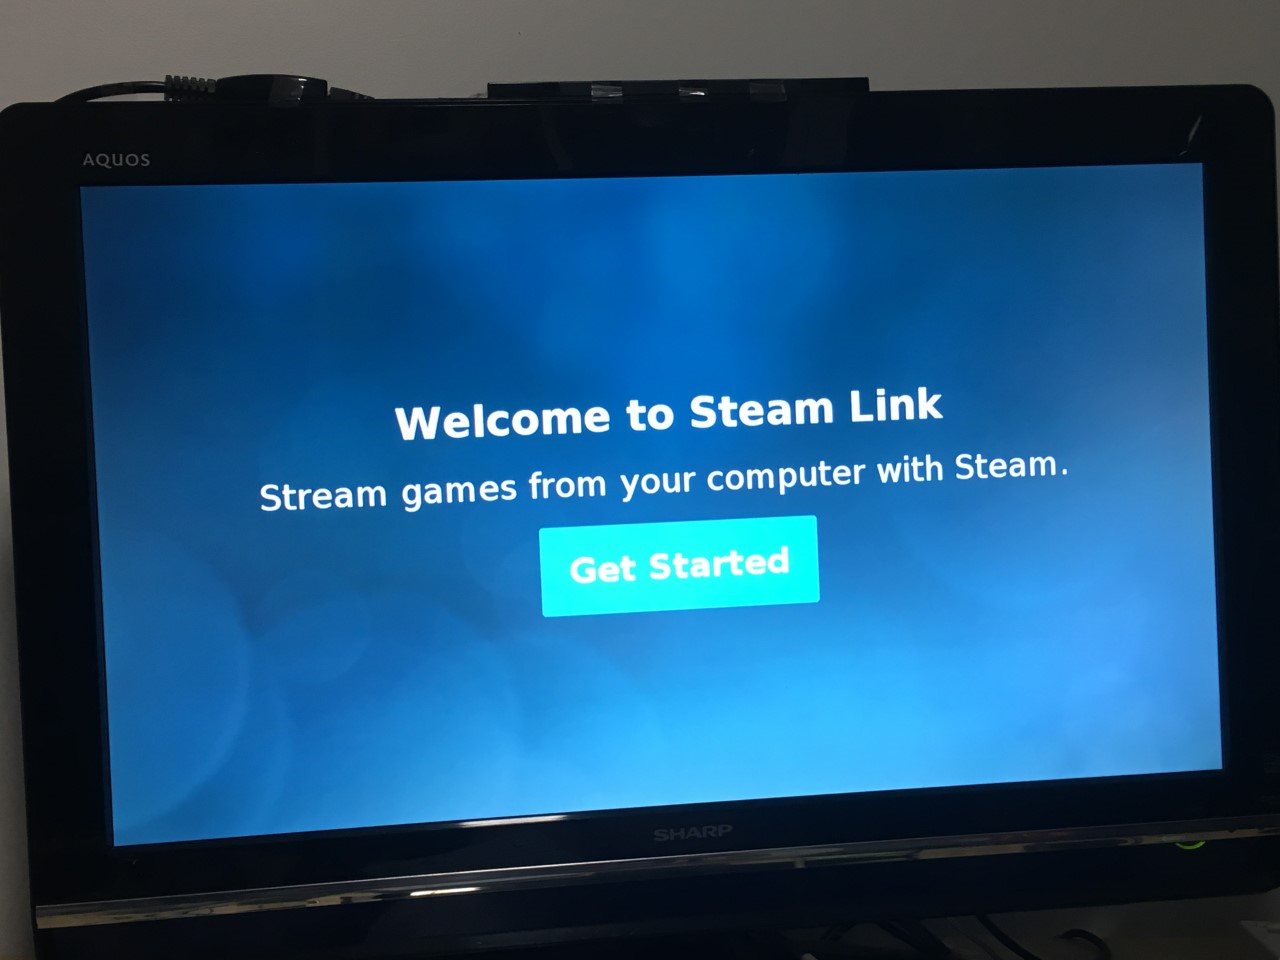
After Steam Link has finished updating it should open a screen as seen below:
Continue by pressing the space bar or connecting a USB controller and pressing the ‘A’ button (This is actually the ‘B’ button on Nintendo replica controllers). If you are using a keyboard and you wish to use one to play games over Steam Link you can select skip on the next screen, otherwise if using a wireless controller such as an Xbox controller or a Steam controller follow the relevant prompts to complete pairing.
After configuring a controller you should be able to connect to a computer running steam which is on the same network as the Pi. Now you have successfully set up Steam Link on a Raspberry Pi, the next few steps are optional, but are recommended as they will prevent you from needing to log in on every boot and allow Steam Link to run on start-up. To exit back to the command-line press escape until you are back at the CLI.
Step 4
Now as you have Steam Link setup on the Raspberry Pi it is time to configure the Pi to automatically login and boot to Steam Link, giving you an authentic Steam Link experience.
To enable Auto-login run the following command:
sudo raspi-config
Now navigate through the menu to: Boot Options > Desktop / CLI > Console Autologin
You should now be back at the front screen of the GUI, select finish. Allow it to reboot to allow changes to take effect.
To allow Steam Link to run at boot enter the following command line:
sudo nano /etc/rc.local
Scroll down using the arrow keys and enter the following line on the line before ‘exit 0’:
su pi -c steamlink
sudo shutdown now
Now press CTRL+X
Then press y
Then press enter / return
Now reboot the Pi:
sudo reboot now
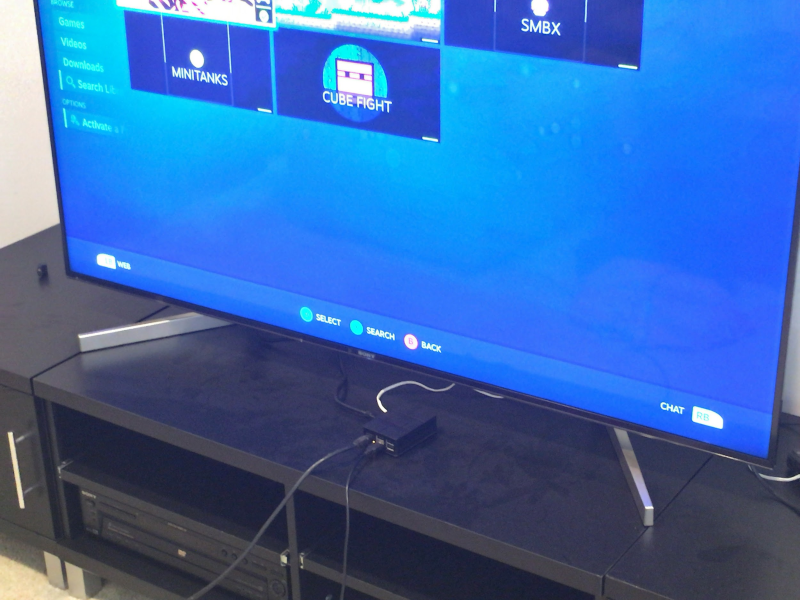
And there we have it! You have now successfully set up a Raspberry Pi as a Steam Link system, now you can sit back and enjoy some of your favourite PC games right from your couch!


